
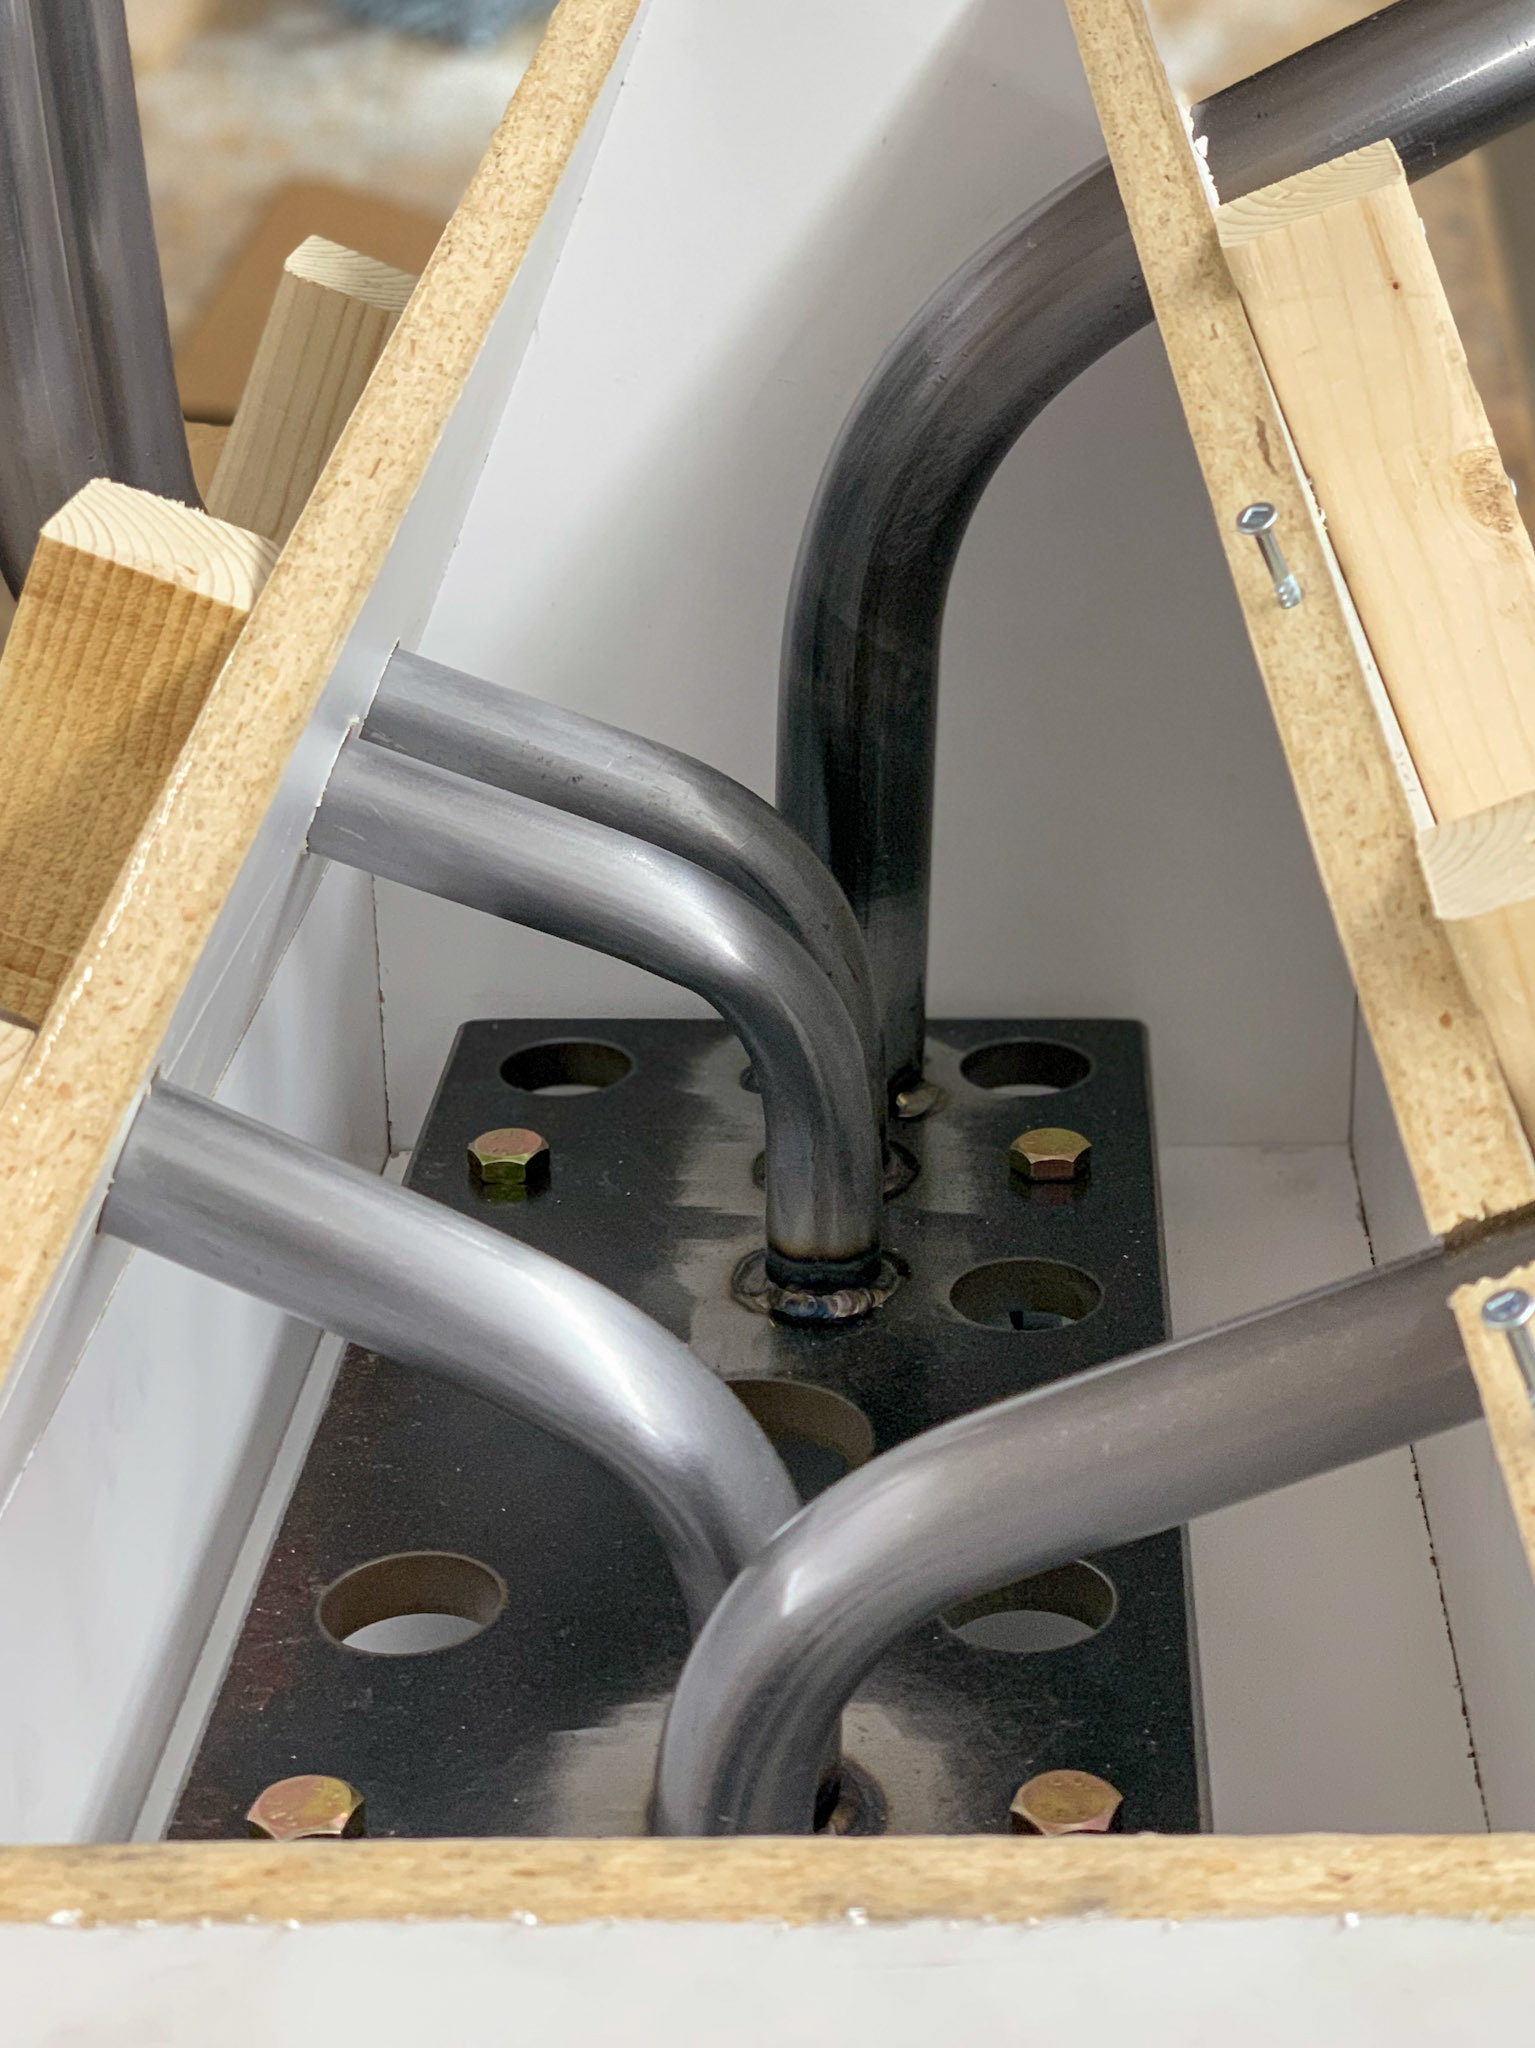
The steel frame was formed using tube bending. The steel base plate was water-jet cut and designed with large holes to allow the concrete to completely surround the plate reducing the risk of cracking. The tubes were welded to the base plate to maintain proper tubing alignment. All the exposed tubing was hand polished and clear coated for aesthetics and oxidization protection.
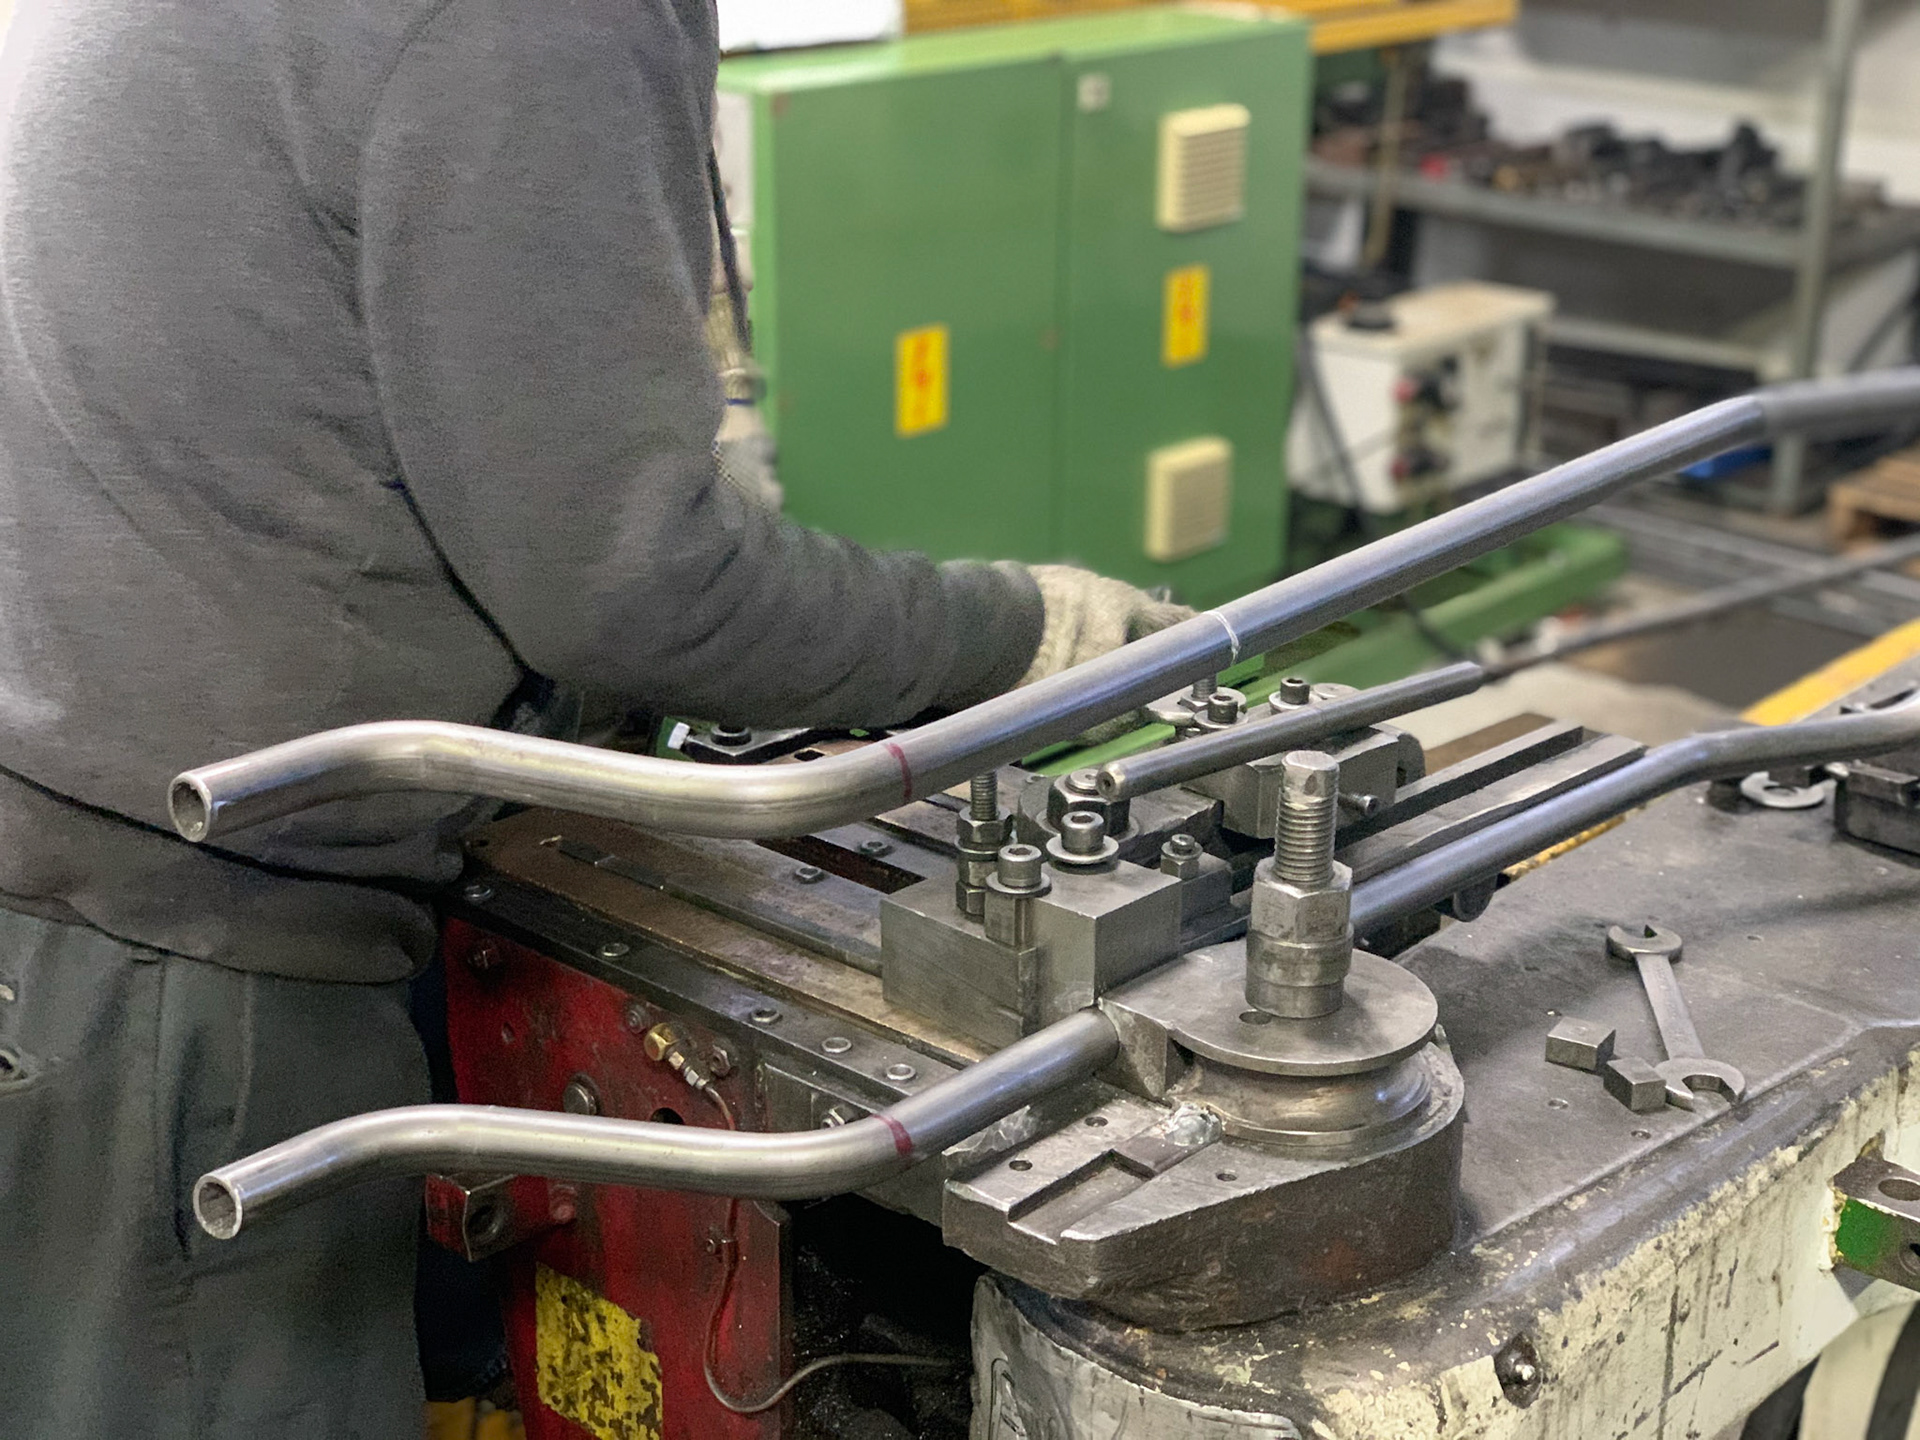
Tube bending

Trimming the formed tubes
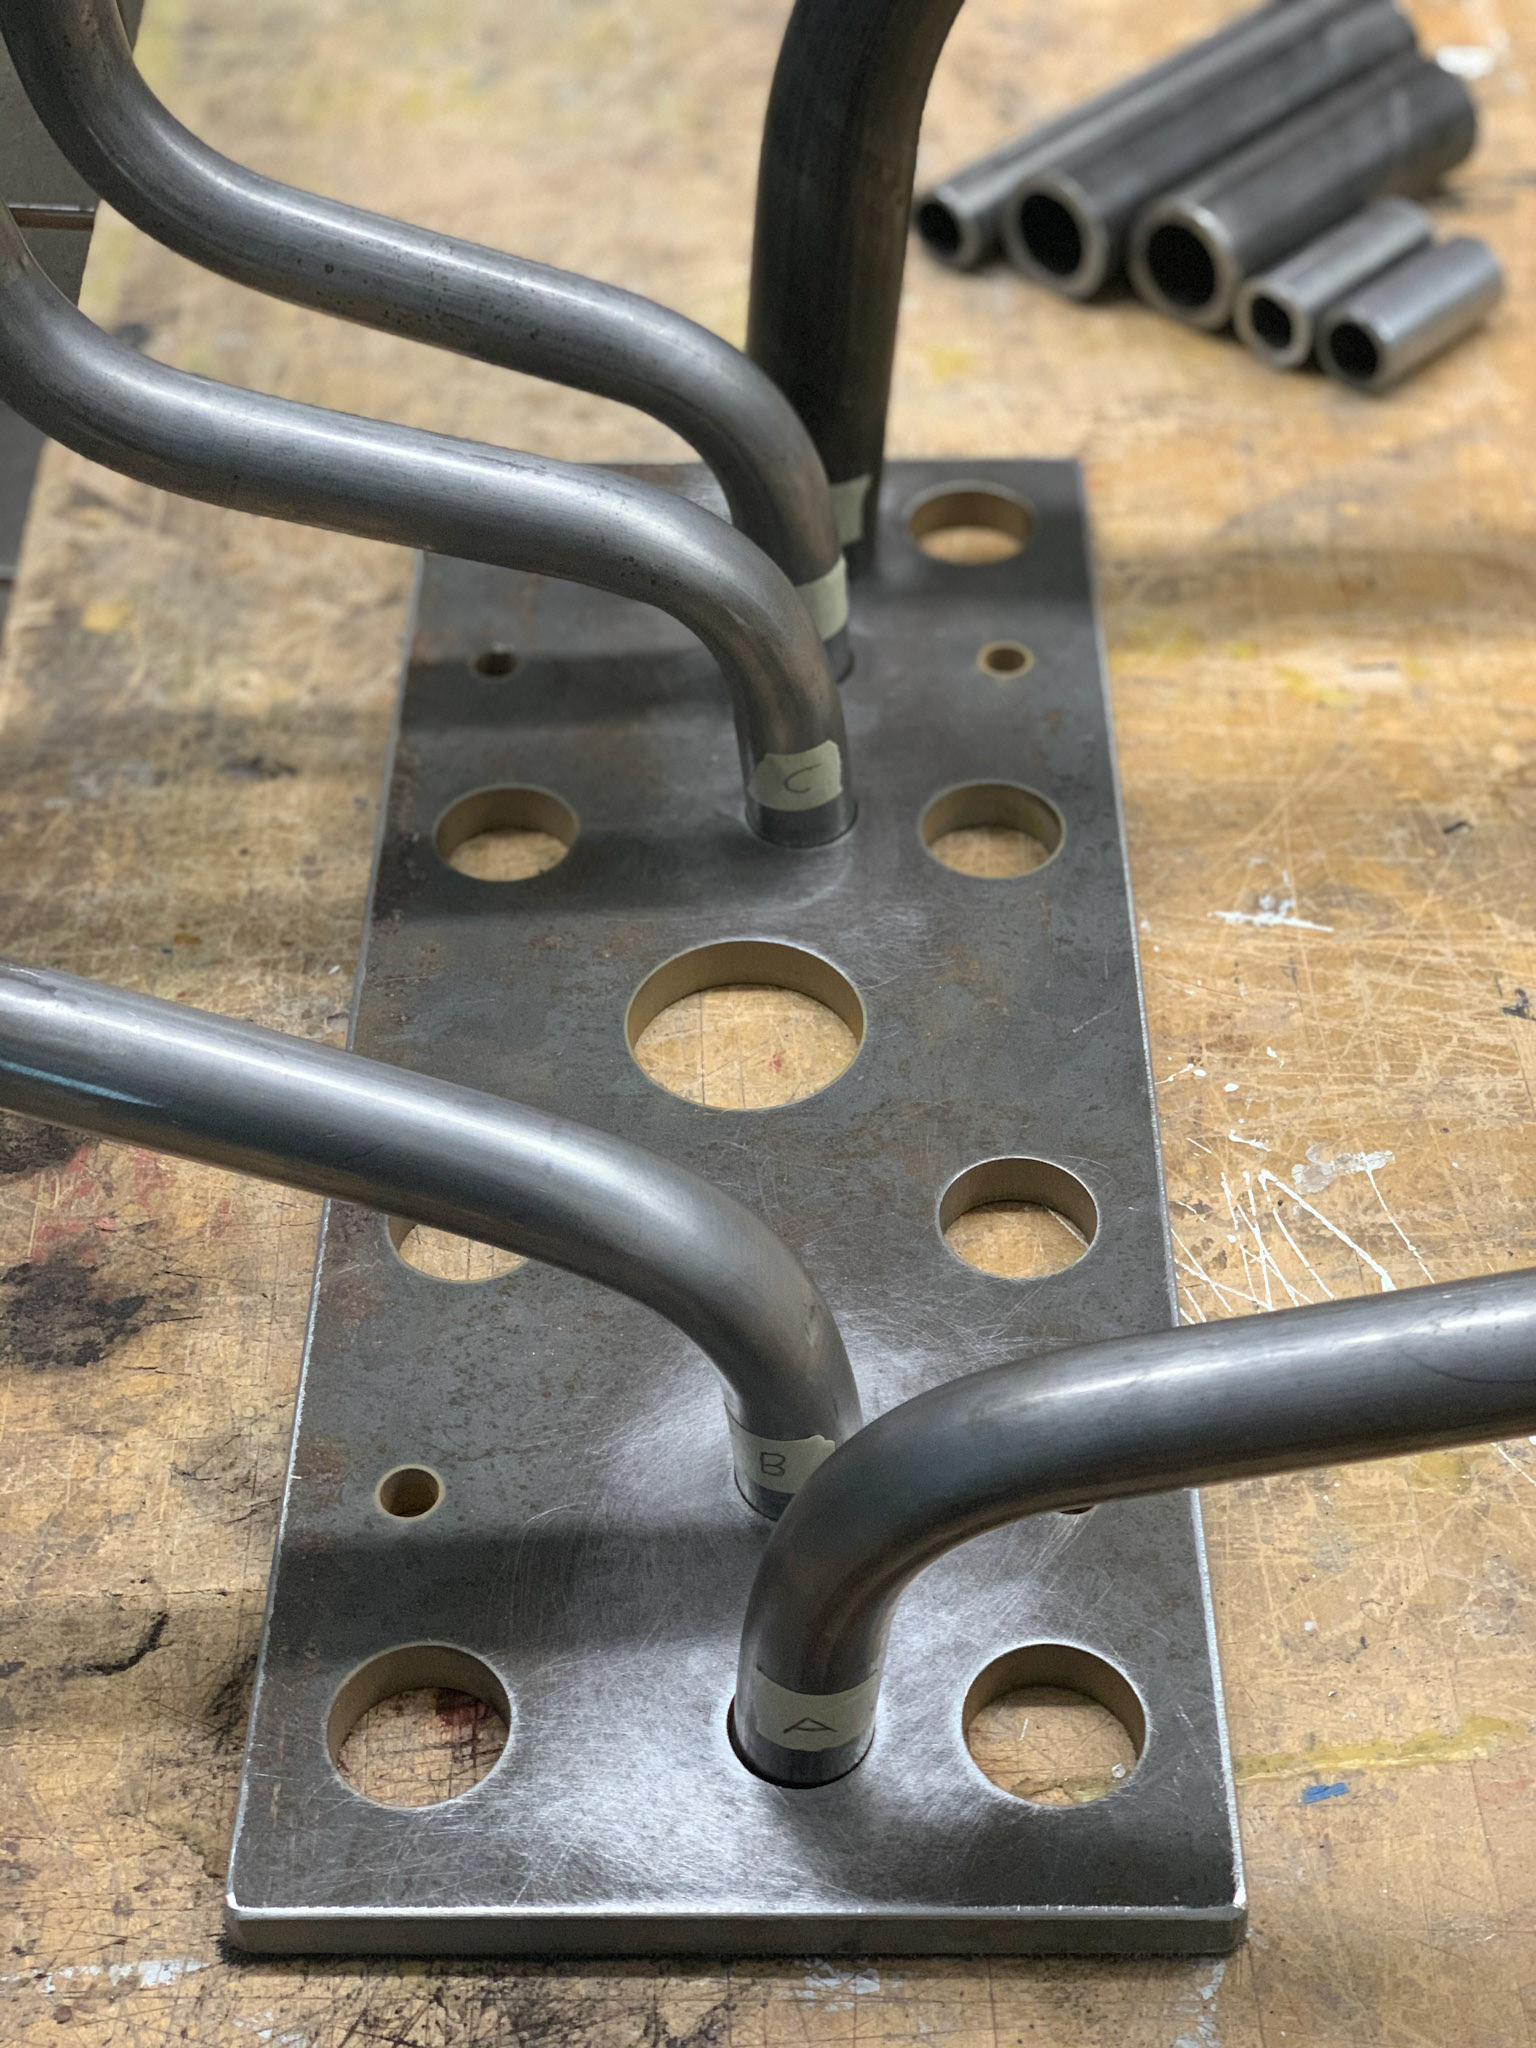
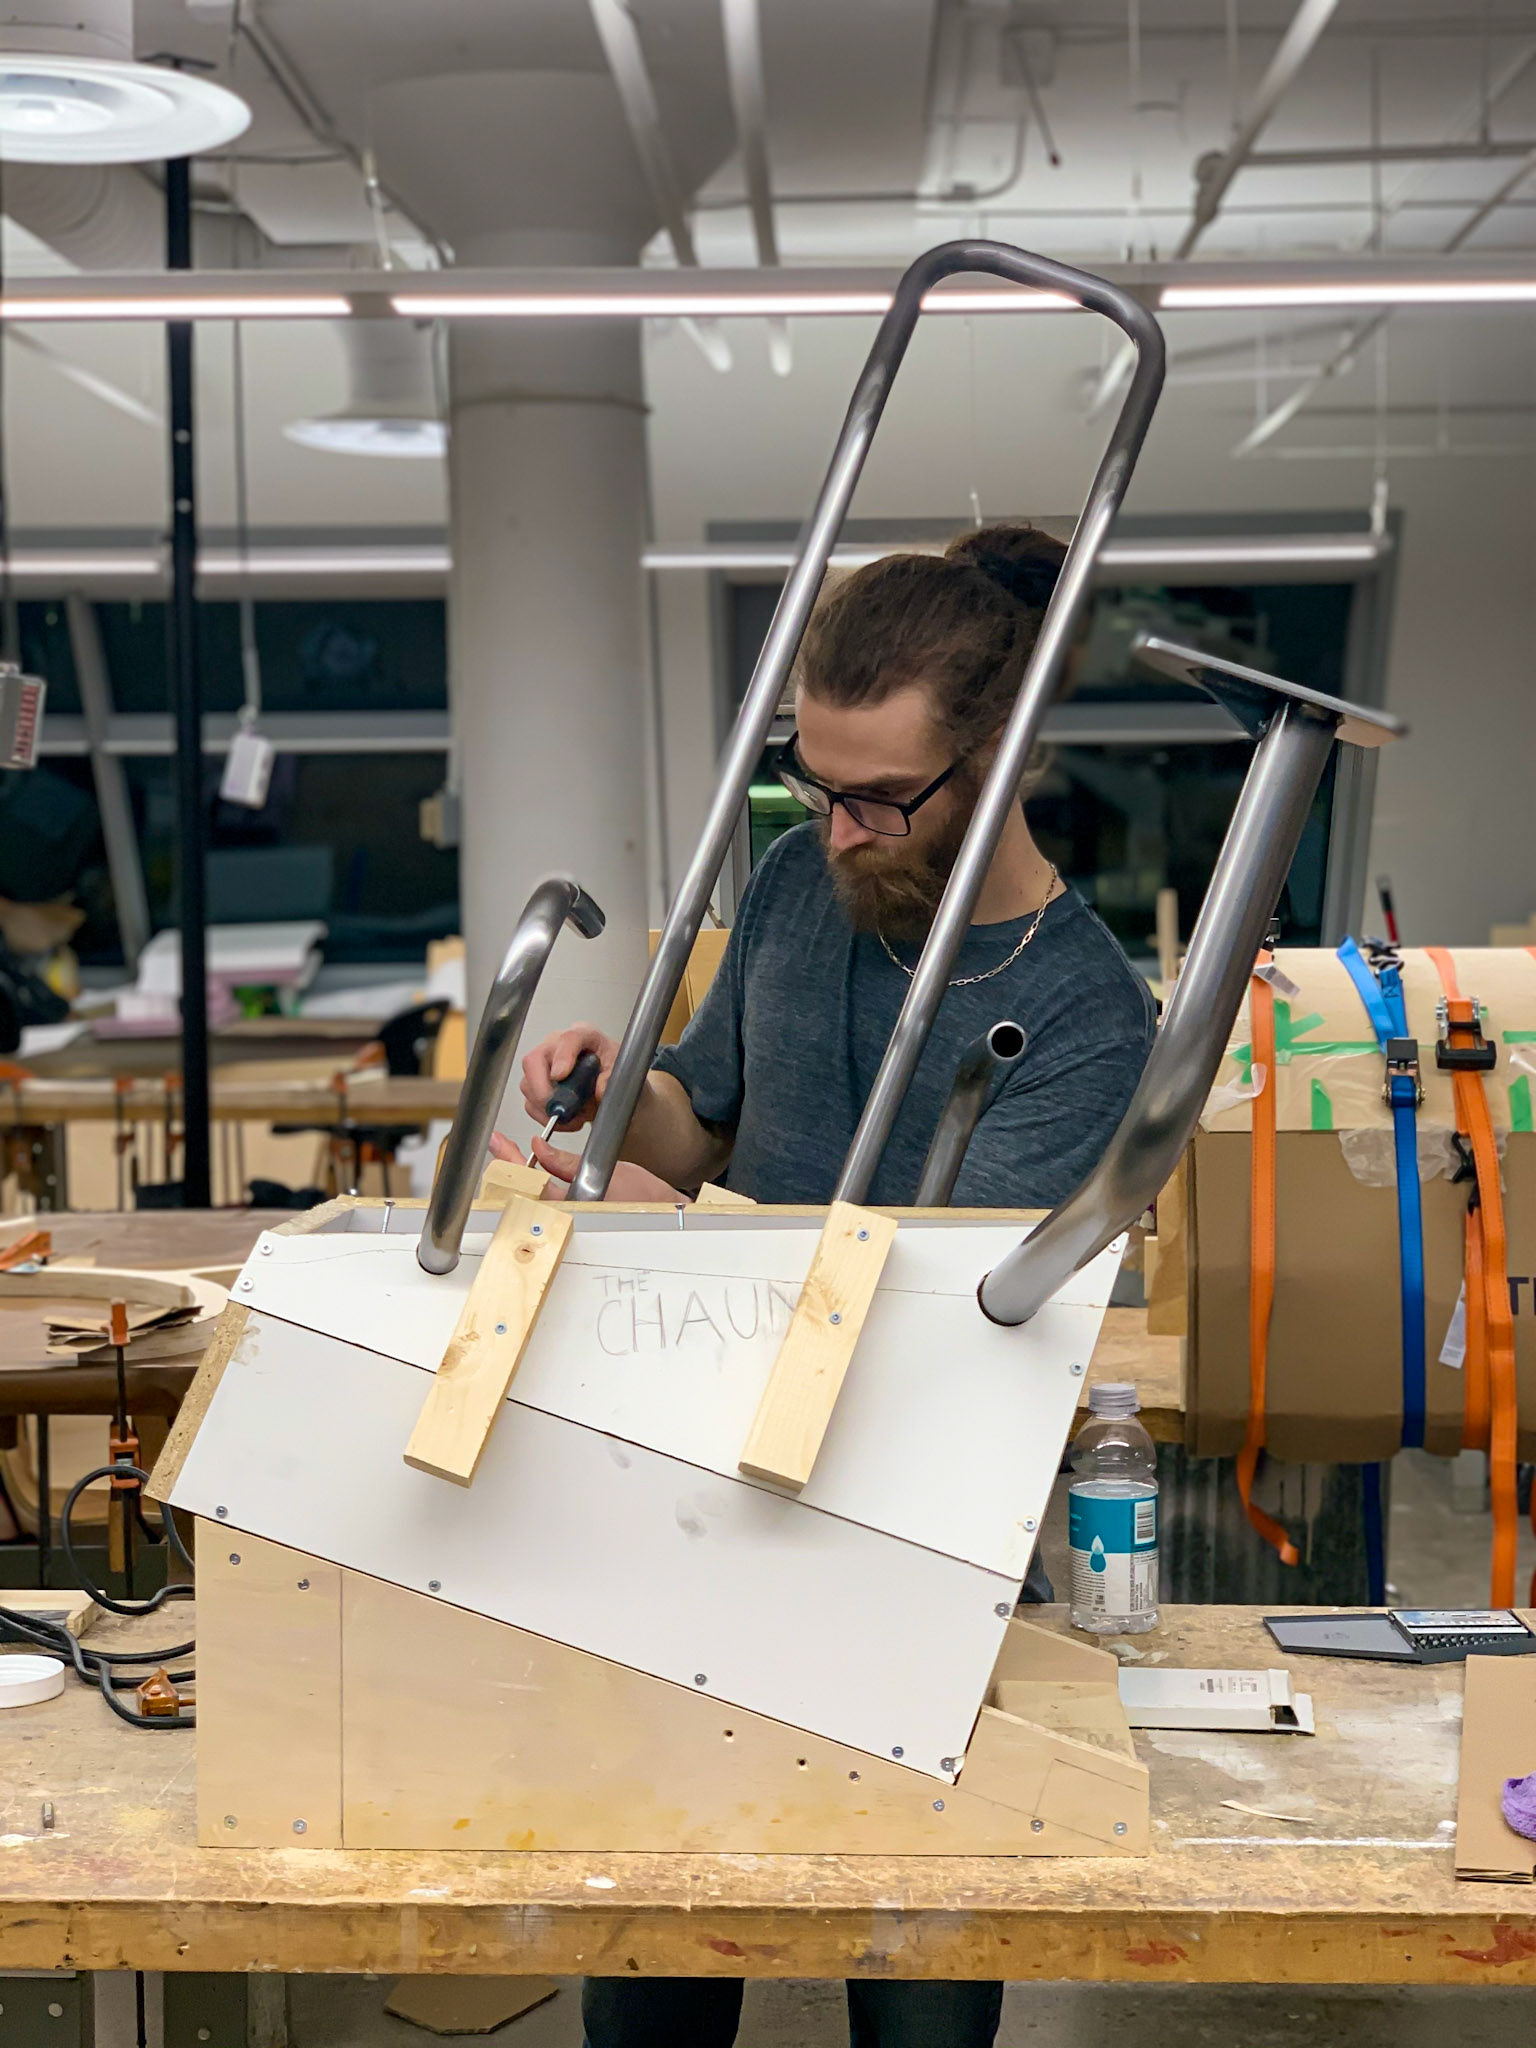
Dry fitting

Professionally welded
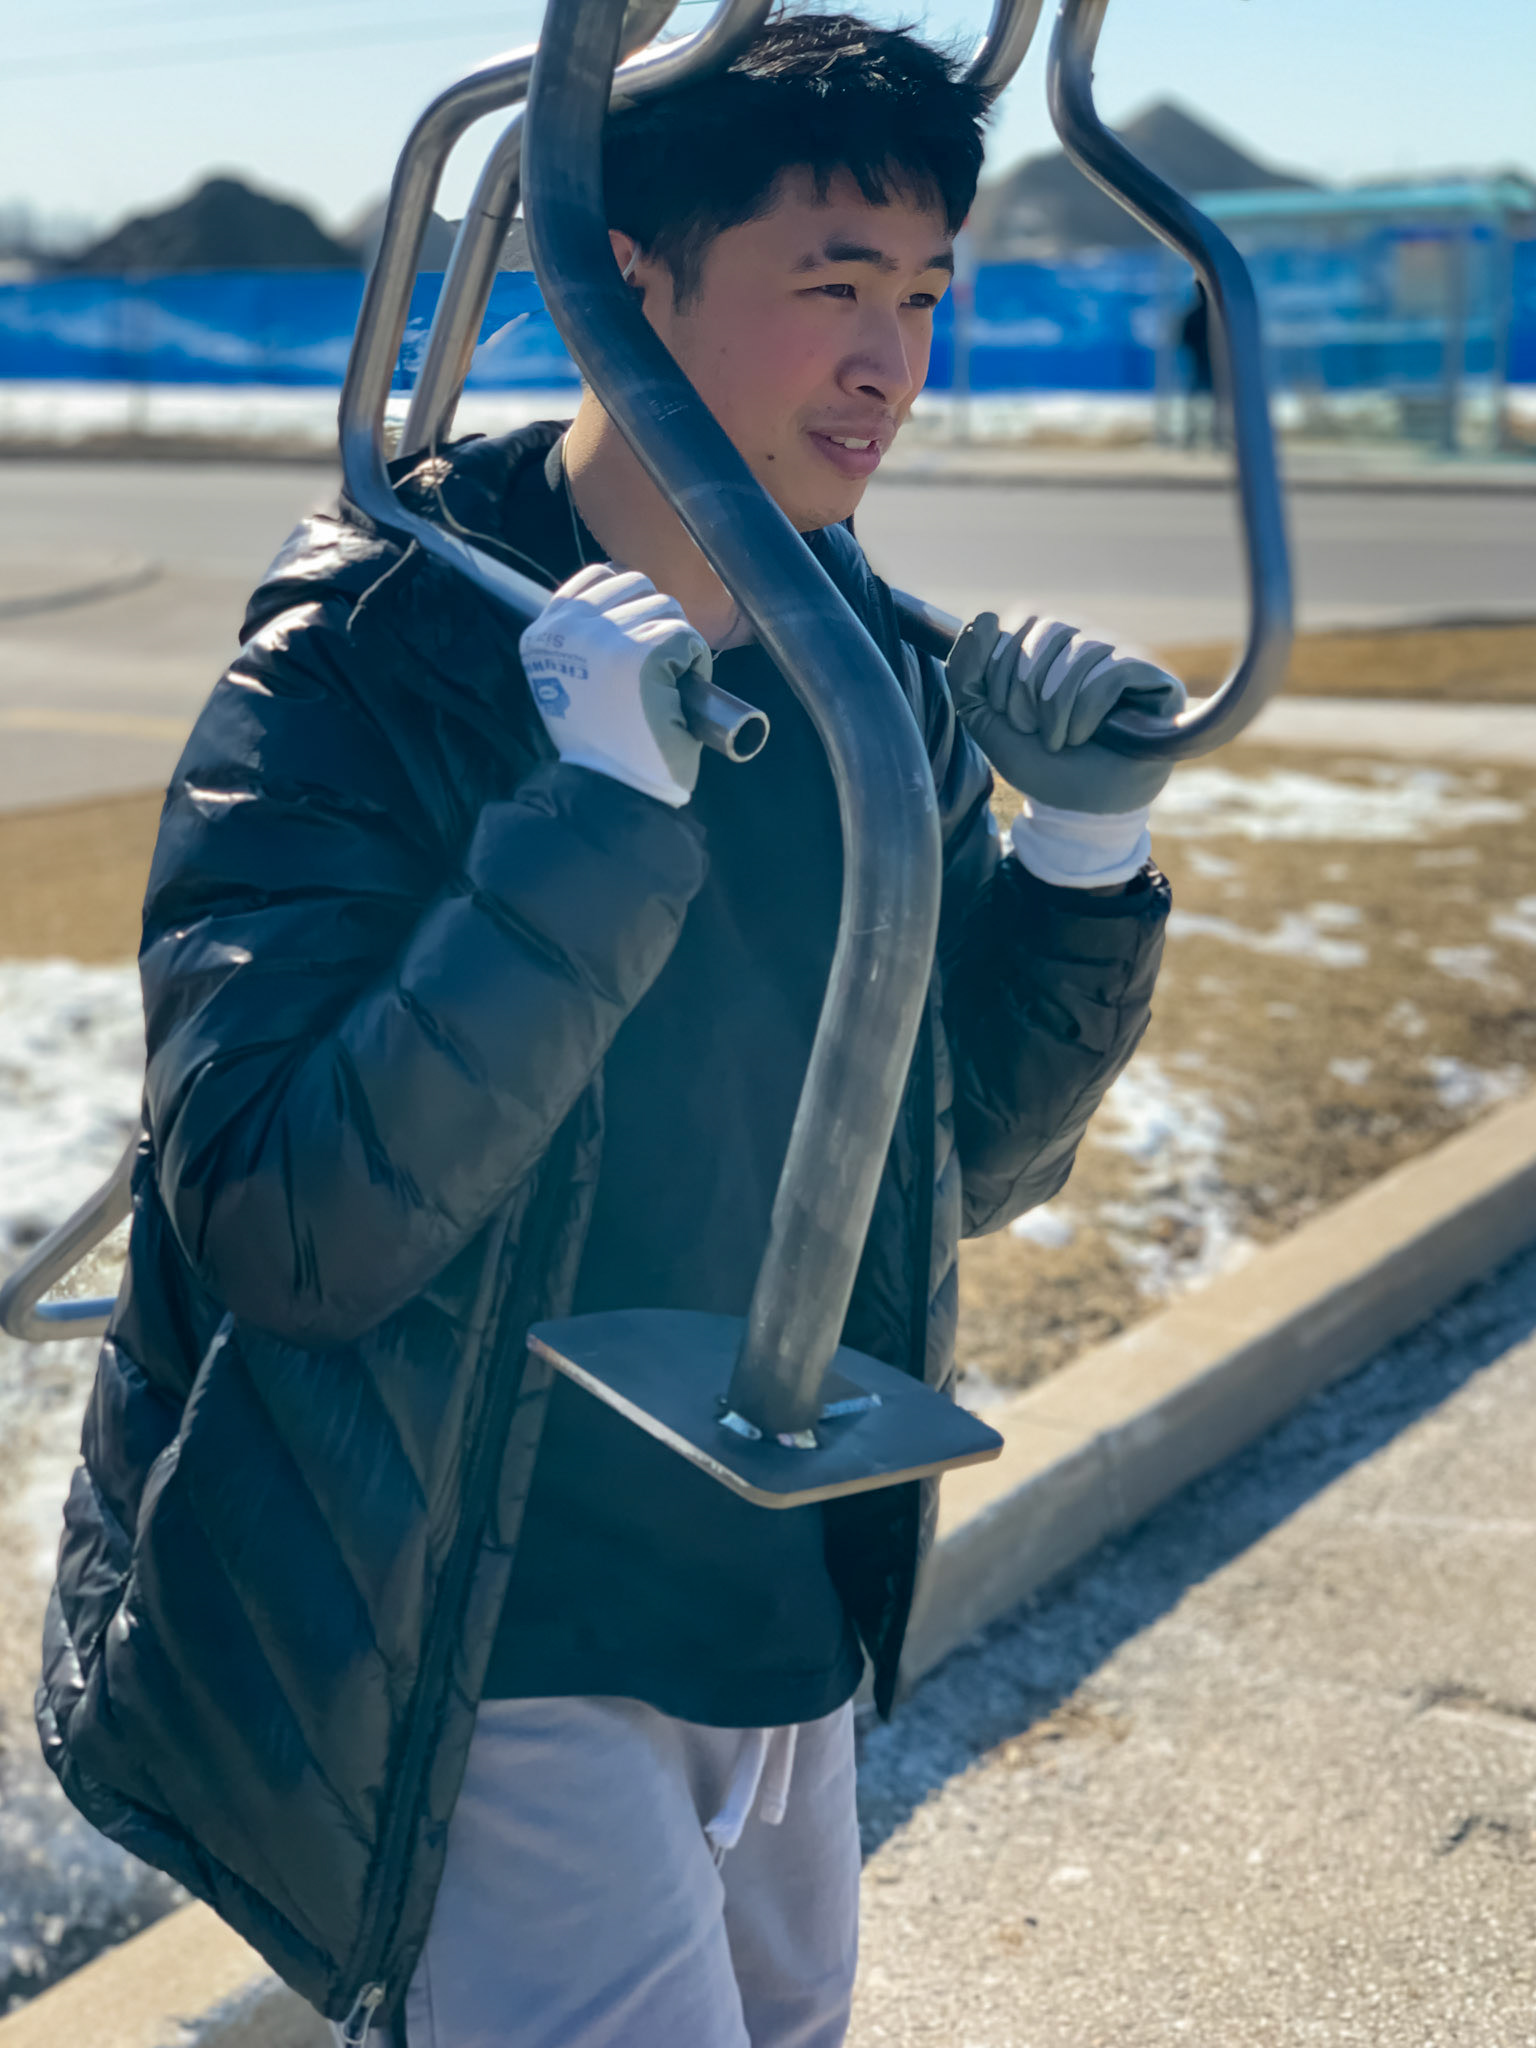
Travelling back from welding
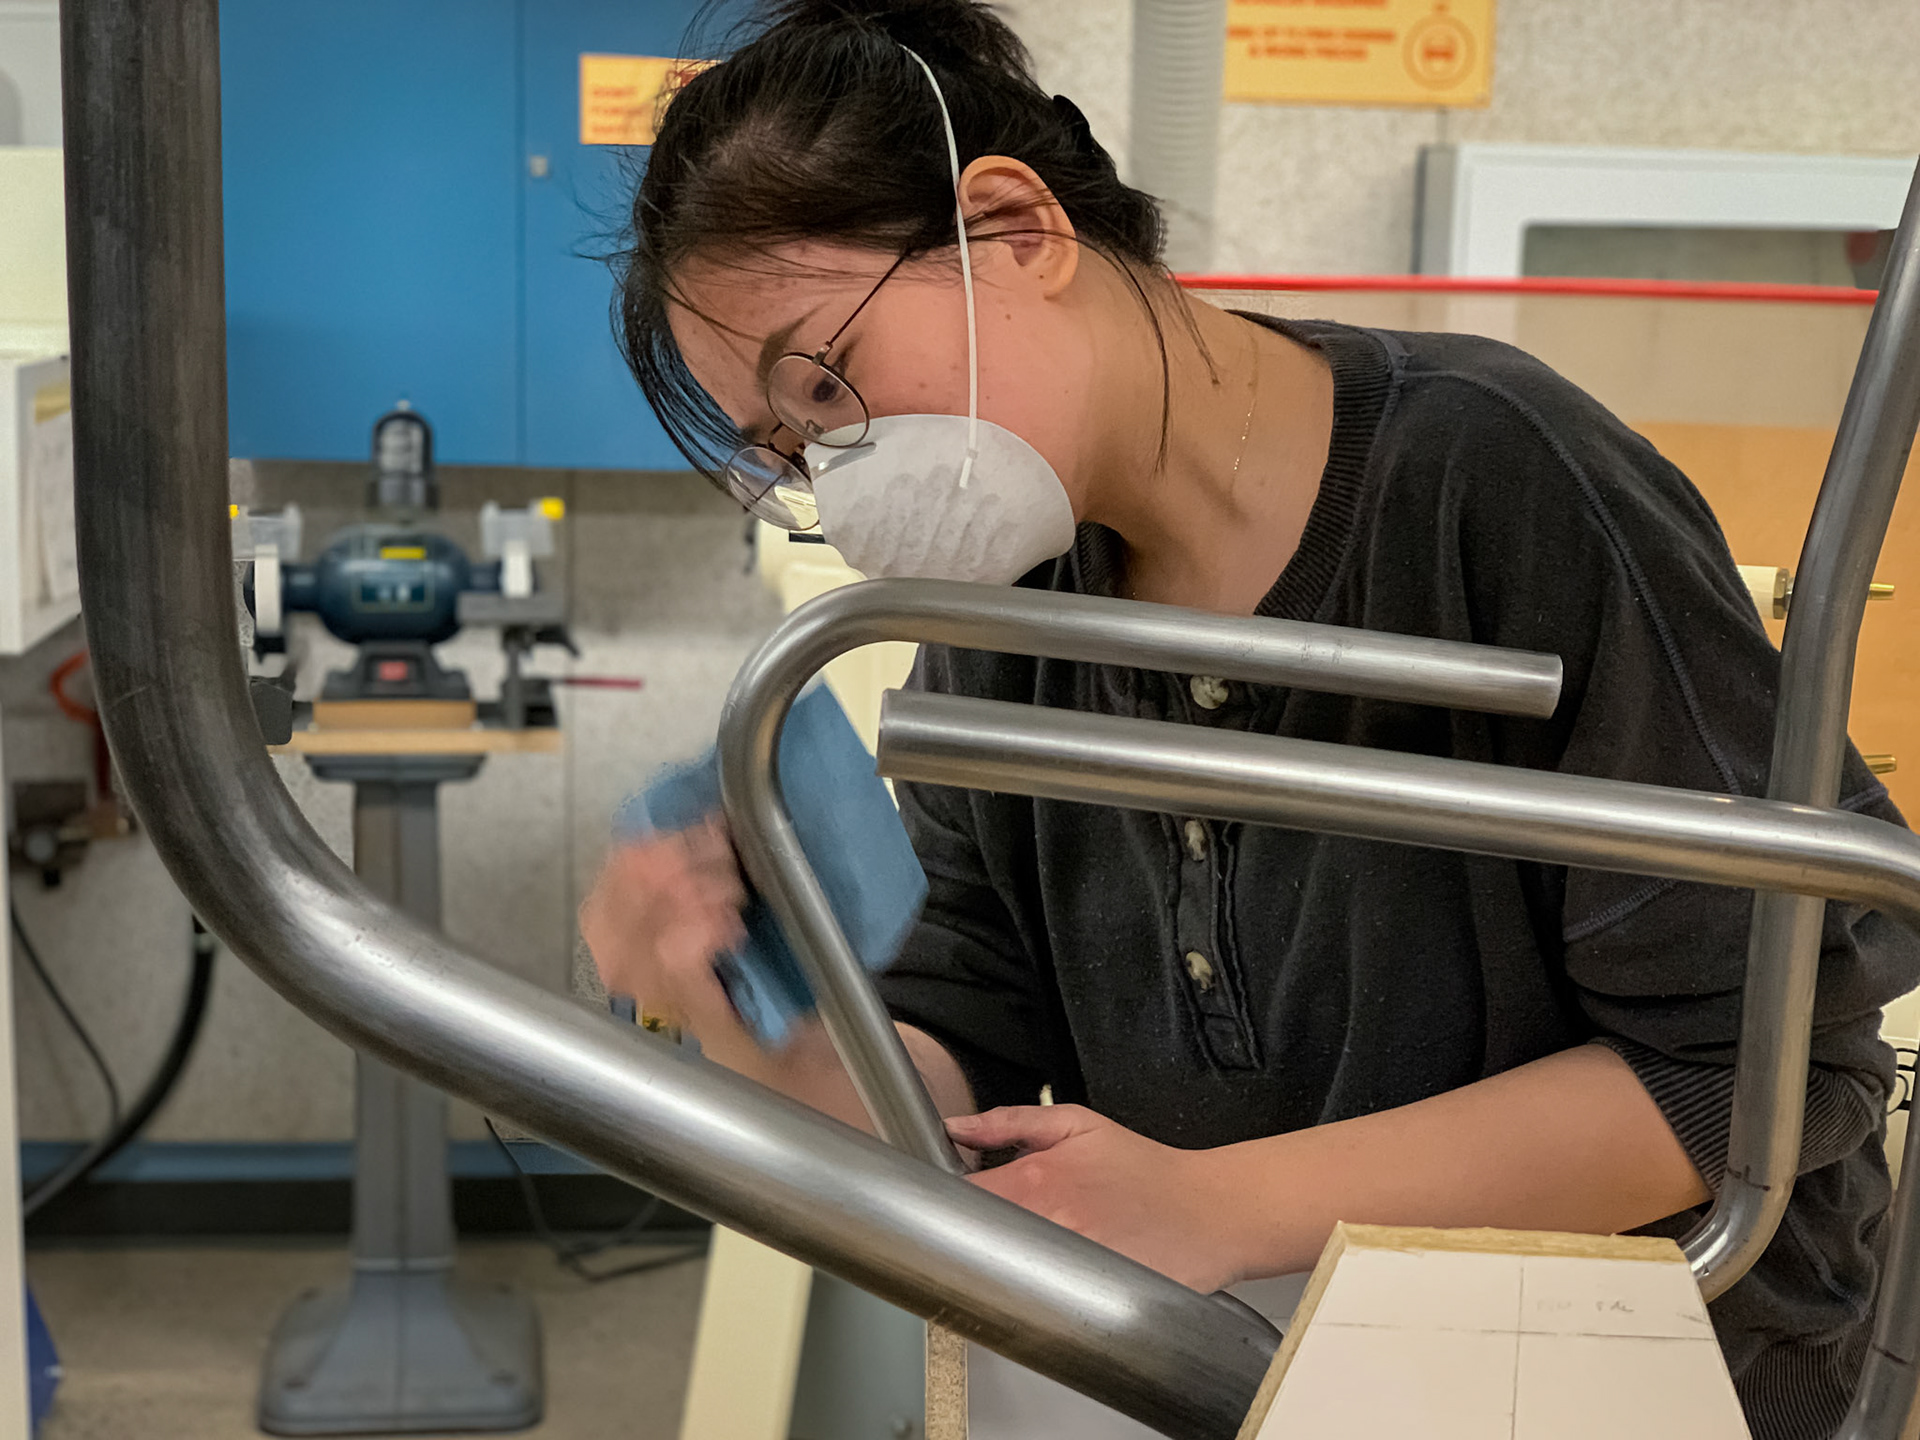
Hand polishing the steel tubing

Hand polished to a semi gloss finish

Drilling the seat mounting holes
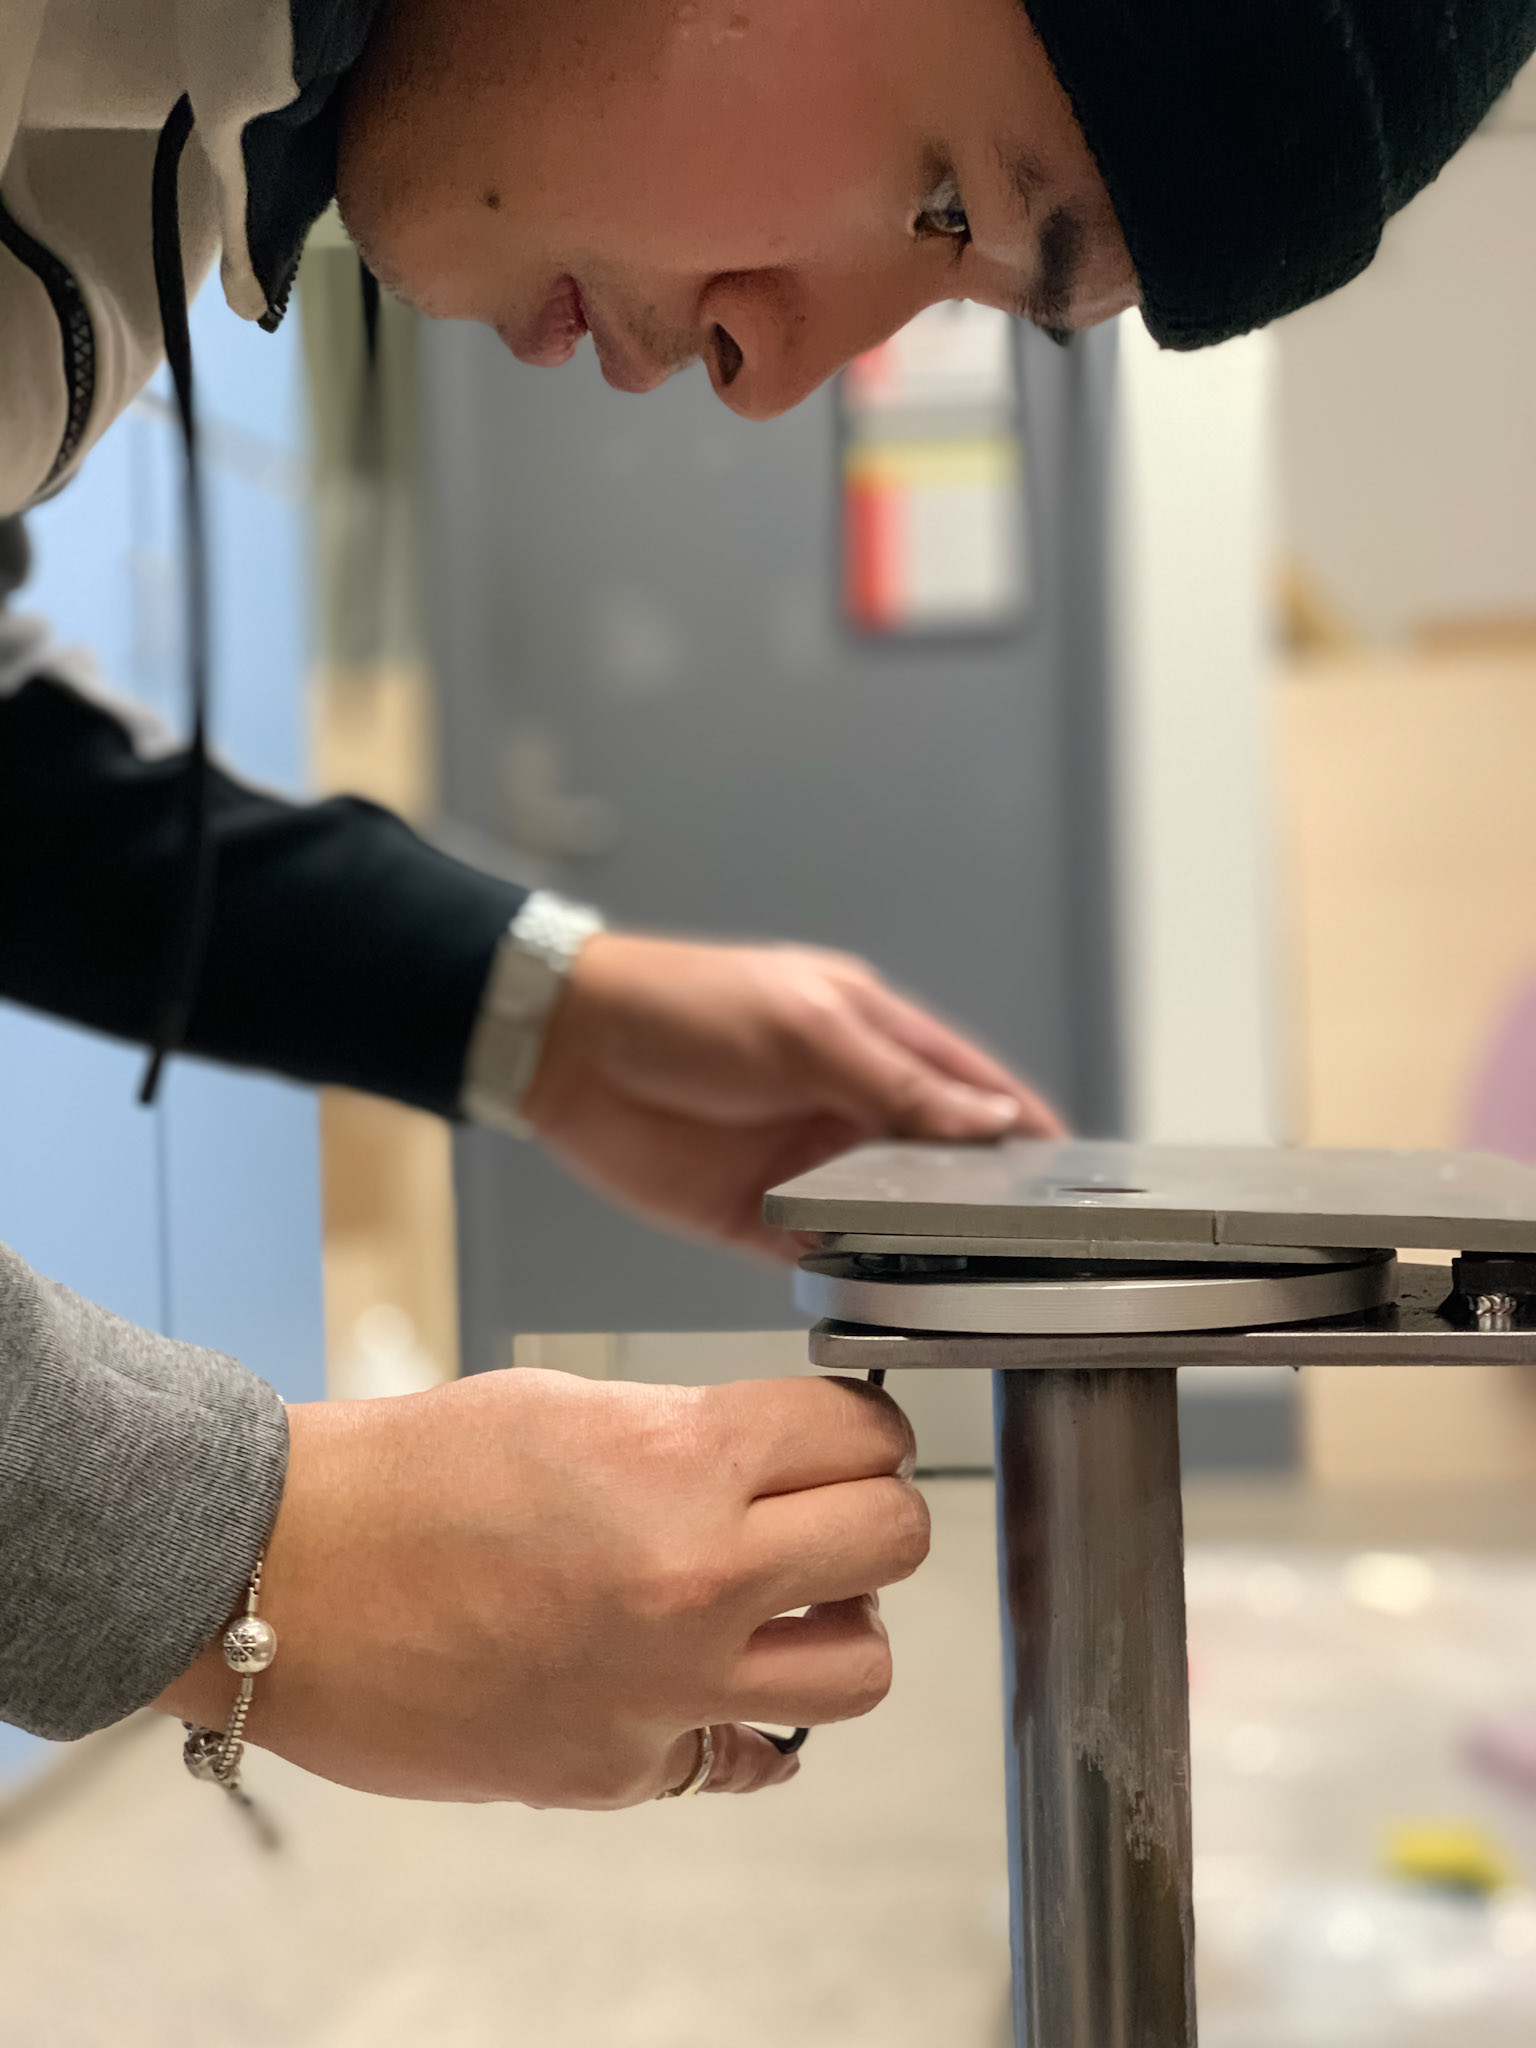
Fitting the machined screws into threaded holes in the steel plate
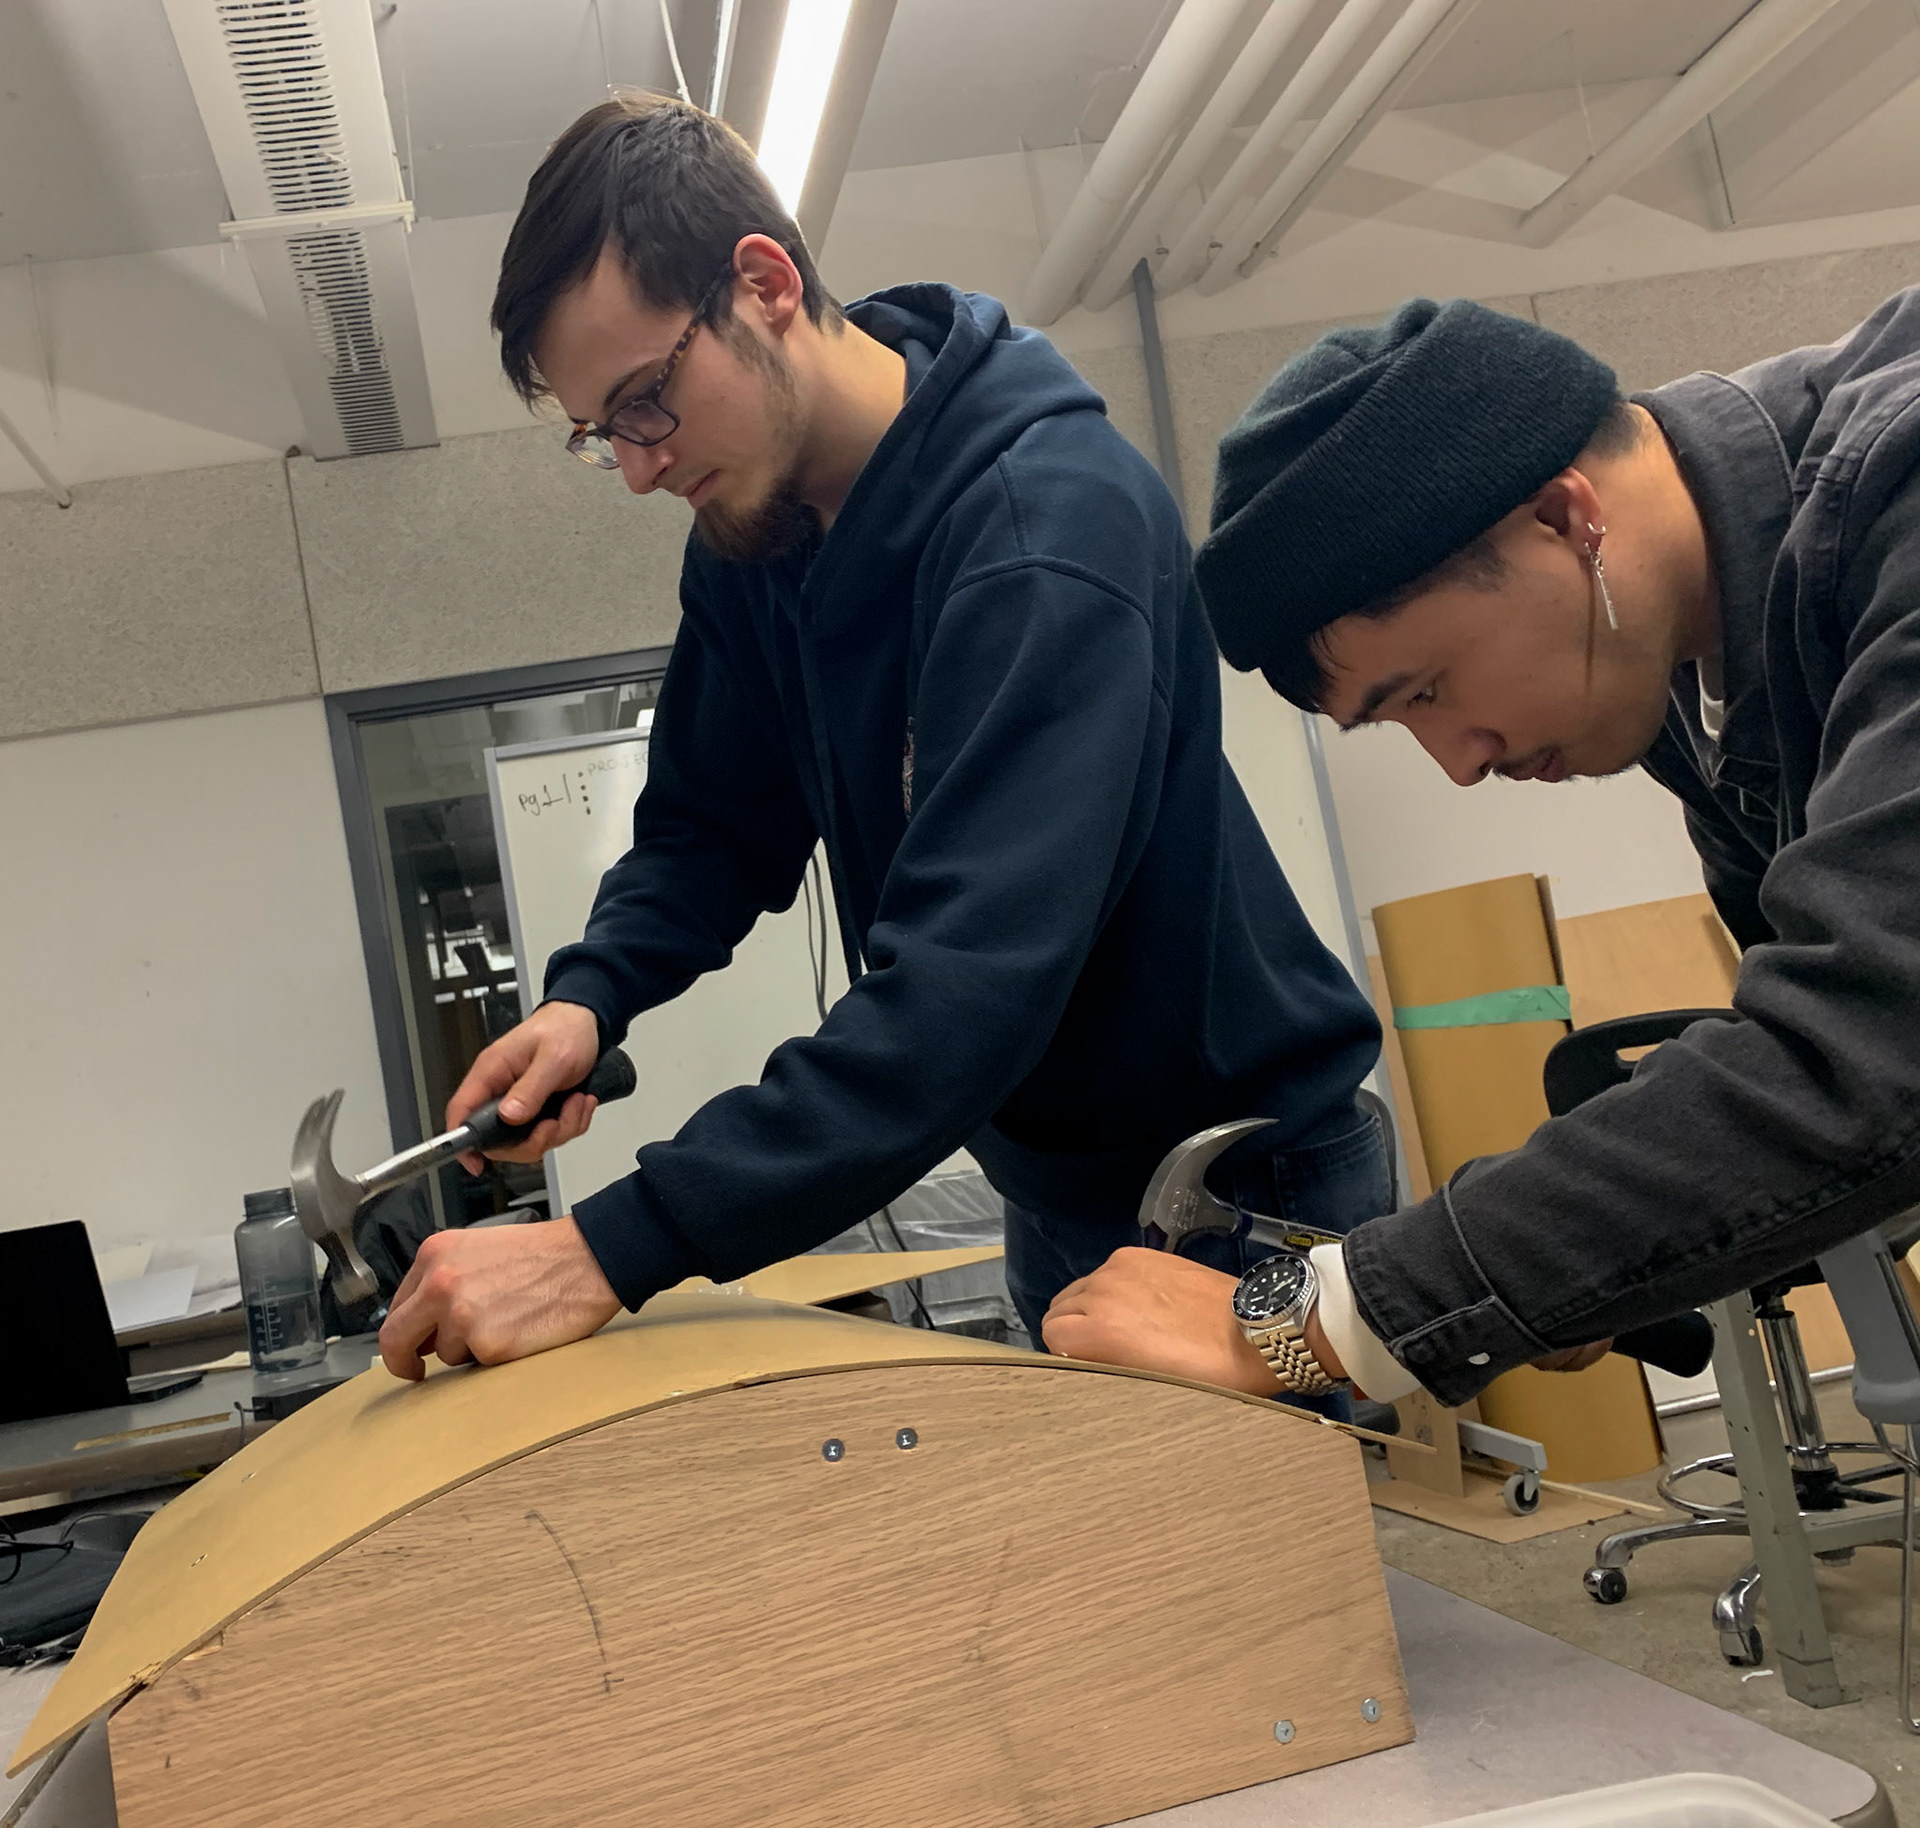
The seat and back were both made from Baltic birch plywood. The seat back was bend to cradle the user's body. A wooden mold was built and the individual plies were glued, stacked and compressed with ratchet straps on top of the mold. Stain was applied to the plywood to darken the appearance. A custom-made cushion was then affixed to the plywood seat and seat back. The heather grey upholstery fabric compliments the industrial design language.
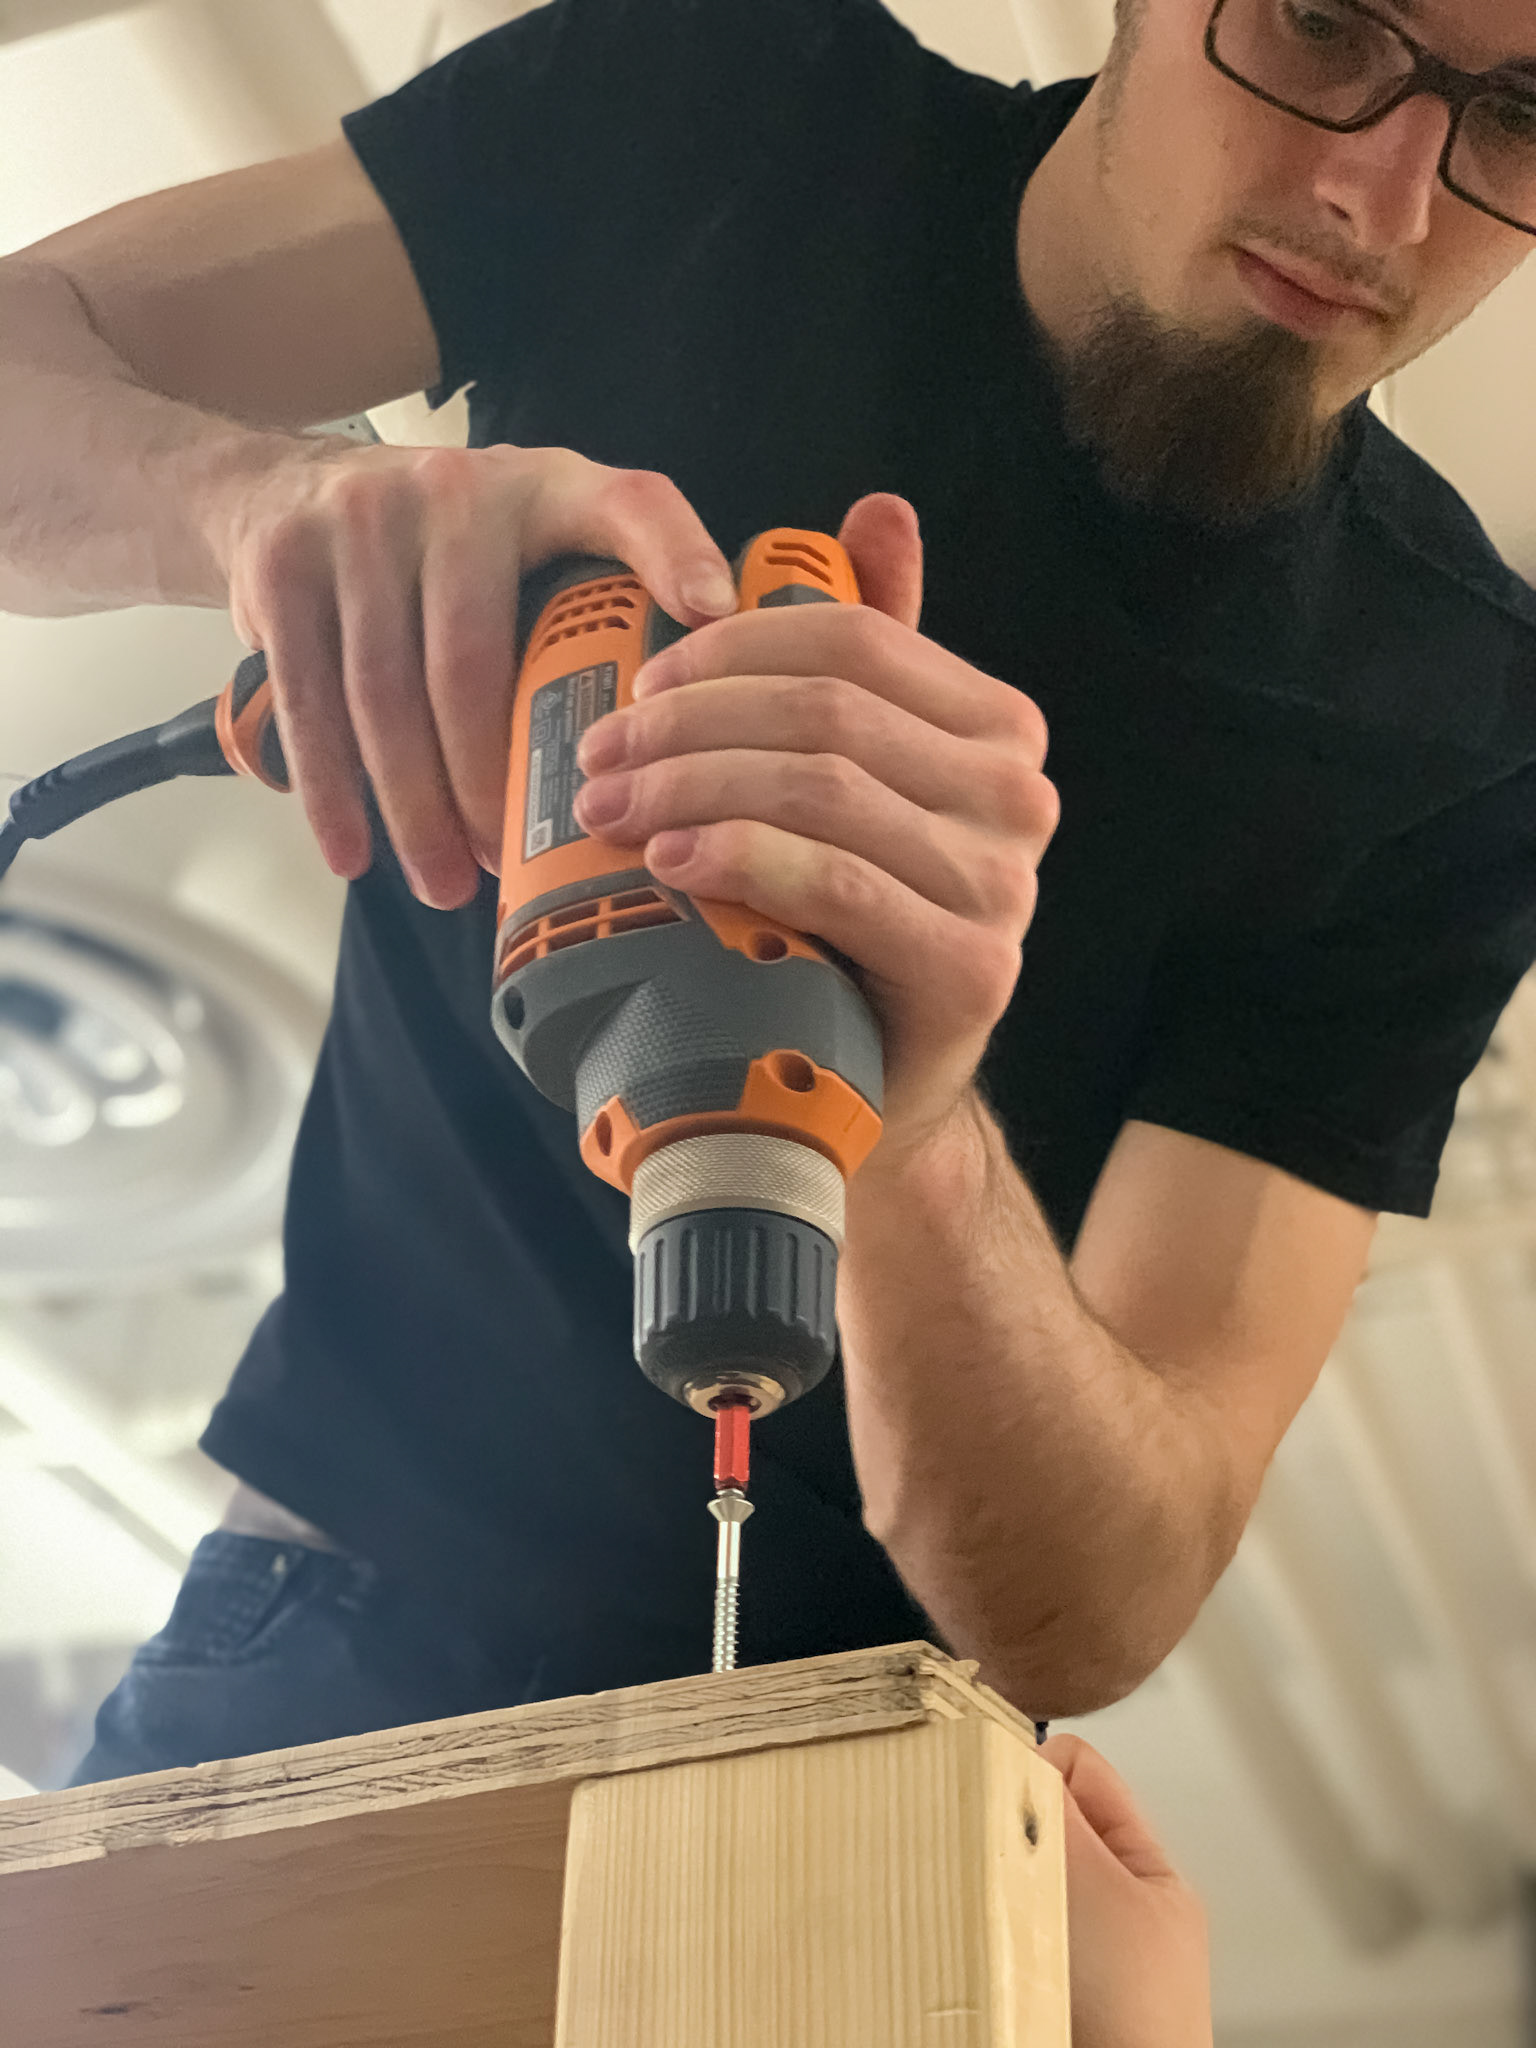
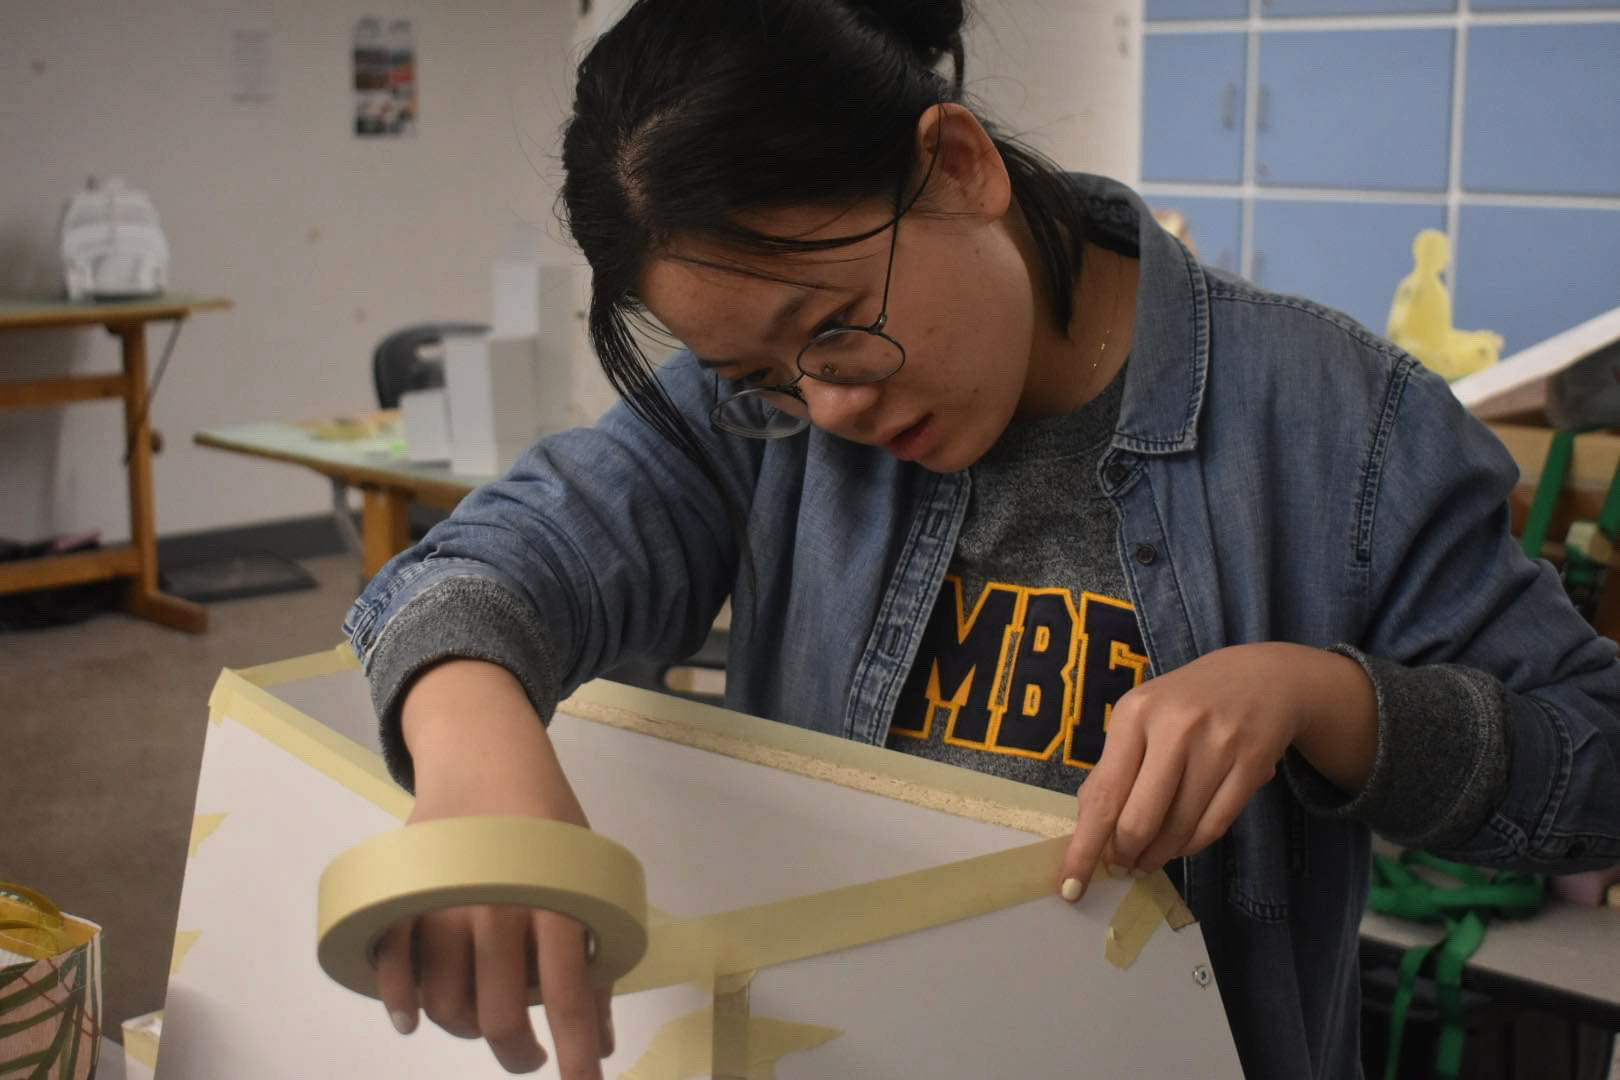
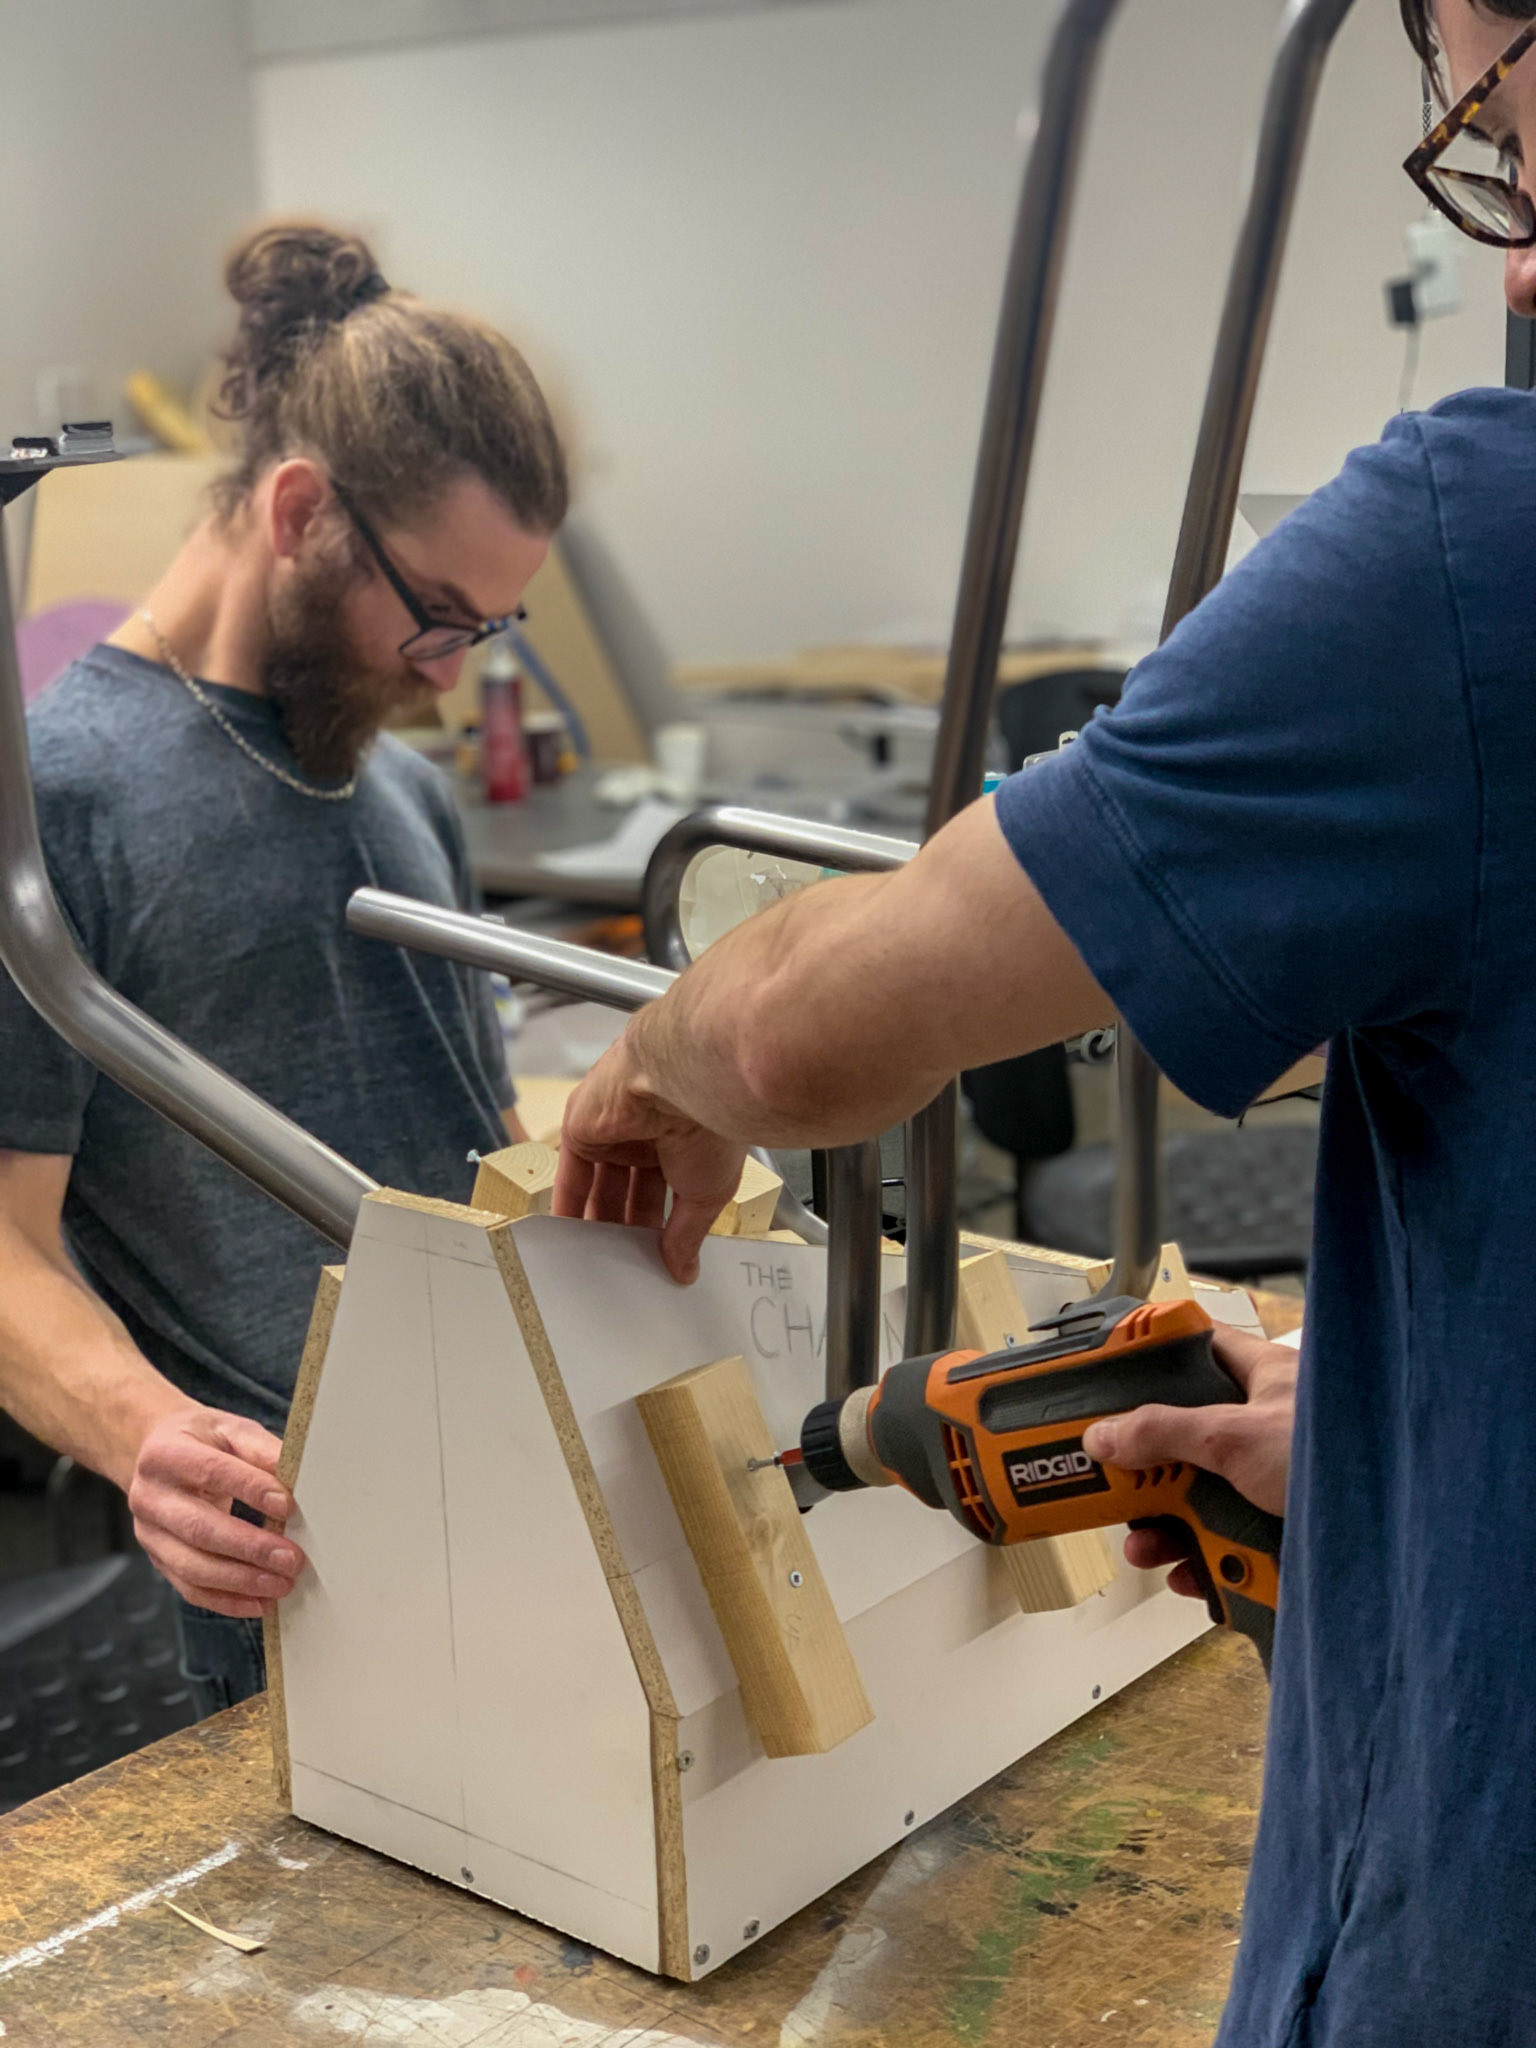
Building the mold frame
Building the mold
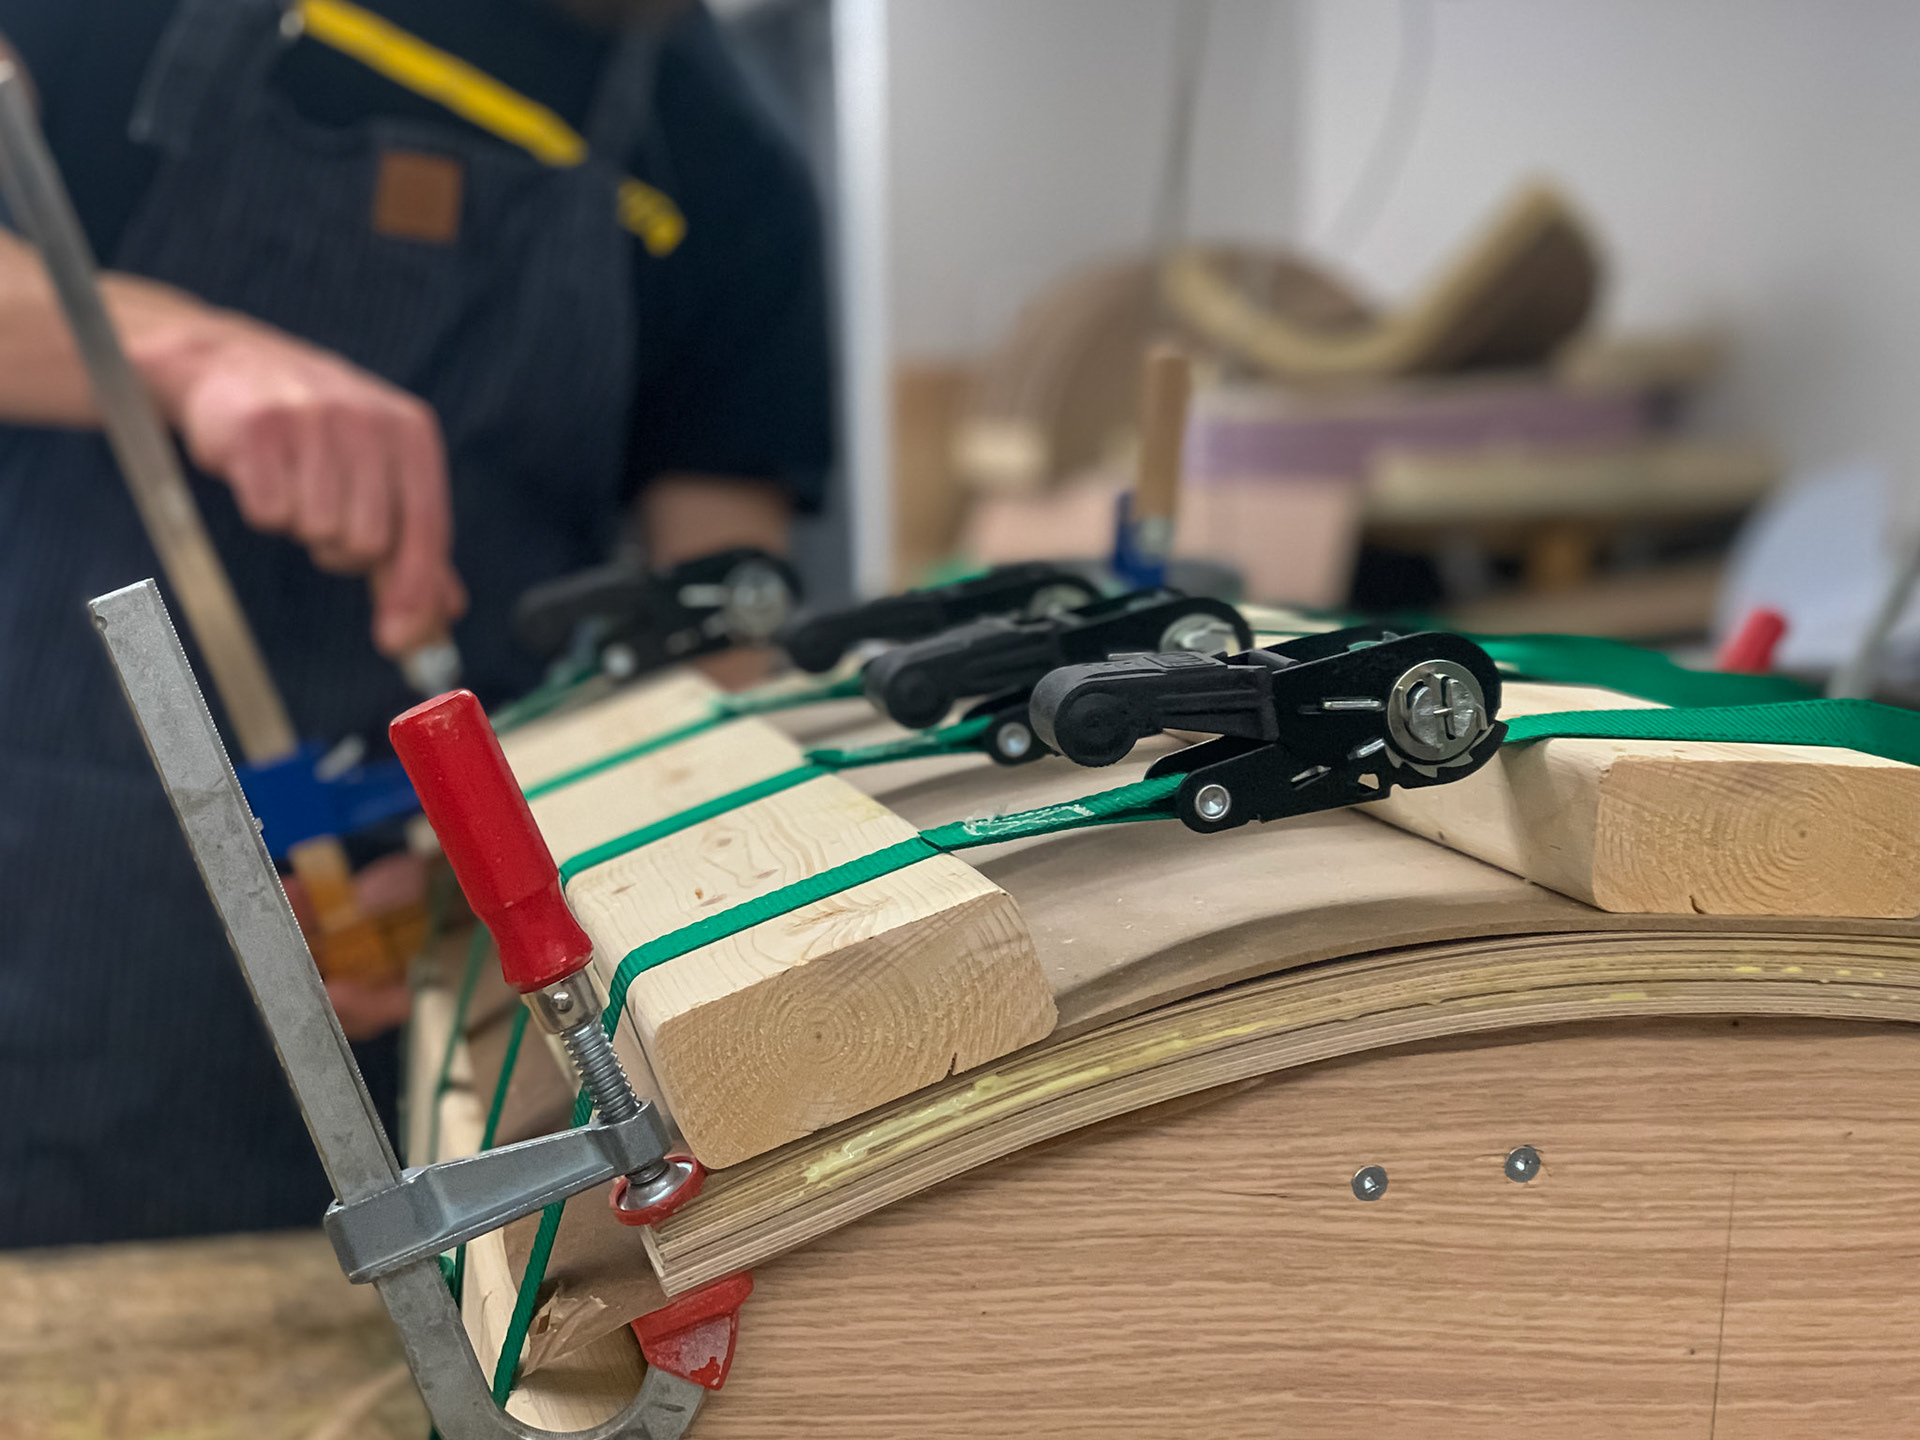
Compressing the mold
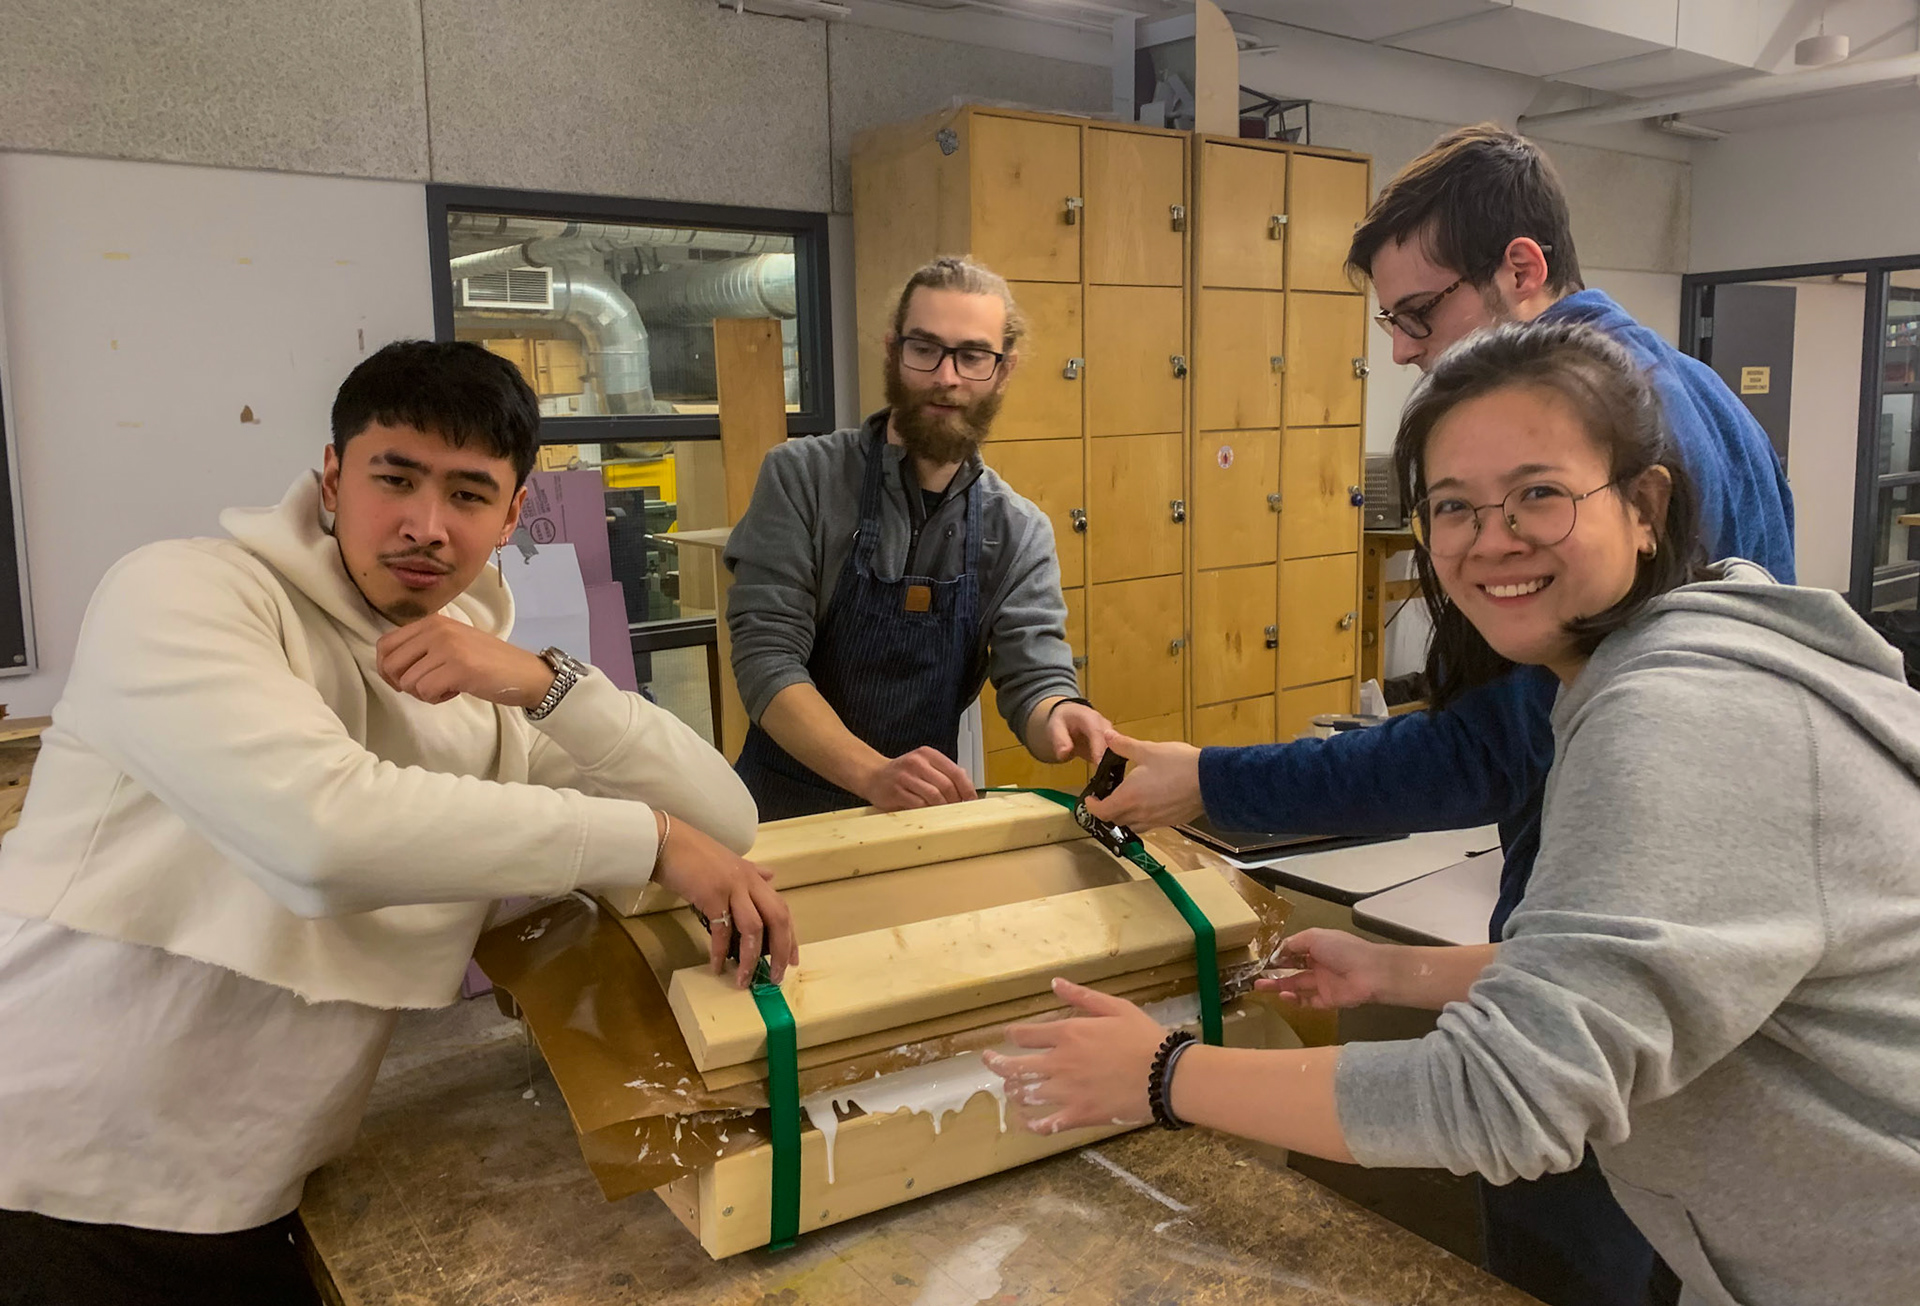
The team!
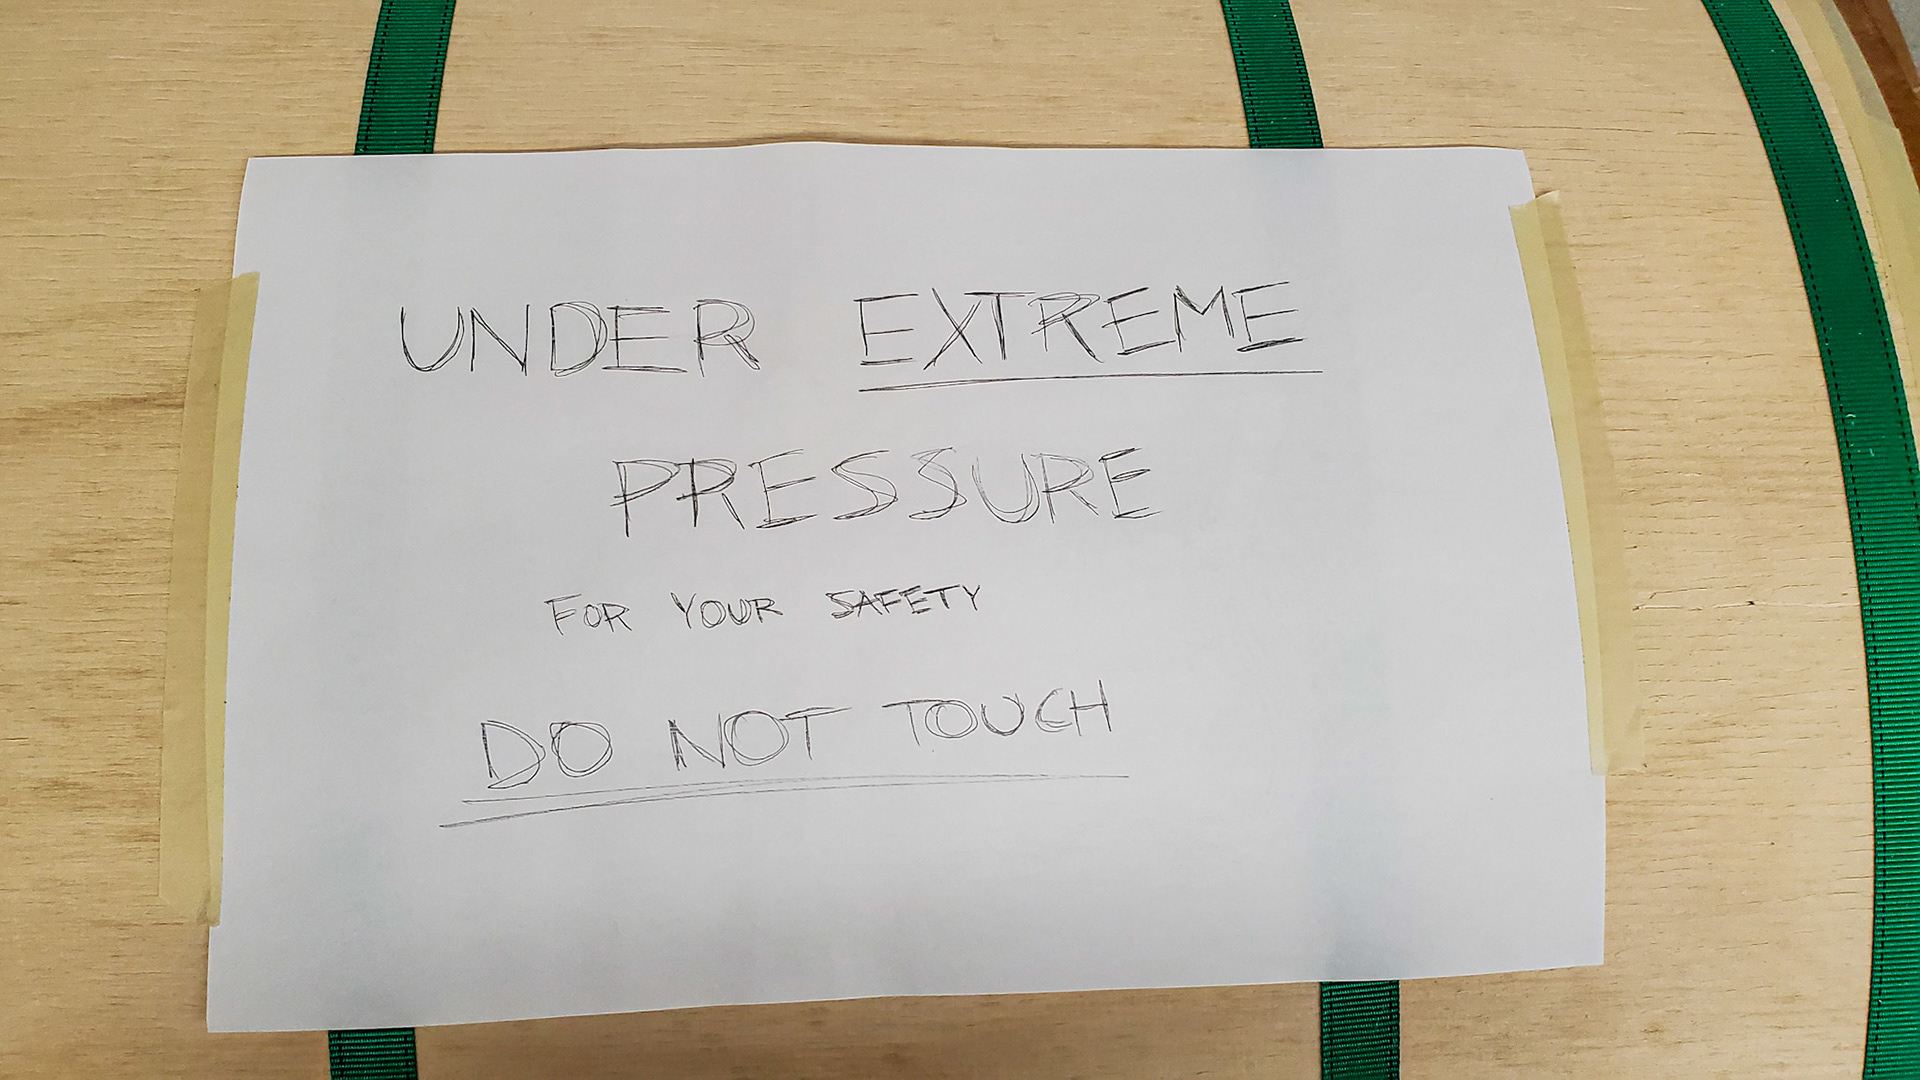
A warning about molds and design students
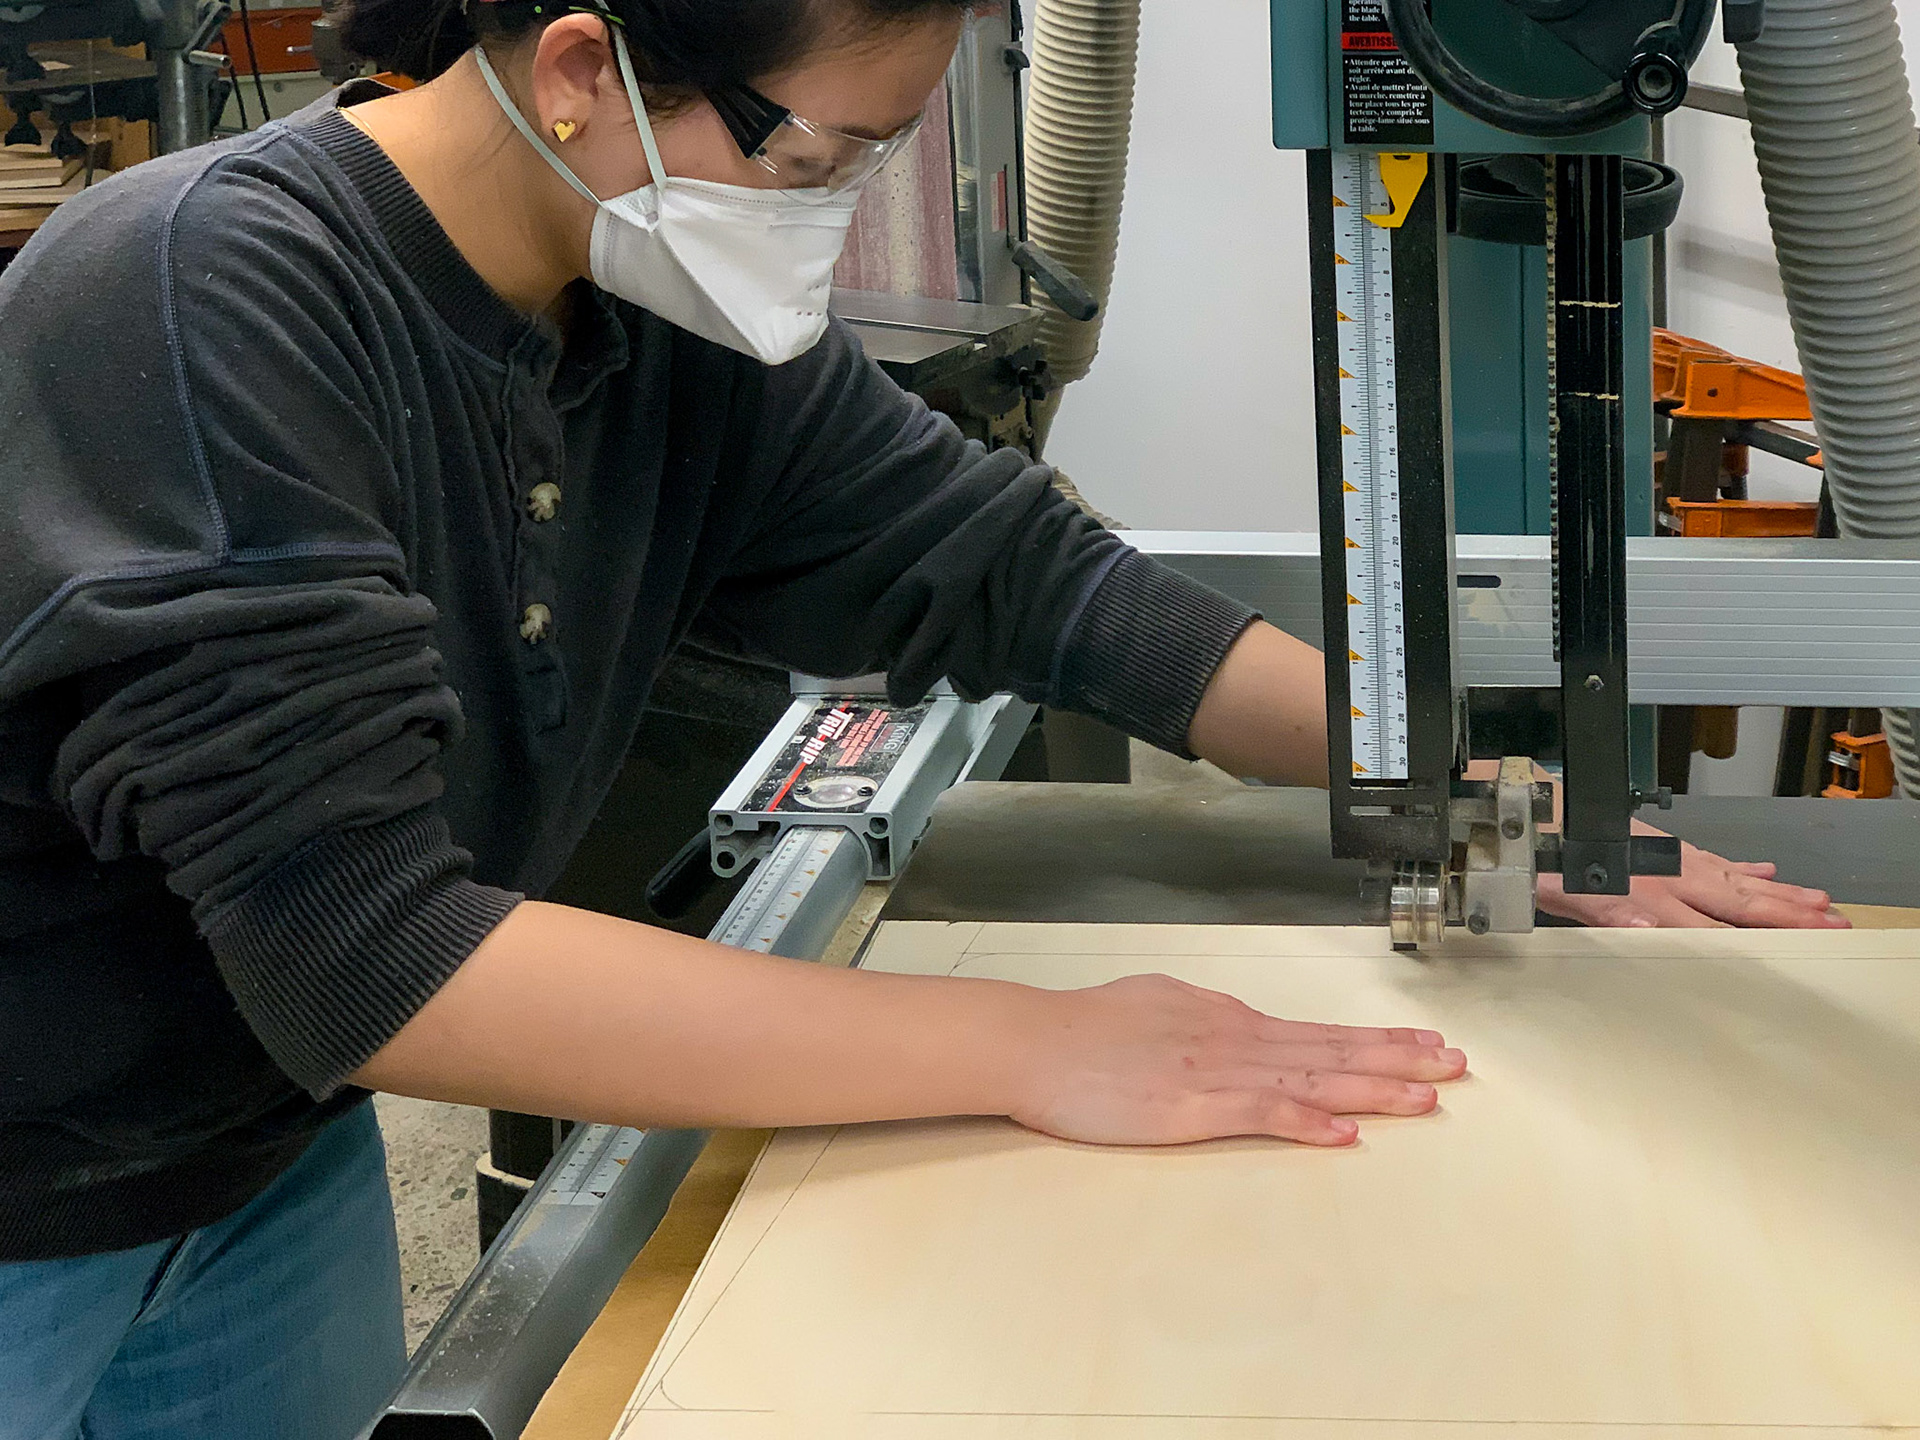
Cutting out the seat
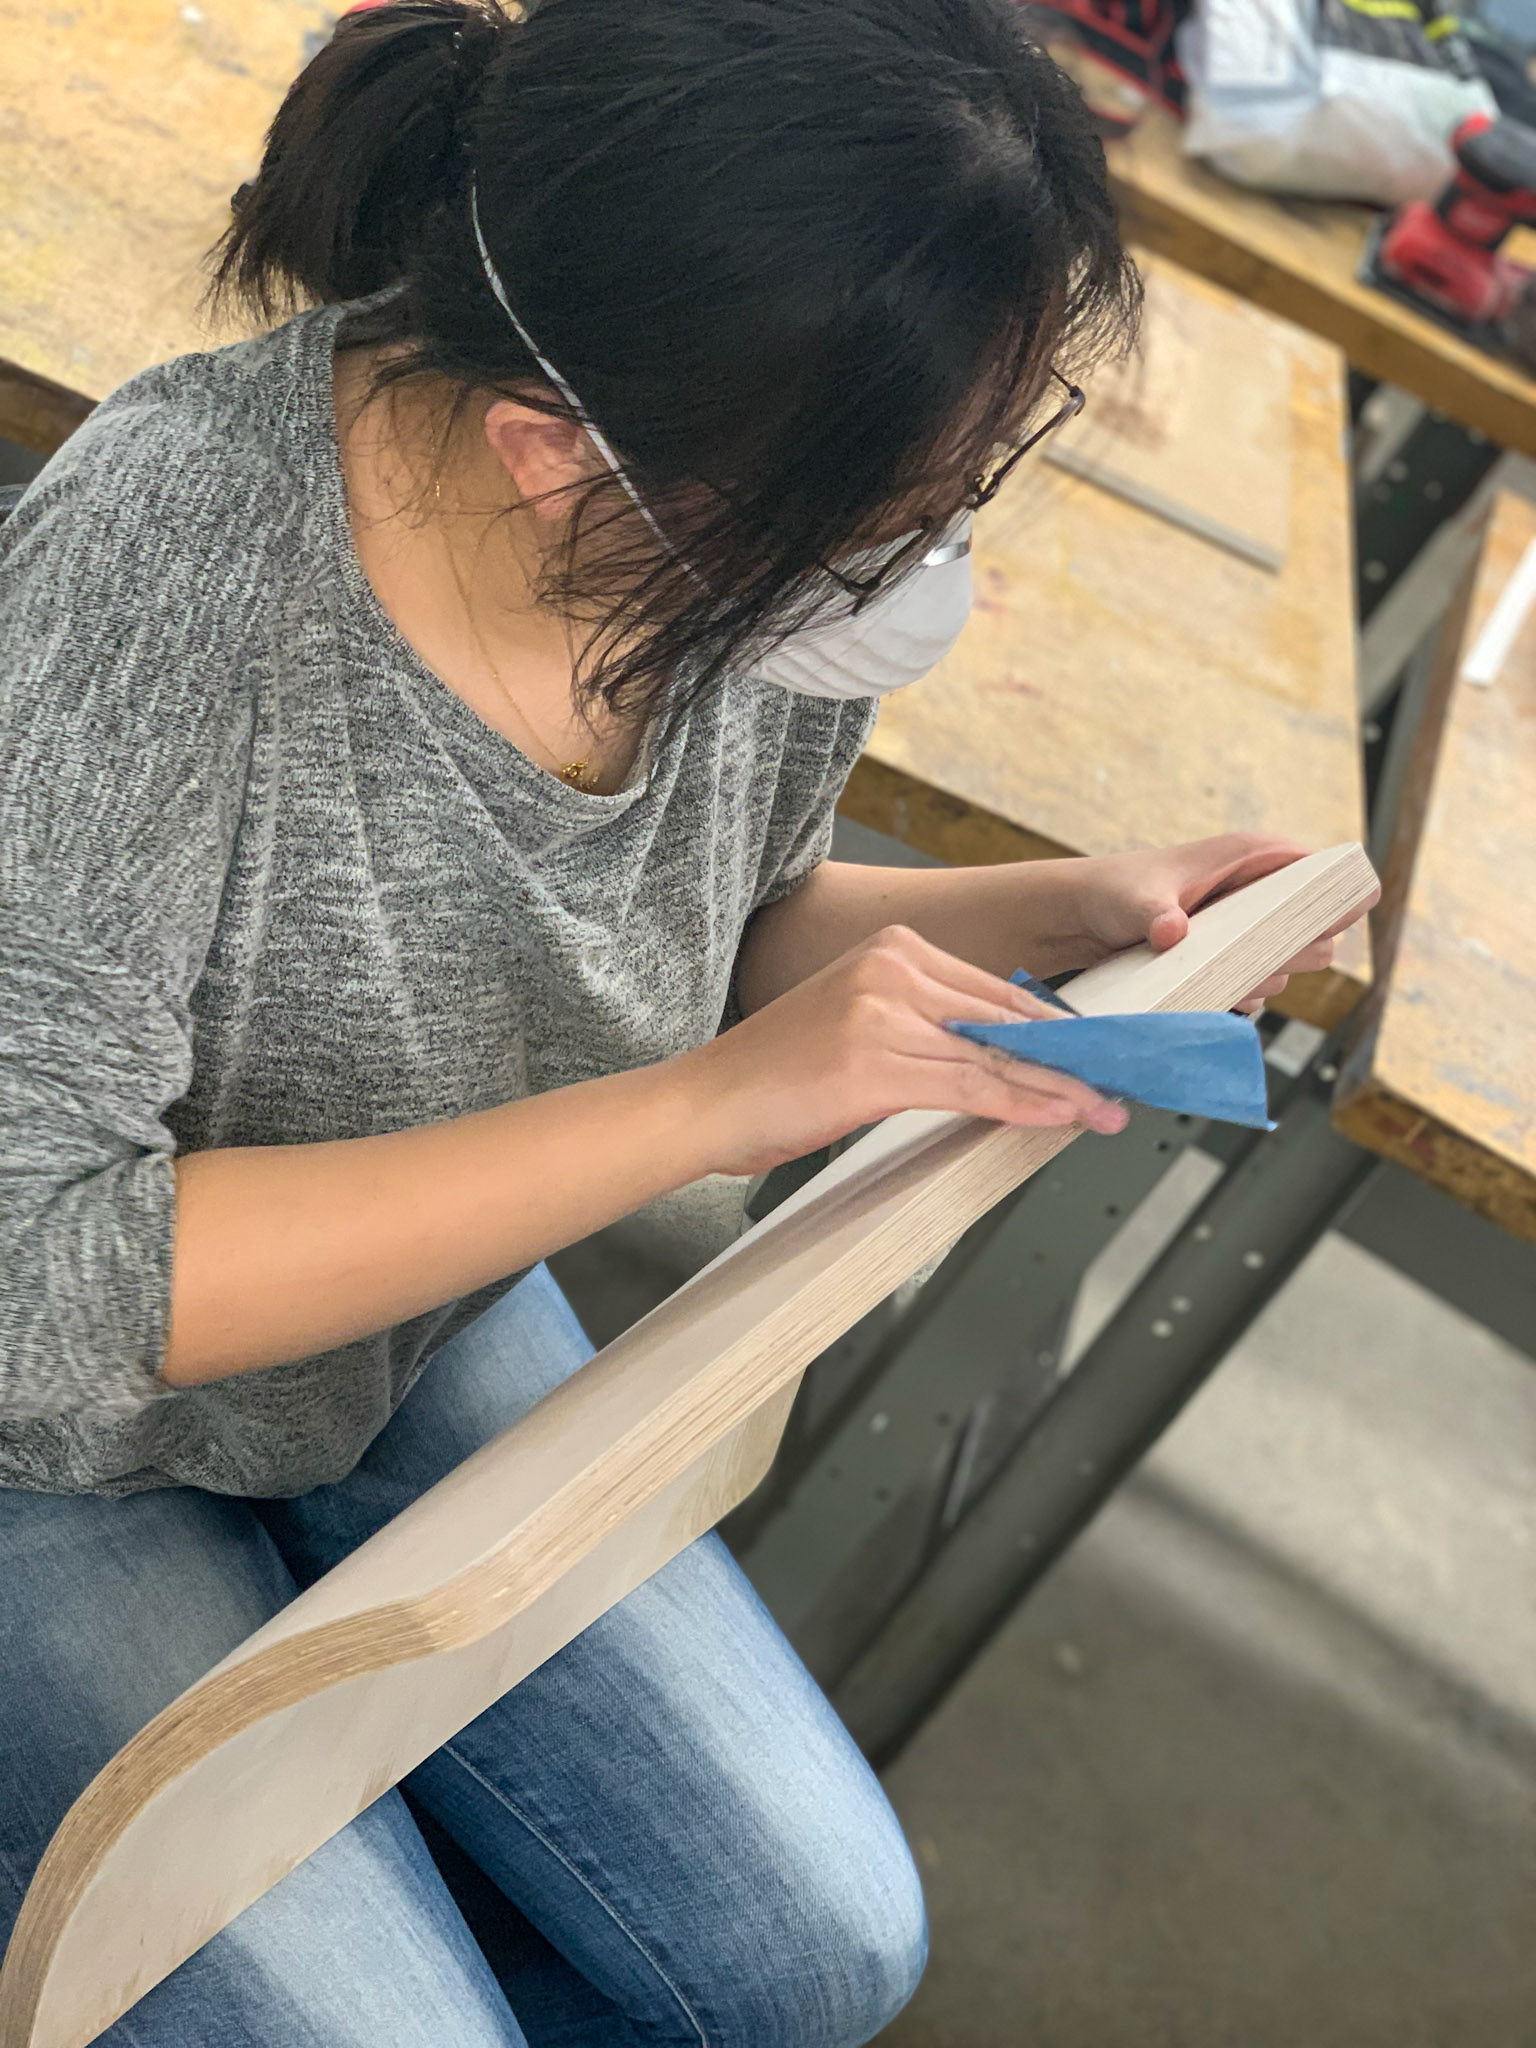
Sanding the curved back rest

Applying wood stain
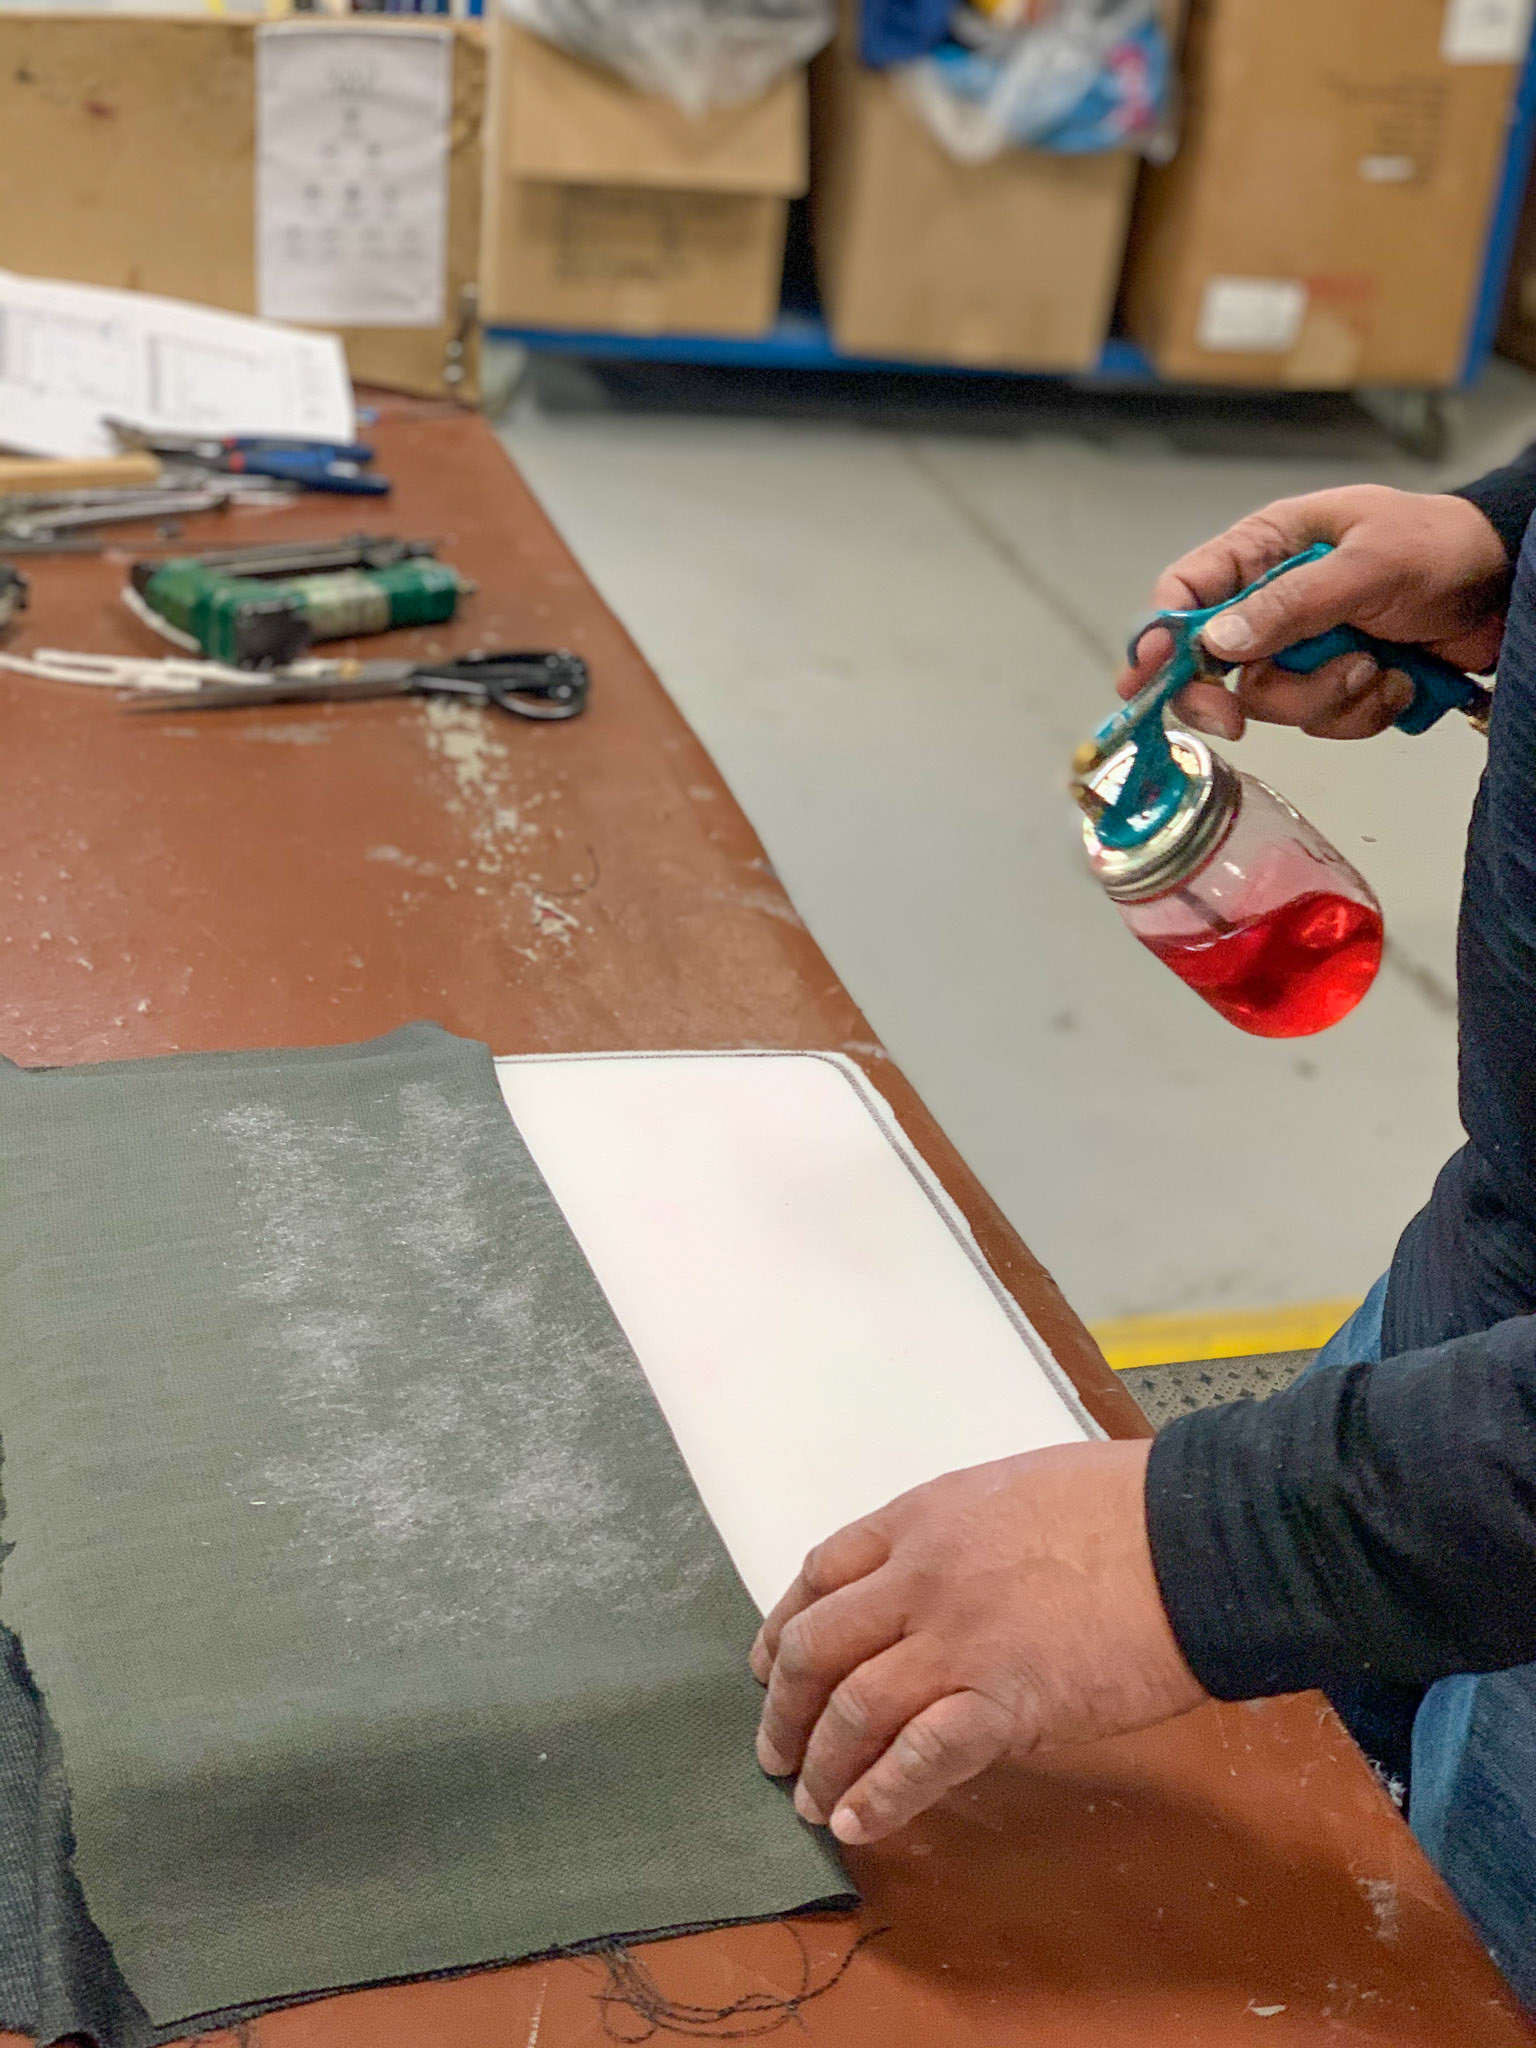
Creating the cushions
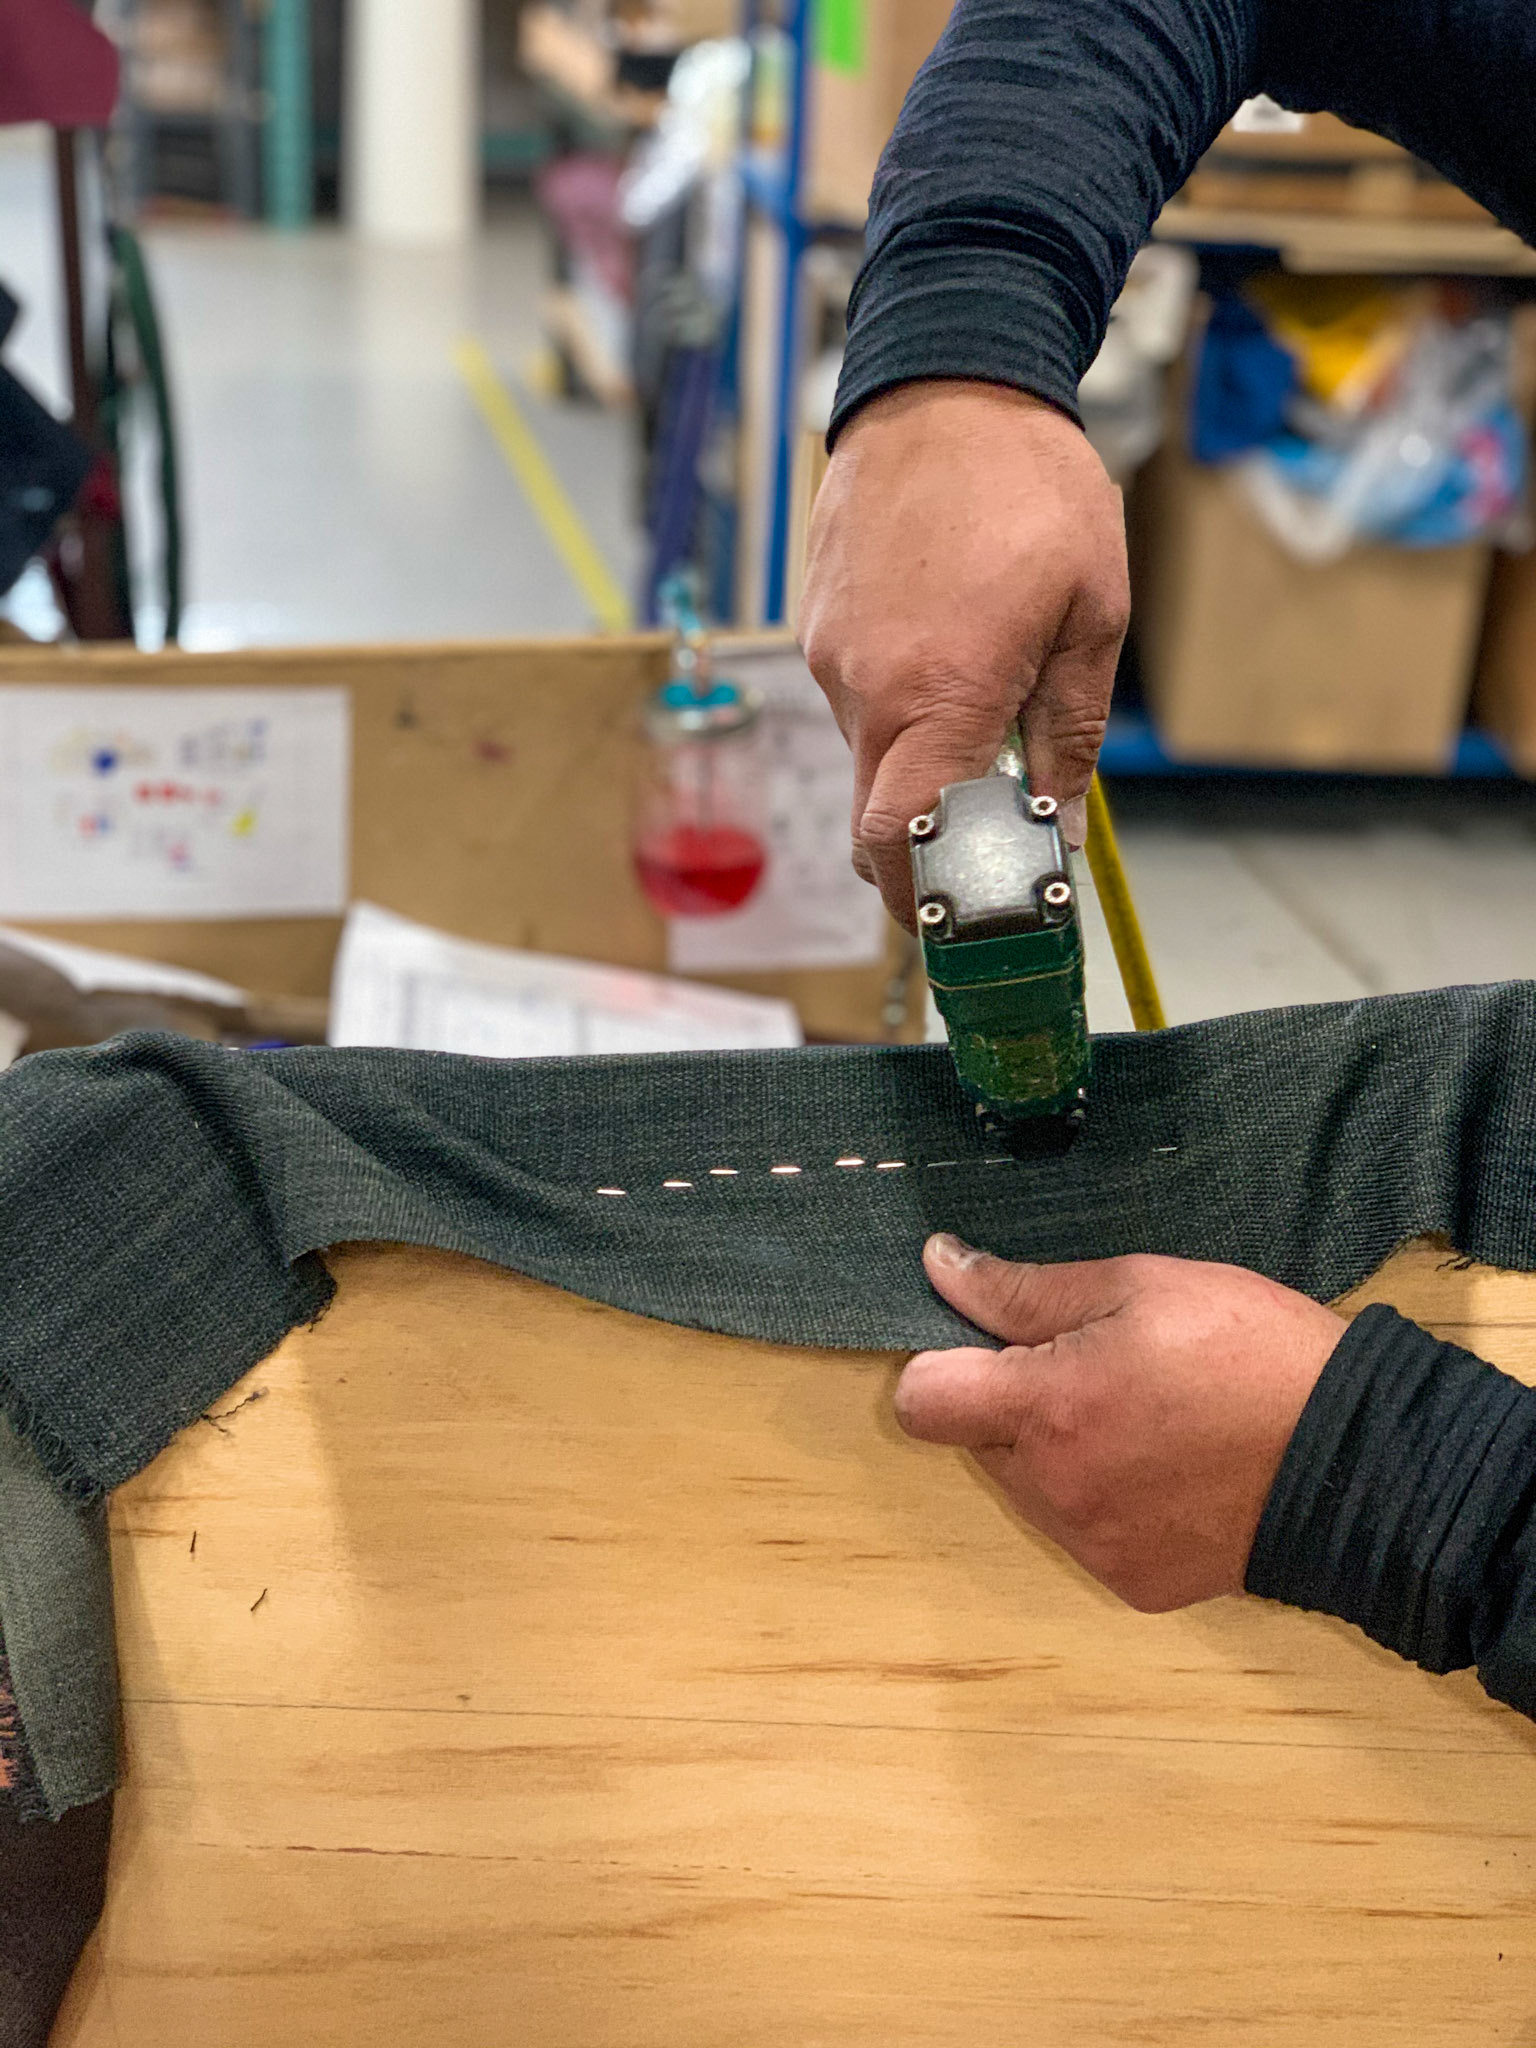
Finishing the cushions
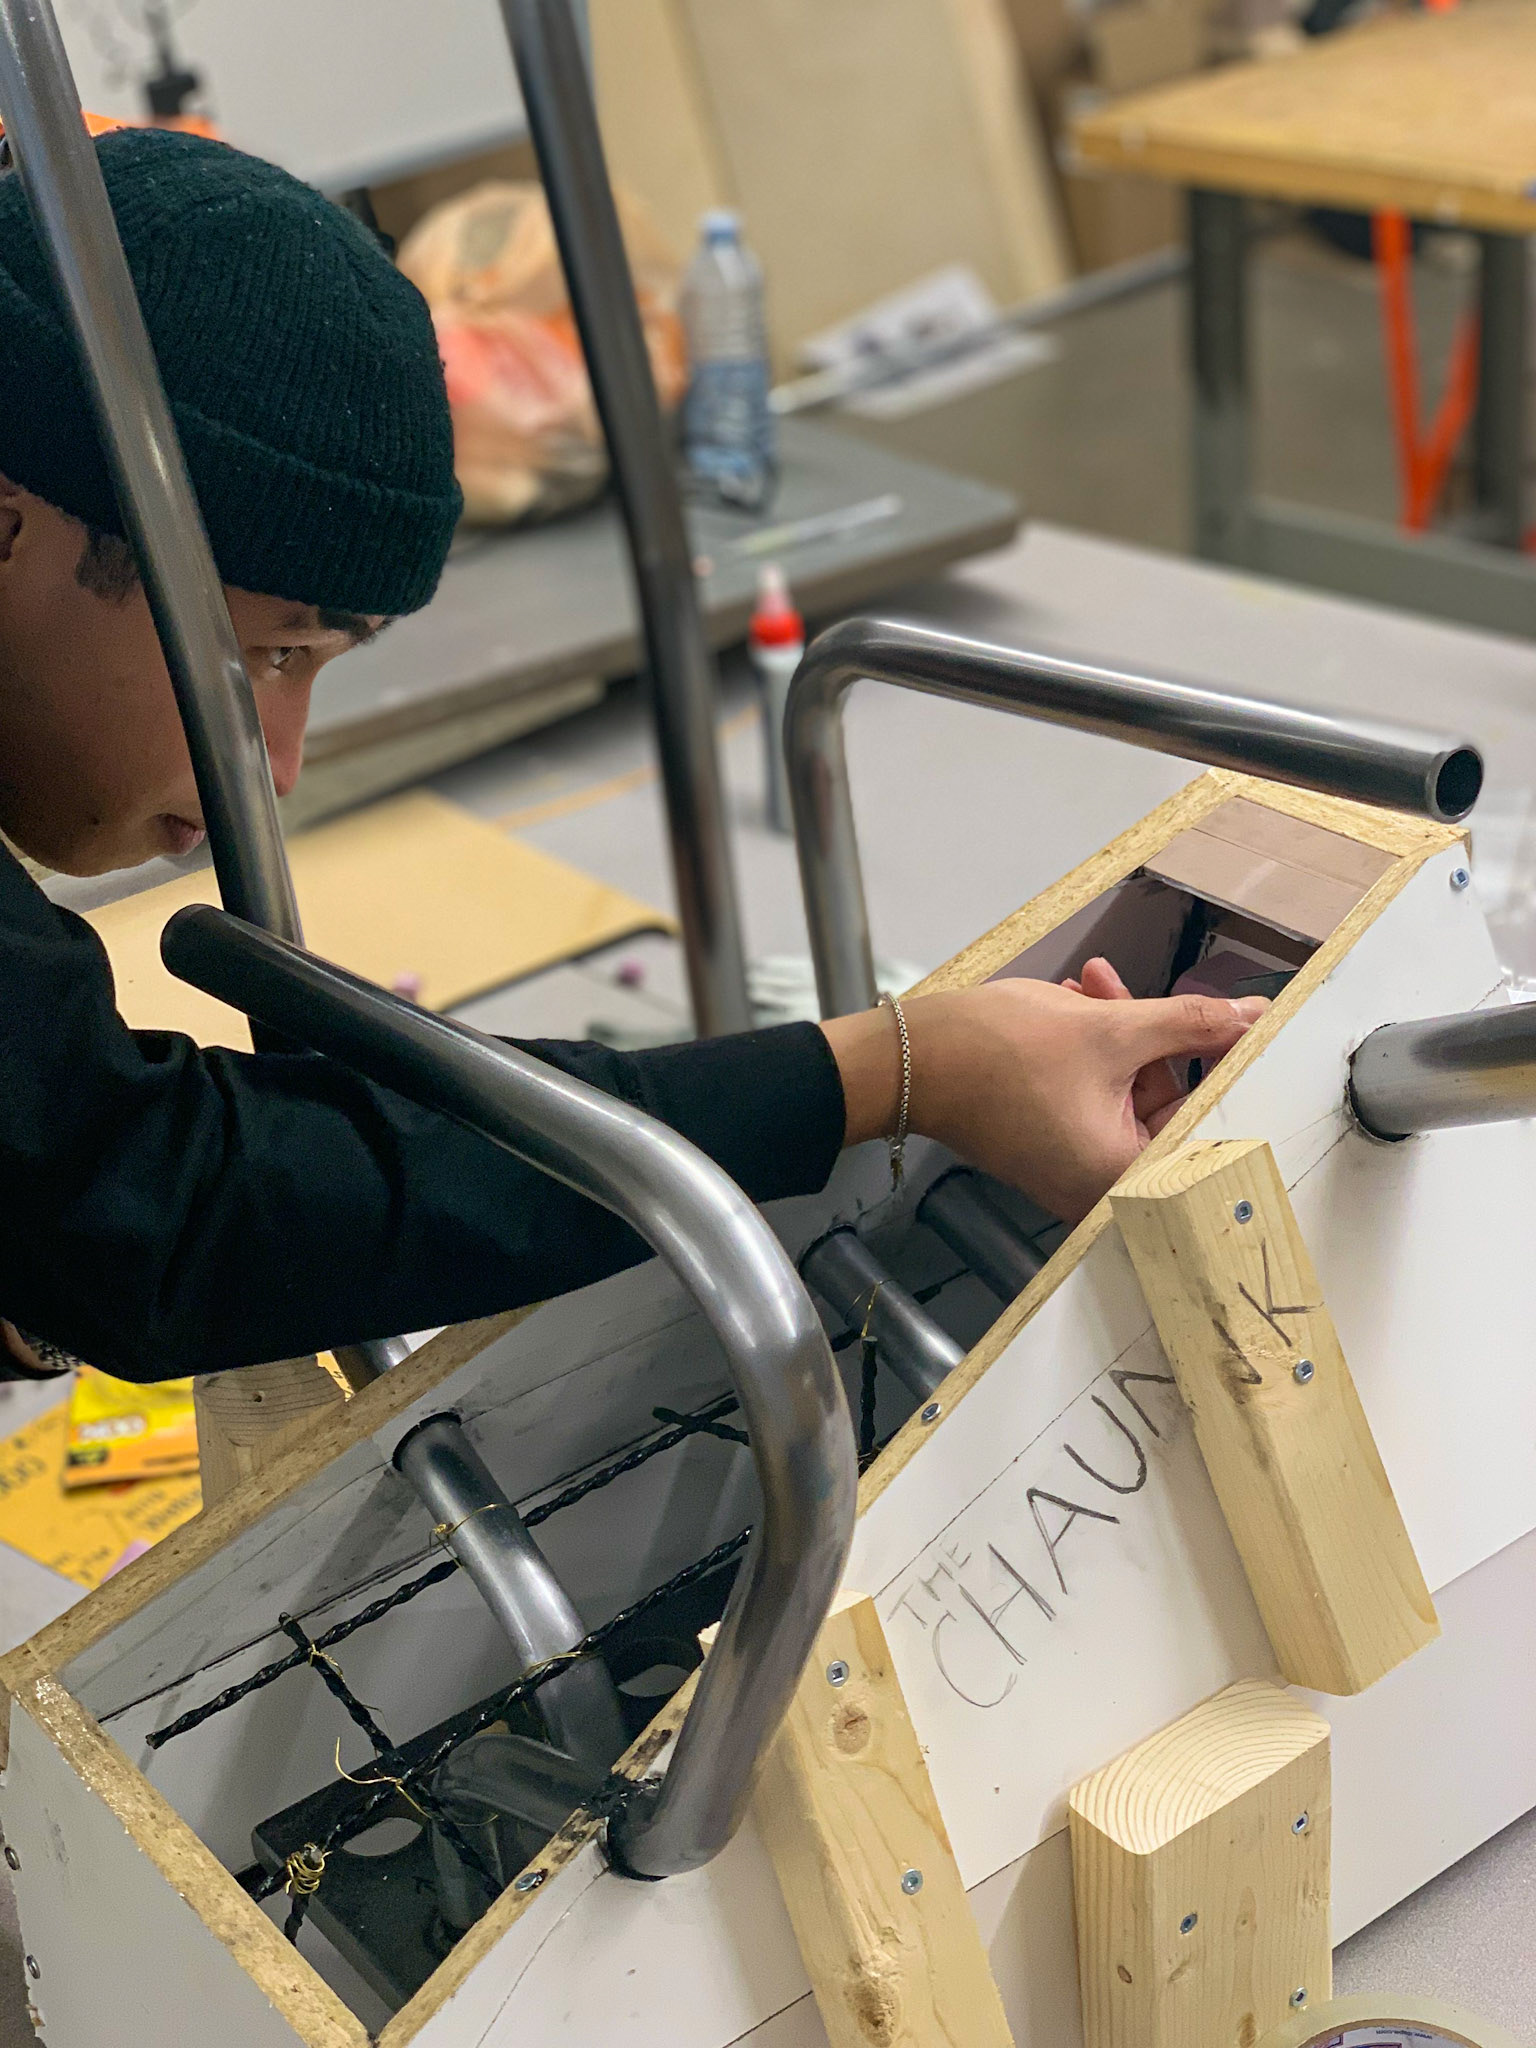
The base posed many challenges that required innovative solutions. The location of the tubing had relatively small tolerances for error as they need to properly hold up the user. Since the entire tubing structure was welded together prior to concrete casting, a multi-part mold needed to be designed. The permanent nature of casting concrete forced the team to work on a 'NASA level of risk management' - in other words, failure was not an option.

75 pounds of aggregate
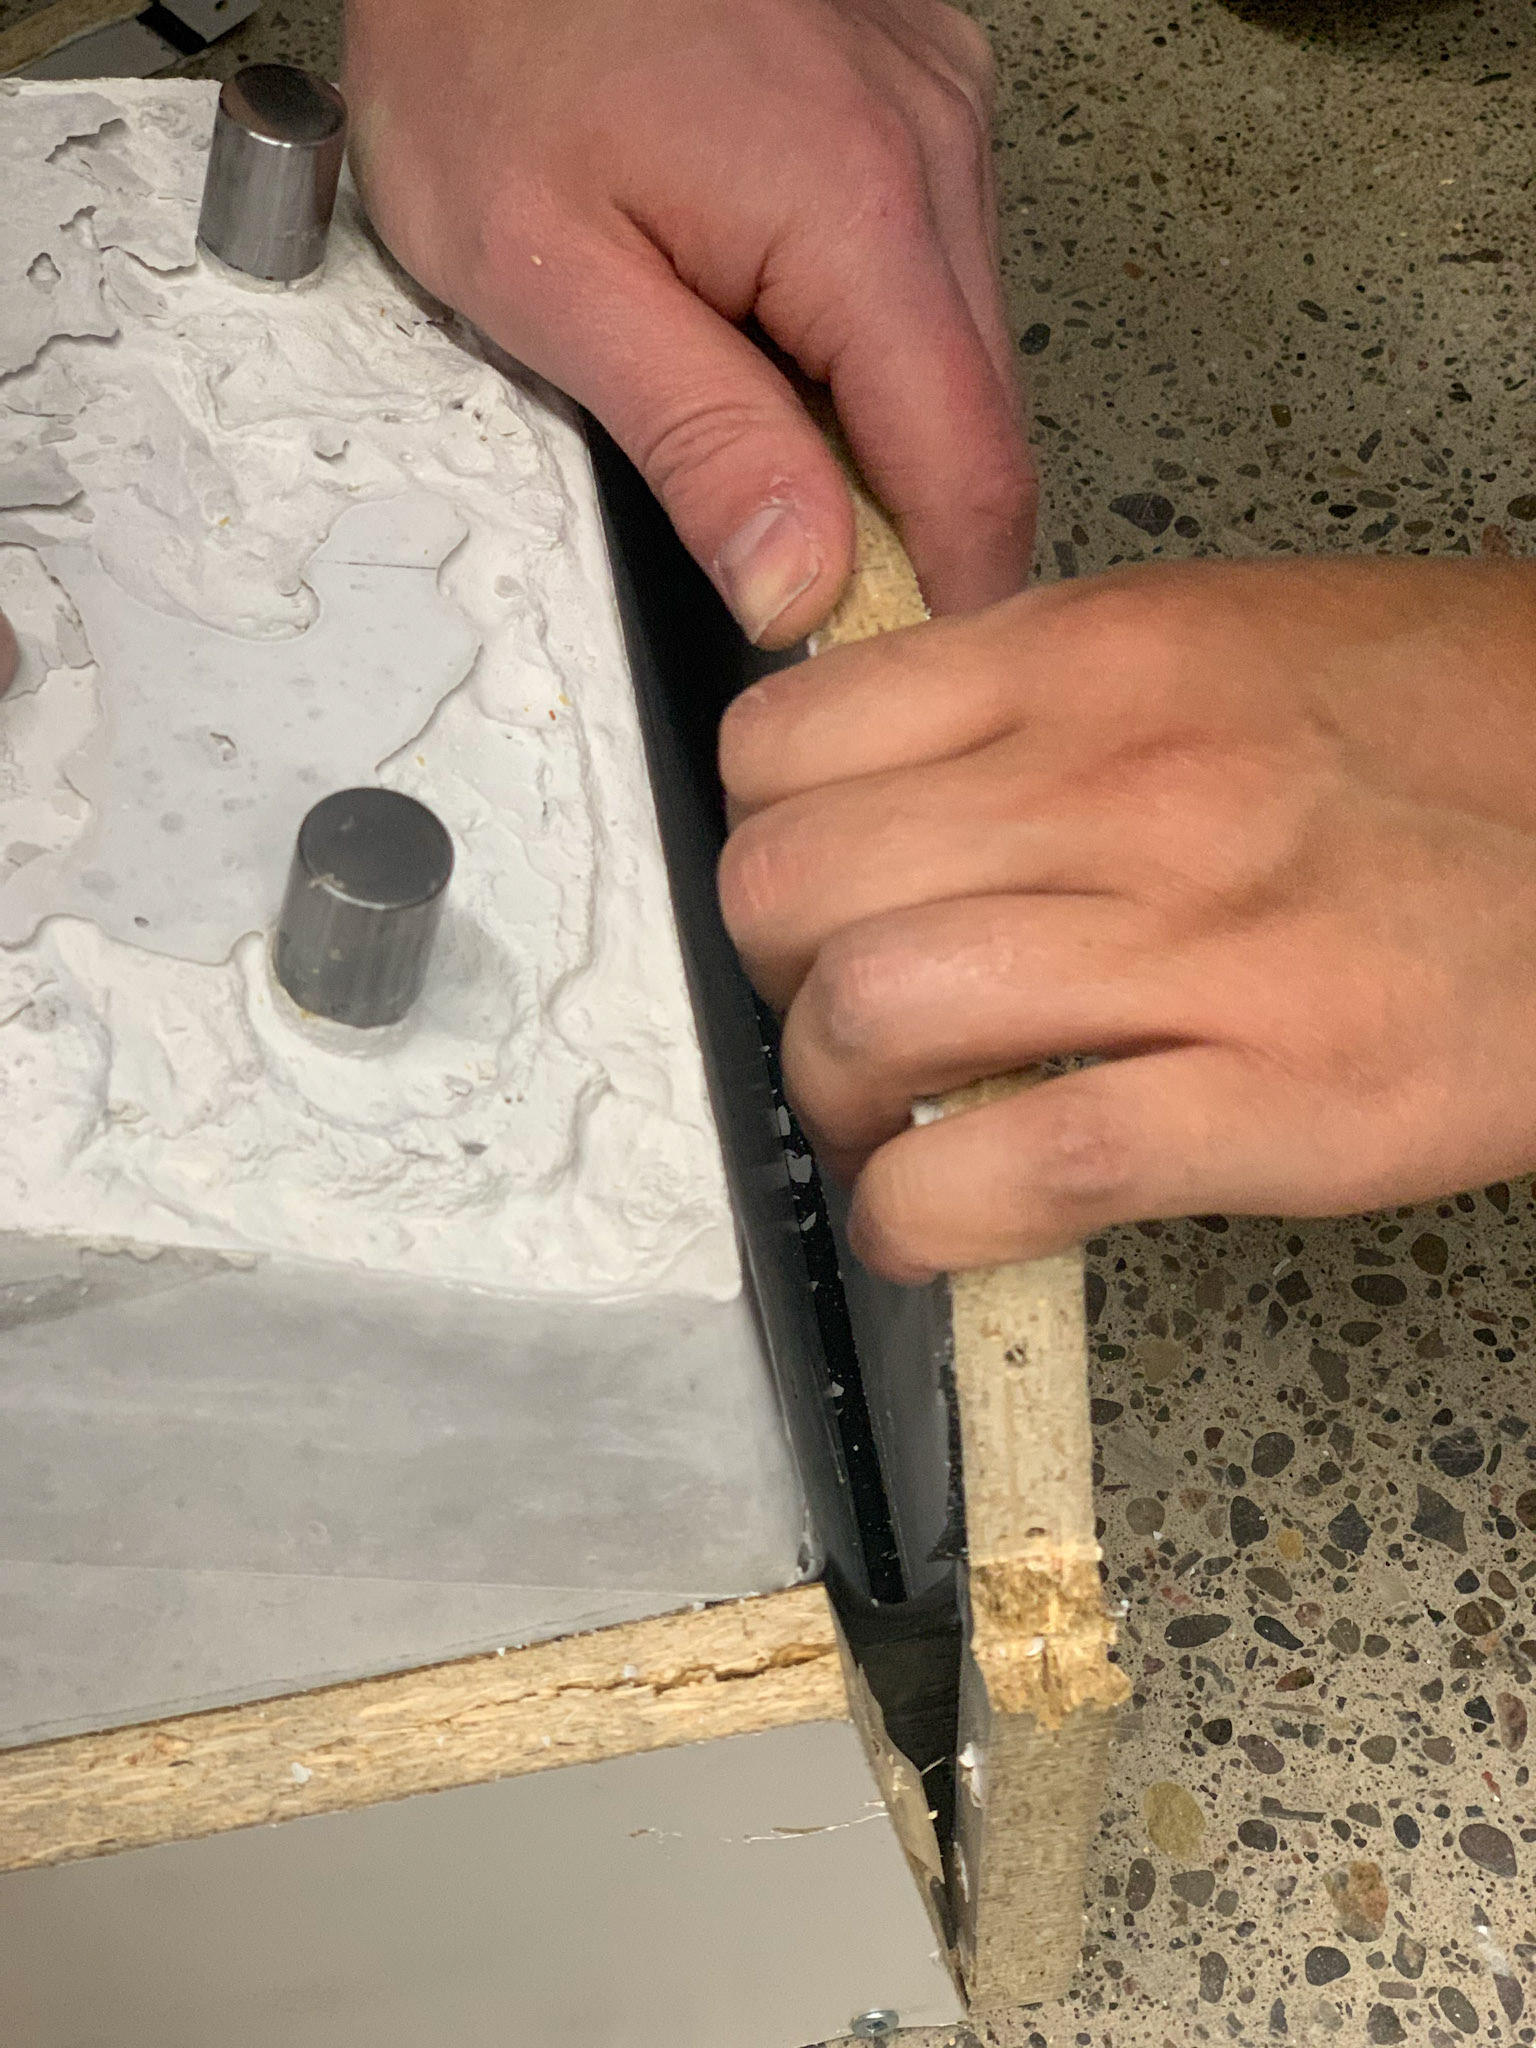
Preparing the exposed edges to be sealed
Adding side supports
View of the intricate mold
The entire mold and frame were angled to create a flat angled surface under the seat
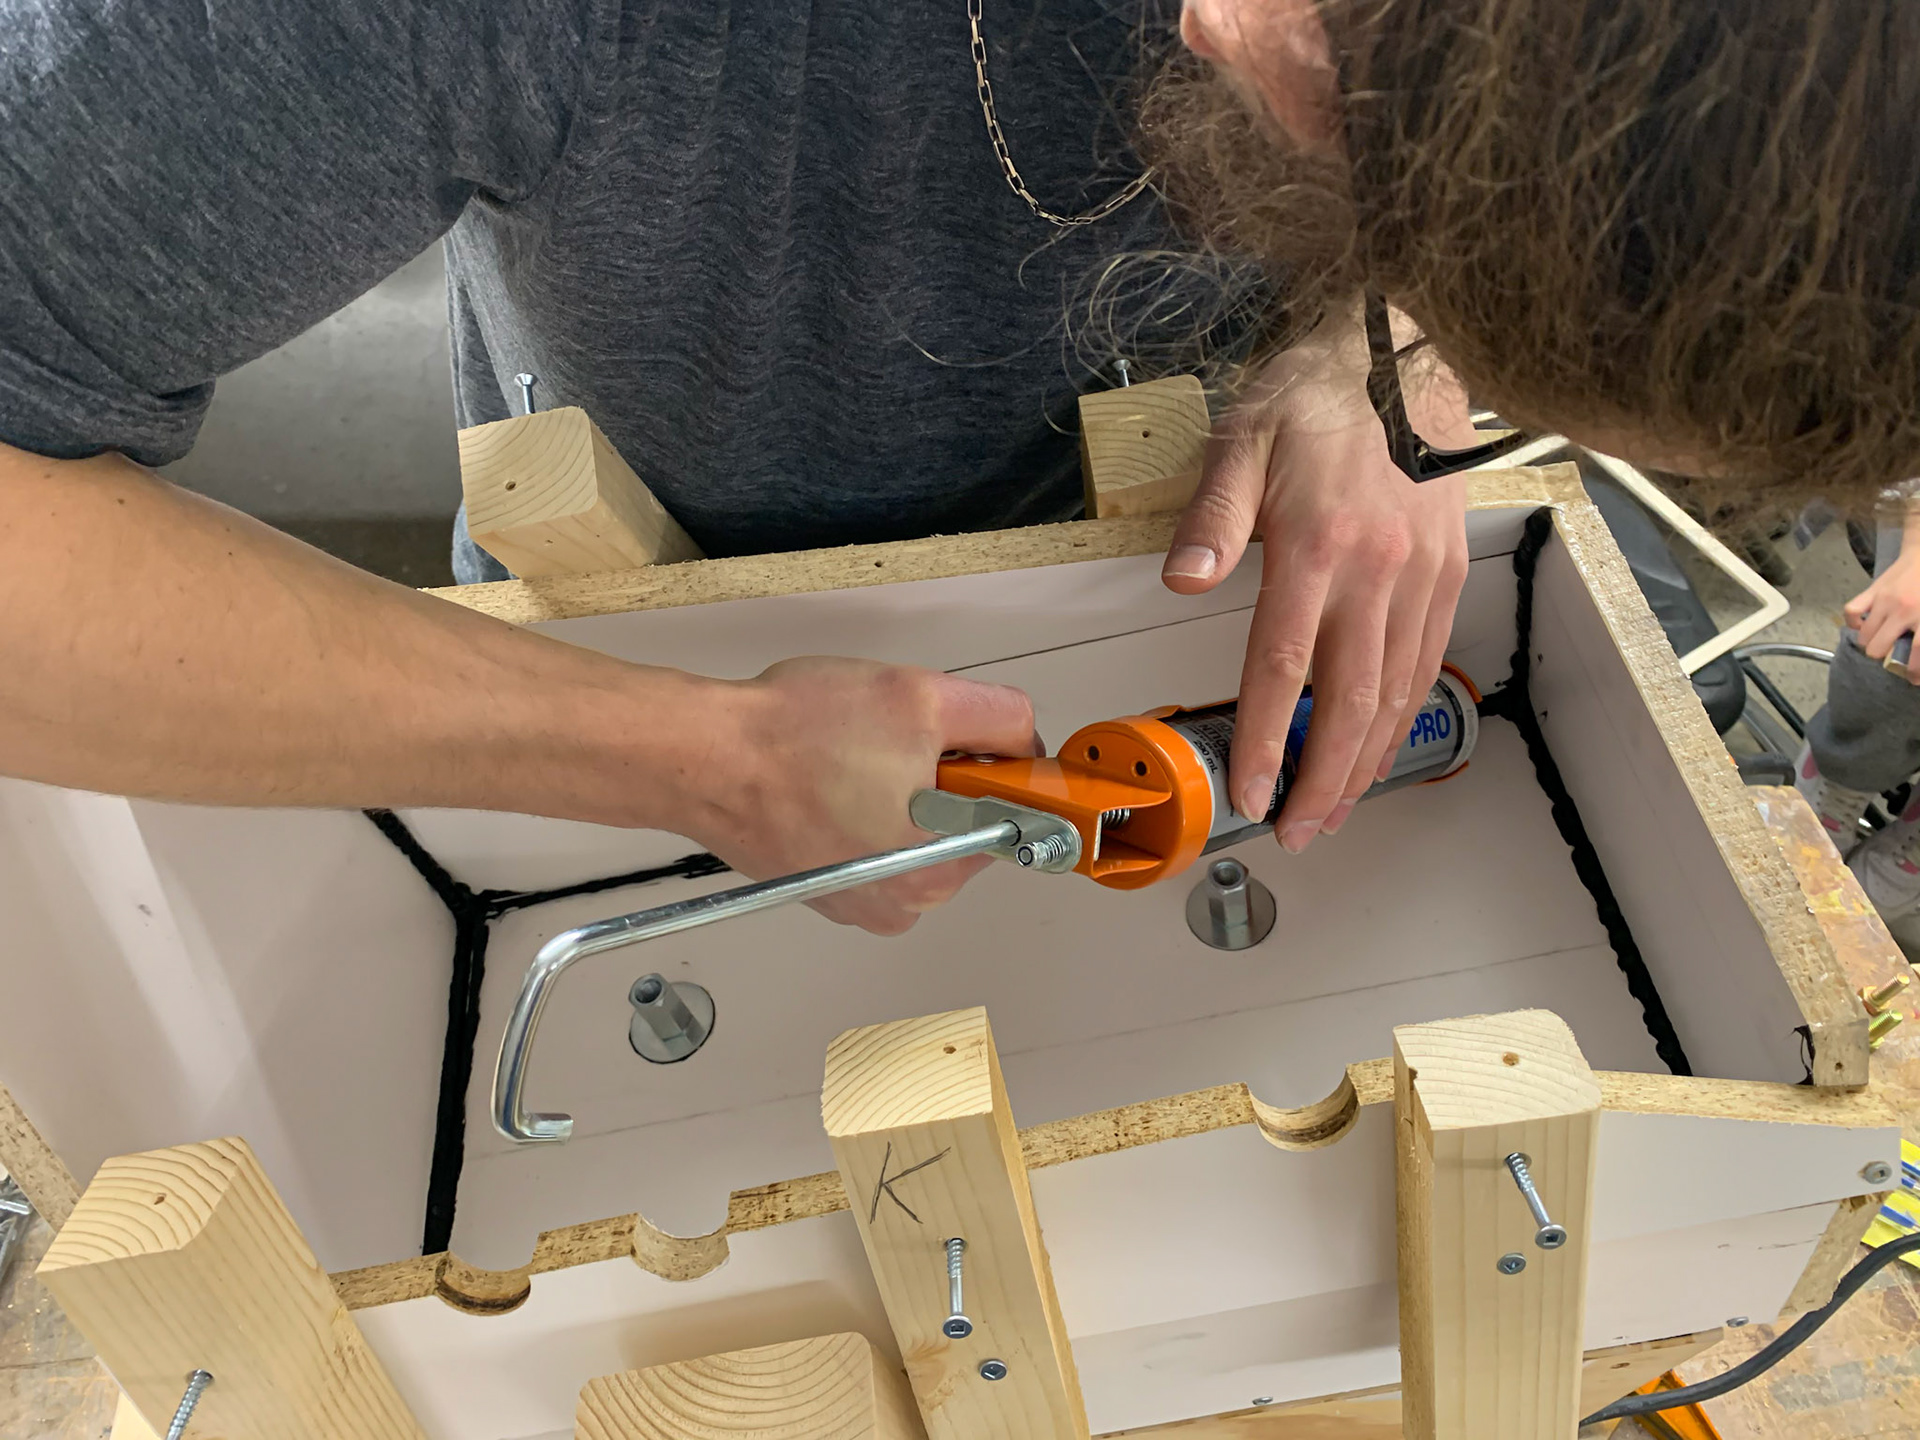
Using caulk to seal the mold and add a radius to the base
This picture shows the interior reinforcement lattice made from basalt rods
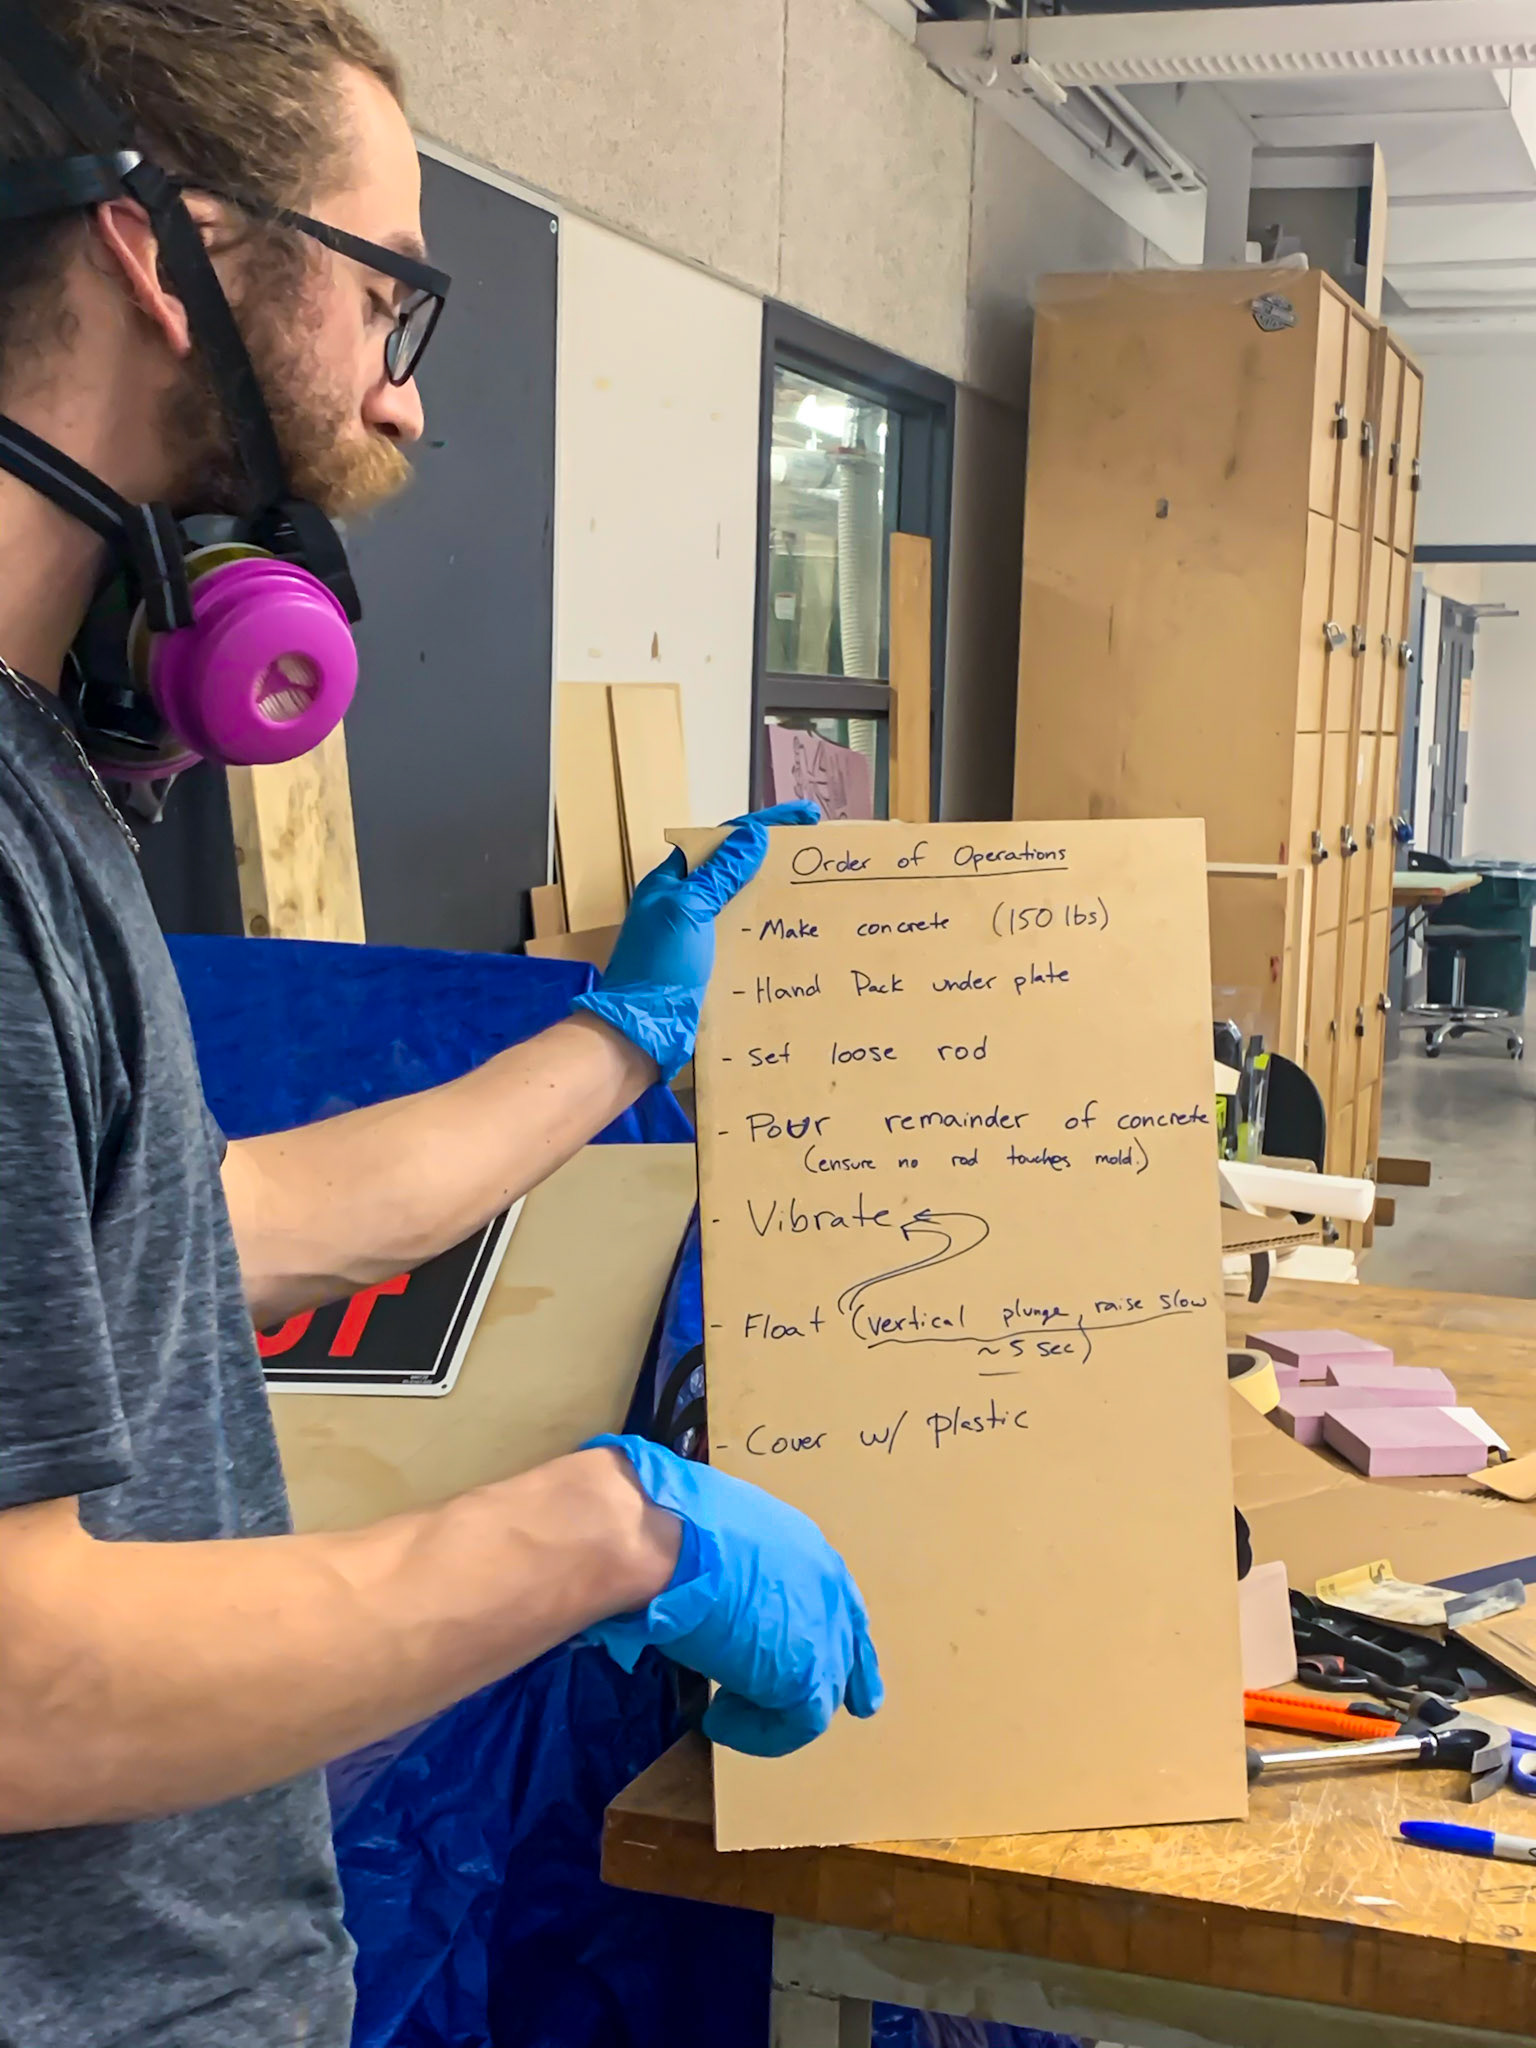
Going over the procedure for concrete

Adding plasticiser
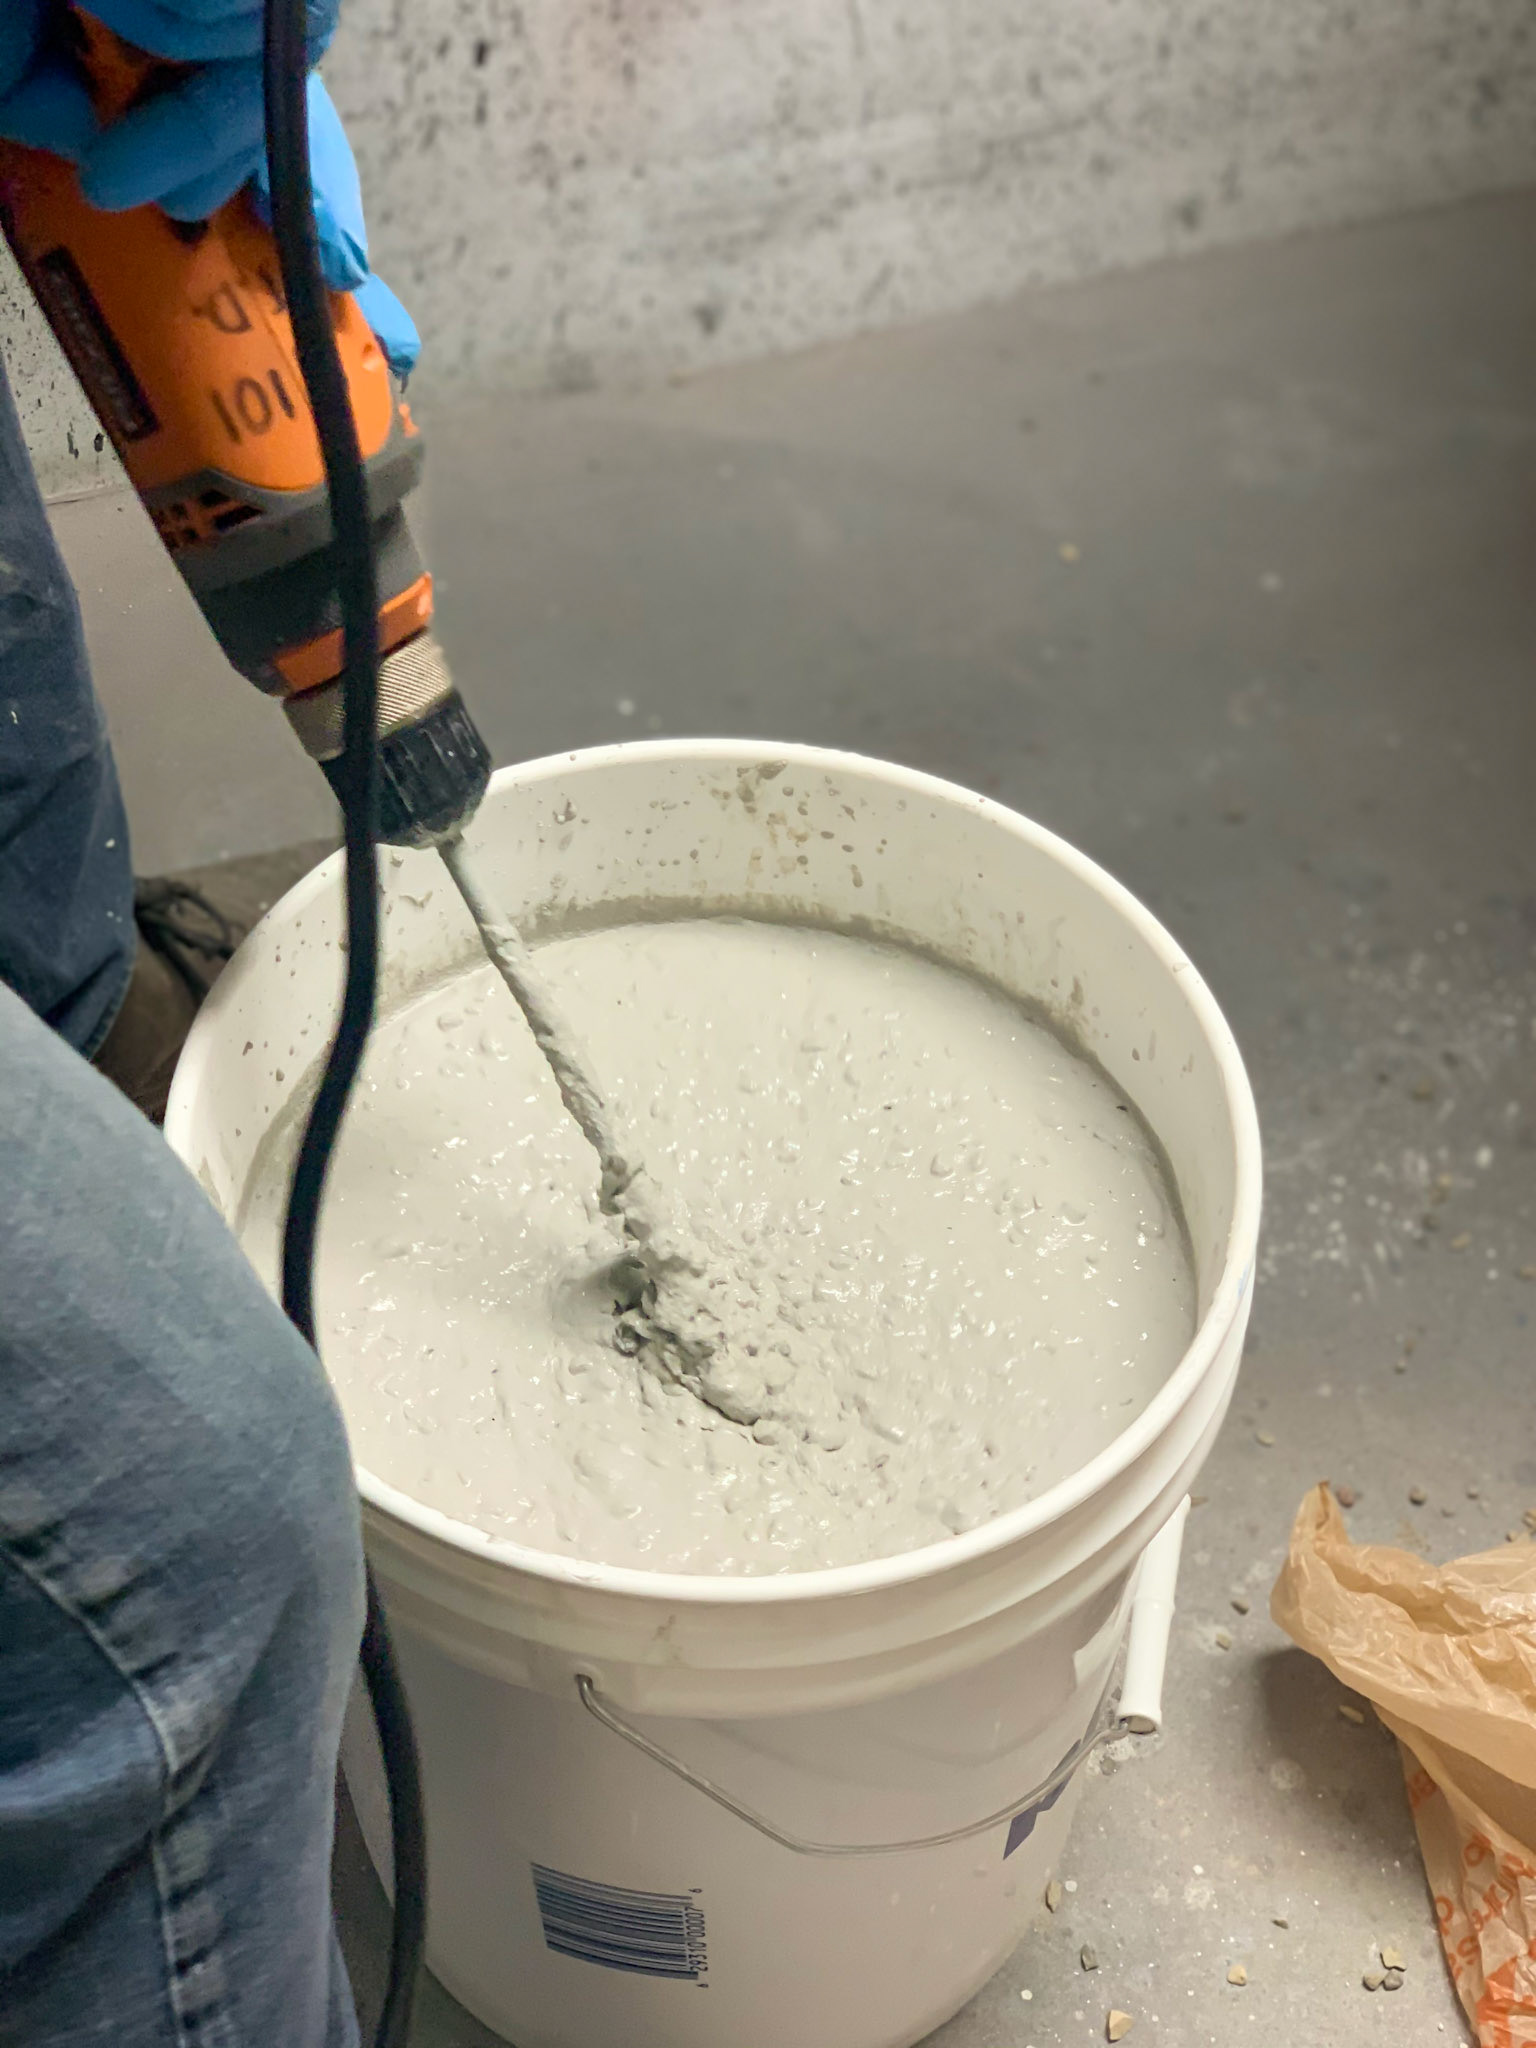
Mixing concrete
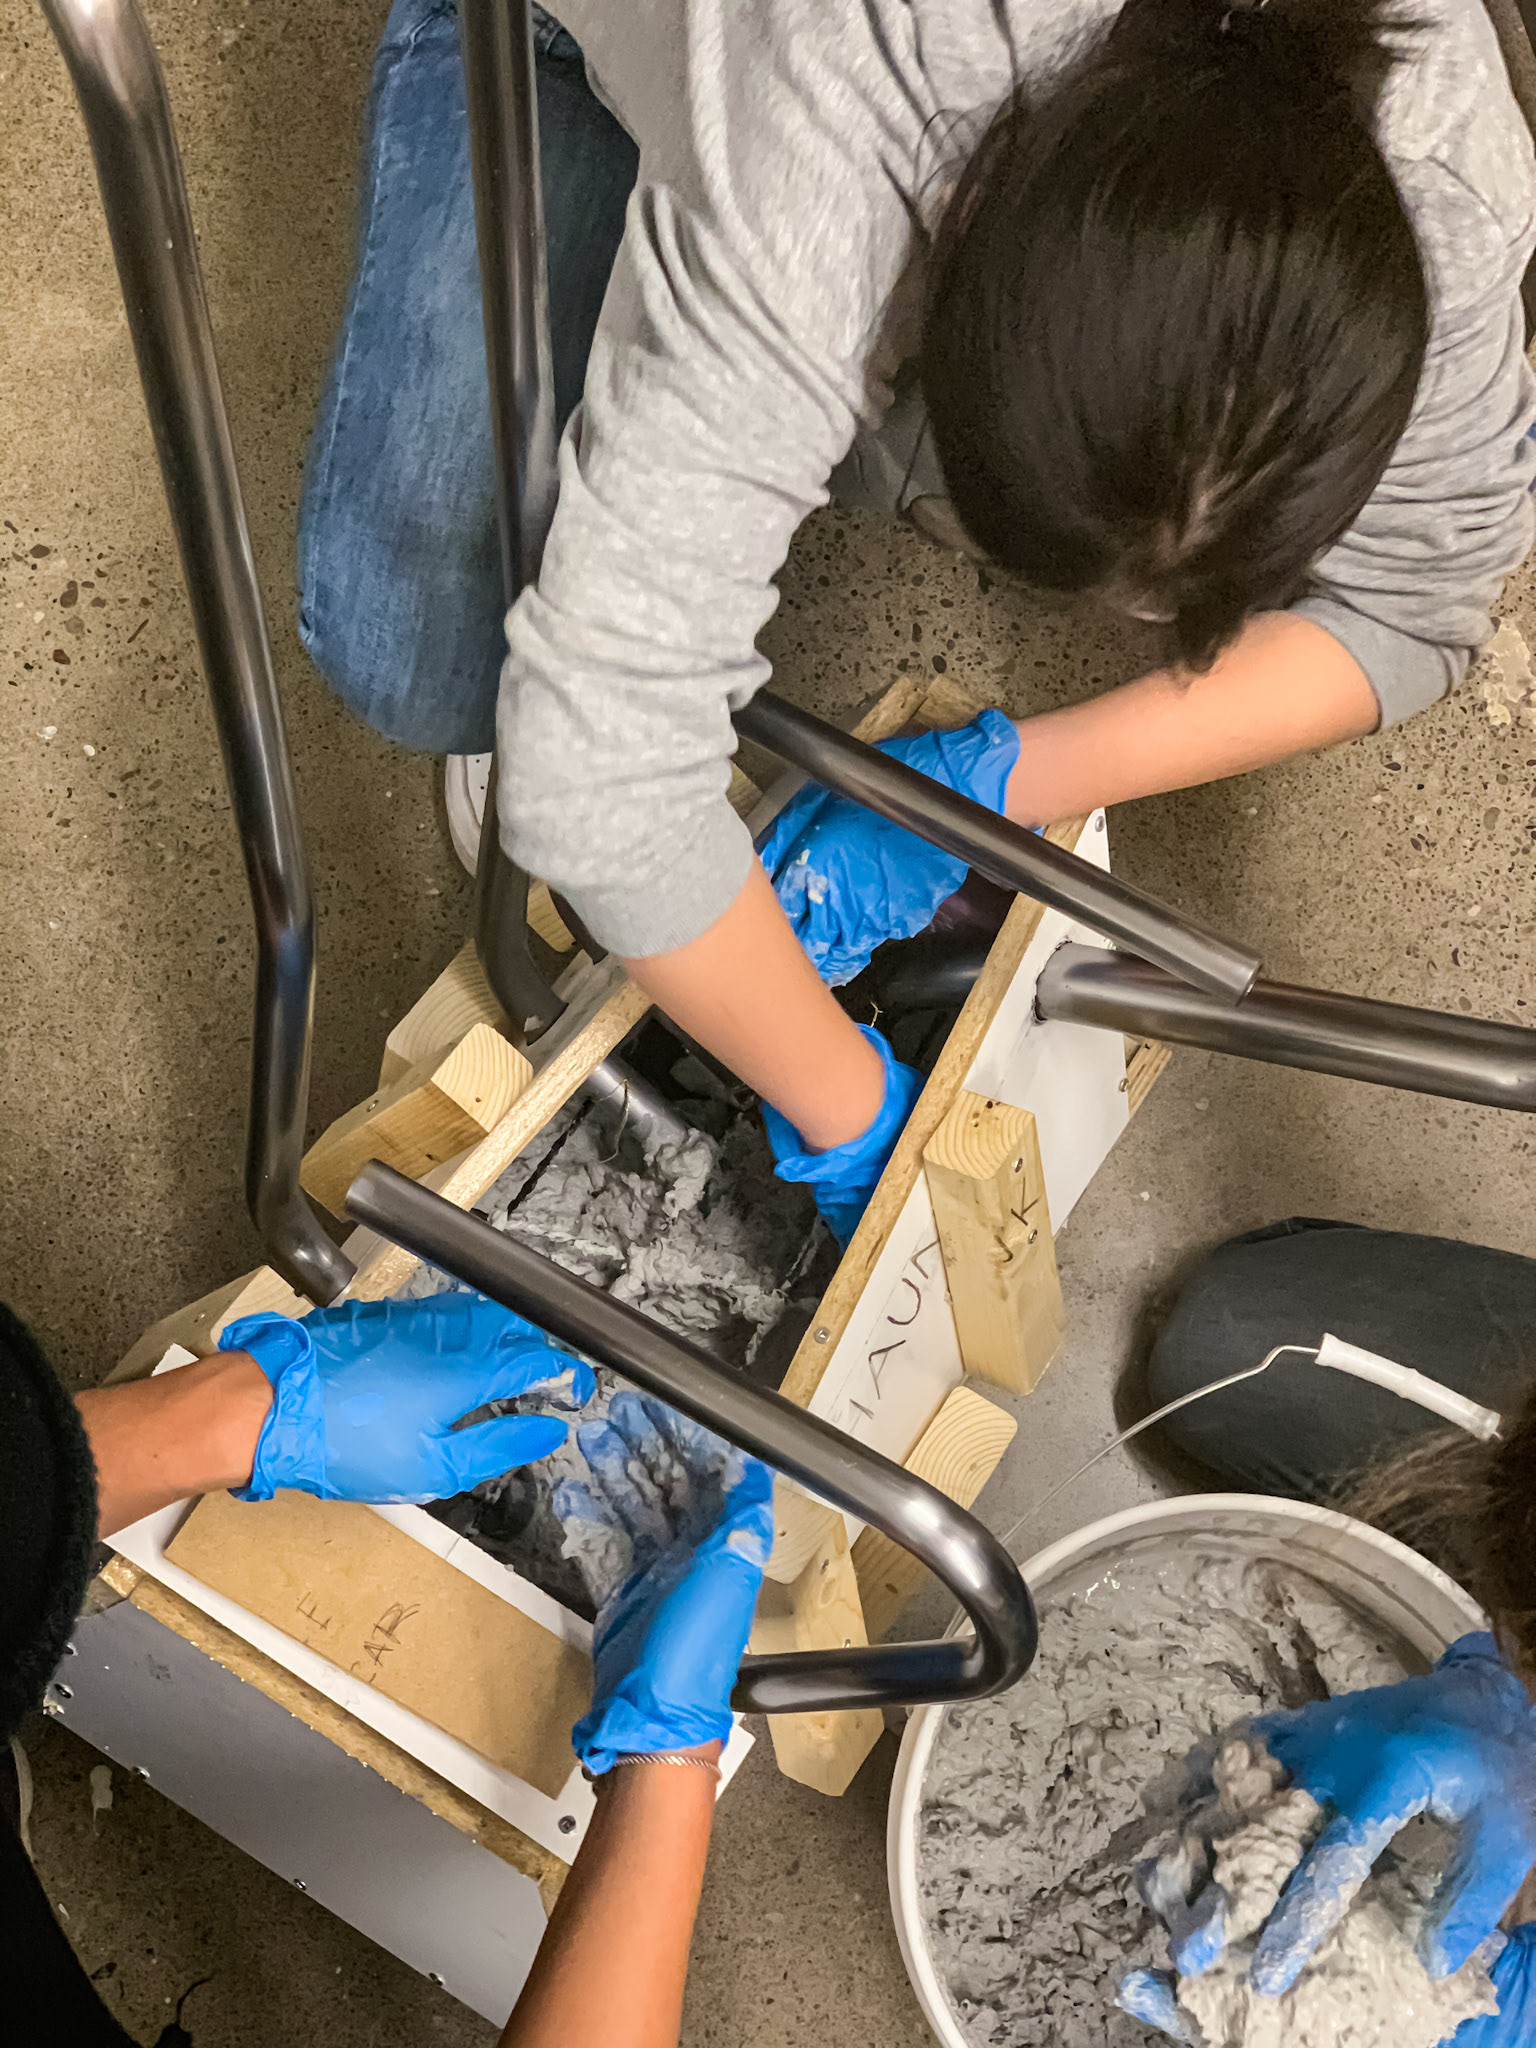
Filling the mold
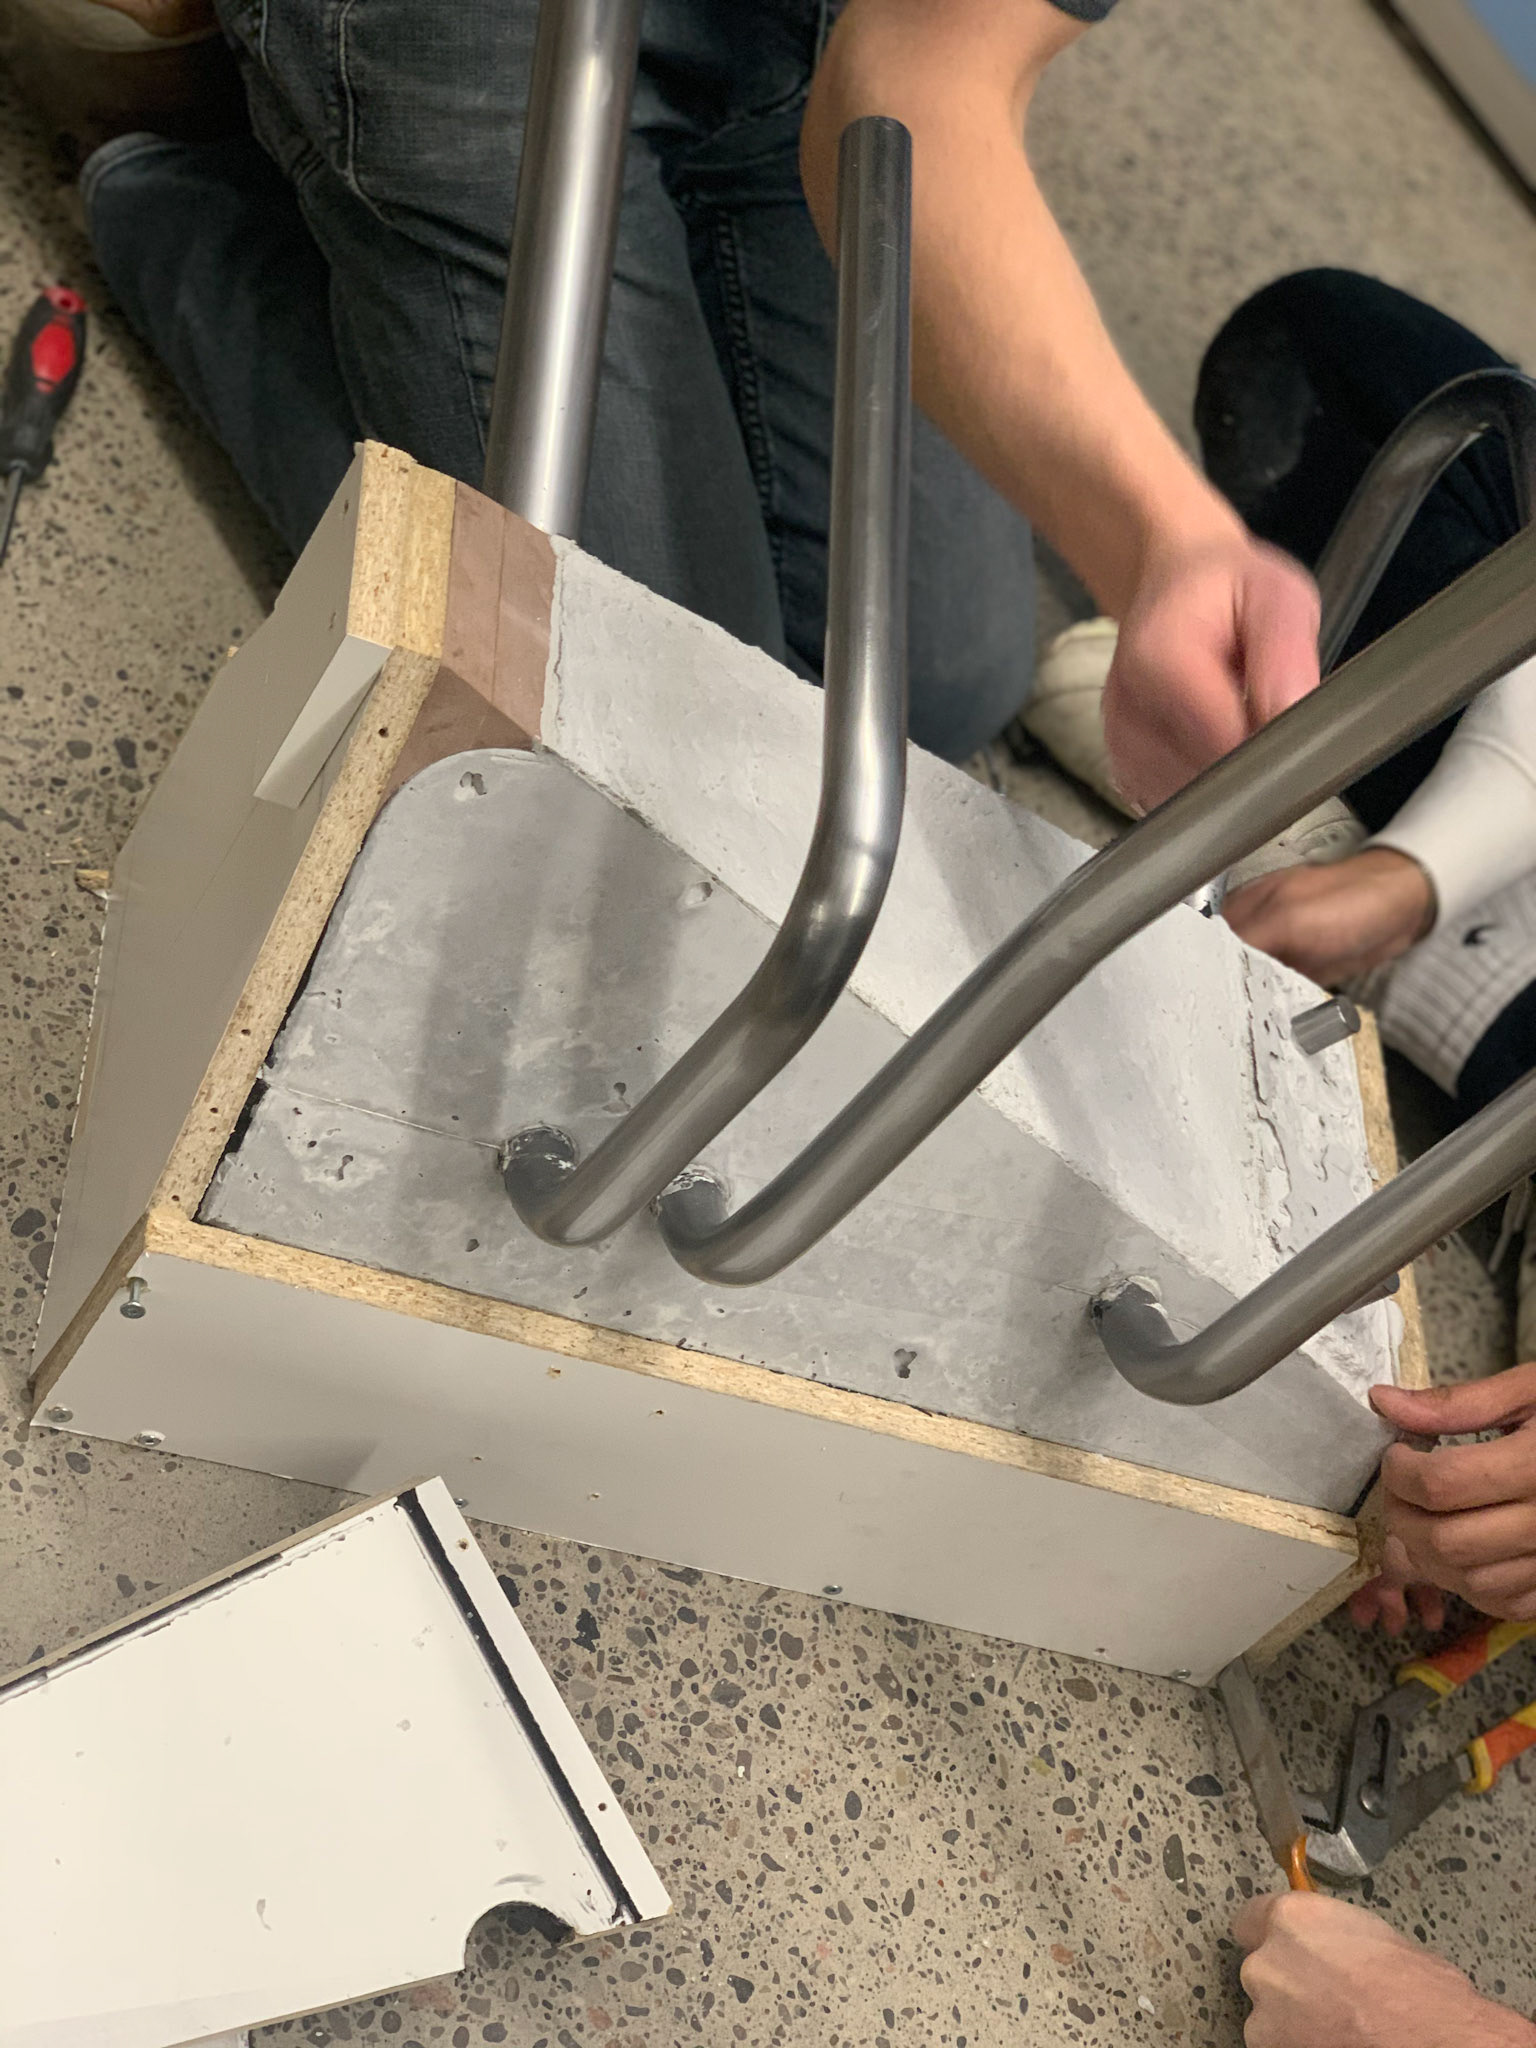
Removing the mold
It was a success!
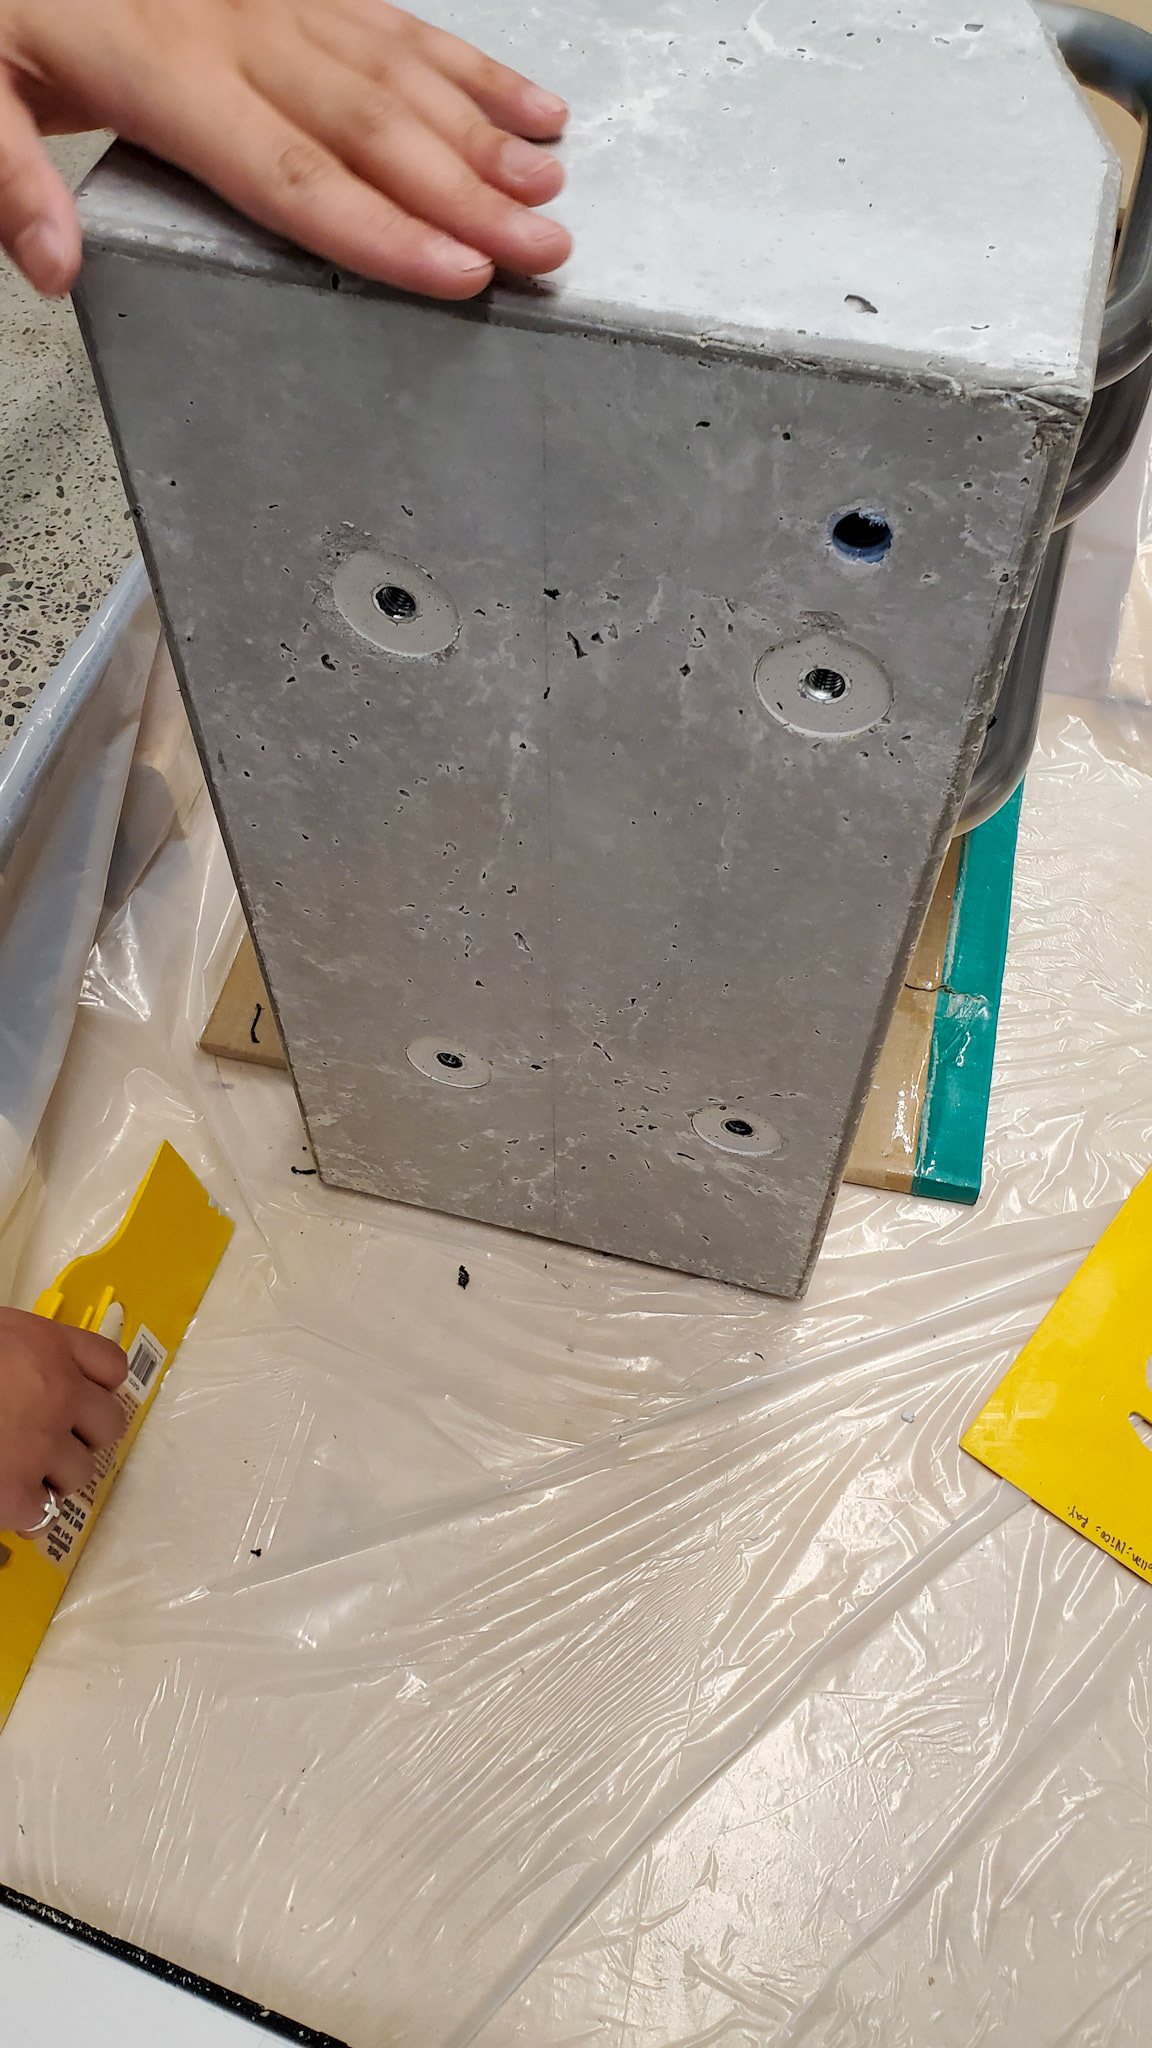
A smooth bottom
